Well we were able to get more done on Warhound #1. We’re working on the torso now, and while its not quite as hard as doing the legs, it’s still important to make sure everything lines up correctly. I also plan on going back and painting the interior. I just want to get the outside painted first because we have an Apocalypse game coming up in a few weeks that I need this guy for.
We started with the power-plant piece that connects to the hips. If you remember from the last article I magnetized it so we could separate and rotate the torso in game. I got a lot of comments saying to protect the magnets themselves from shattering under their own attractive force, and I have to concur with that recommendation. I plan on either putting thin card or a small layer of resin on top of the hip magnet to give it some protection. So good heads up to all that commented on that!

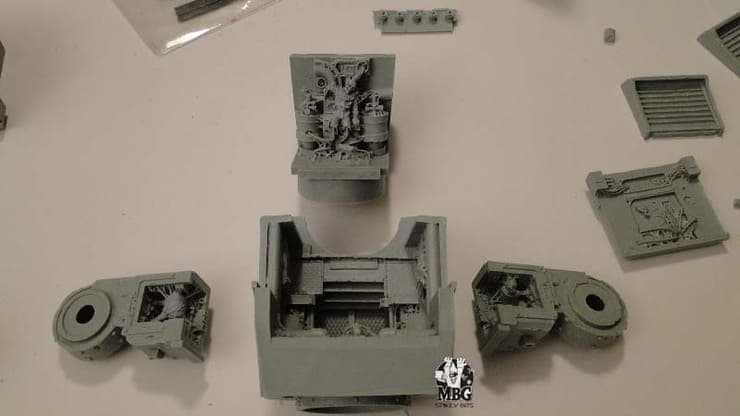
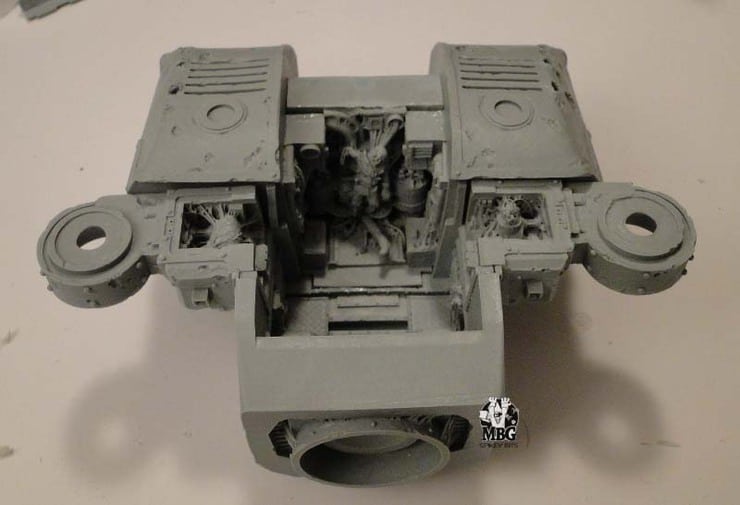
Back to the torso- It’s best to lay everything out first, and then dry fit it all together before glueing. First I attached the powe-plant to the forward hatch area. Then I glued the servitor arm sockets on. It’s very important to make sure these are level, otherwise your titan arms will be slouching.
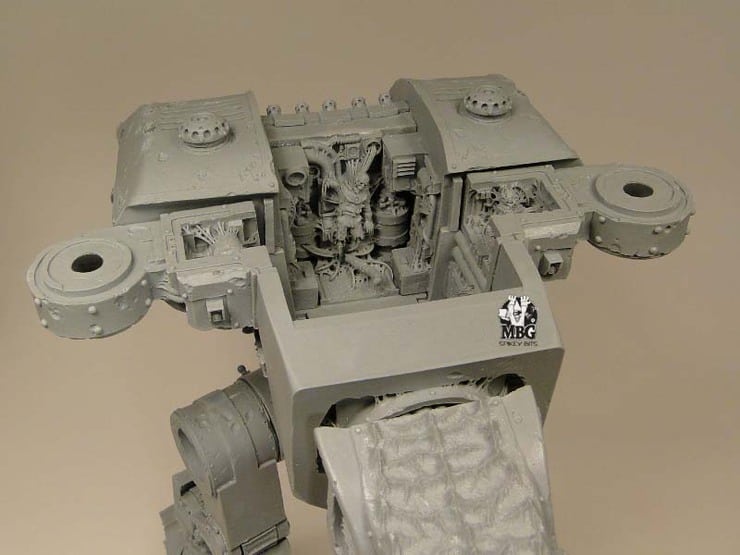
After that is all assembled I added on the back shoulders and filled the gaps in the pieces as best I could with some gap filler CA glue. Dry-fitting the top carapace here is a must. I realized after doing this that the right arm was a little off, but manageable. The top servitor hatches glue to the carapace and have to line up with the recesses on the torso assembly. Be sure to double check that and the overall fit of the carapace carefully, you don’t want your centerpiece to look like the hunchback.

Next up is the cockpit, and unlike its Imperial cousin, there is almost no assembly involved. All you have to do it insert two control sticks onto the forward control panel, and a support collar to the back. Then you just glue the whole thing to the torso. So I slapped it together and attached it to the torso.
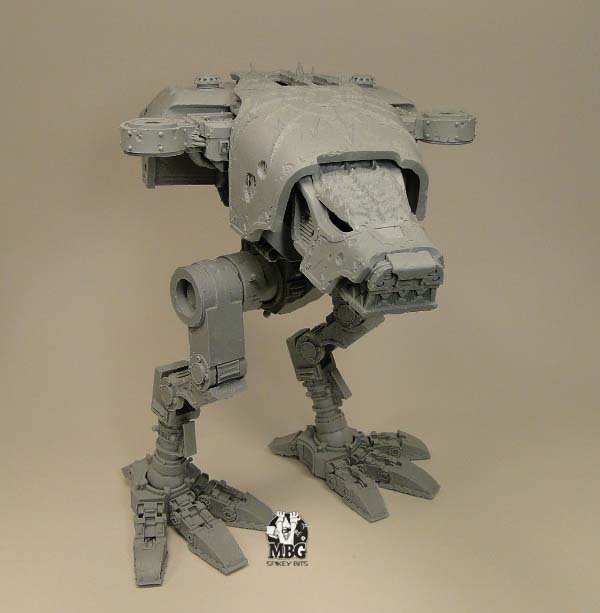
It was kinda hard to figure out the correct positioning of the head without the arms, so I used the feet as reference. Hopefully everything will flow together when I get to the arms.
You’ll notice the center compartment bulkhead isn’t glued in yet. I kept that out so that I can paint the interior later. It really would have jammed me up if that was in there when I went back to paint there.
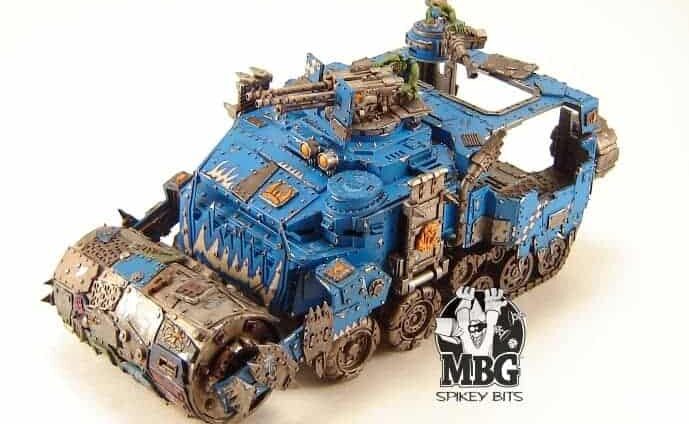
So here’s a good progress shot of Warhound I along with a shot of the flexibility of the torso when its magnetized. The center of gravity of the torso seems to be working out well with the positioning of the feet. It worked out pretty good I think.

Next up, pistons and weapons!
-MBG