That’s right, this little guy has paint on him now! Jkin appropriated my airbrush the other day to lay down the paint so to speak on his scout speeder!
It turned out pretty good! Camouflage is one of the toughest things to paint in my opinion, and he pulled it off without a hitch.
If you missed the article on this speeder from earlier take a few seconds to check it out here. Jkin is working on a whole scout army, and this was the start/ centerpiece of it.
To paint it he used the Vallejo airbrush line’s Camo colors. These are great cause they go from bottle to airbrush with no mixing (although I still add a few more drops of water just in case).
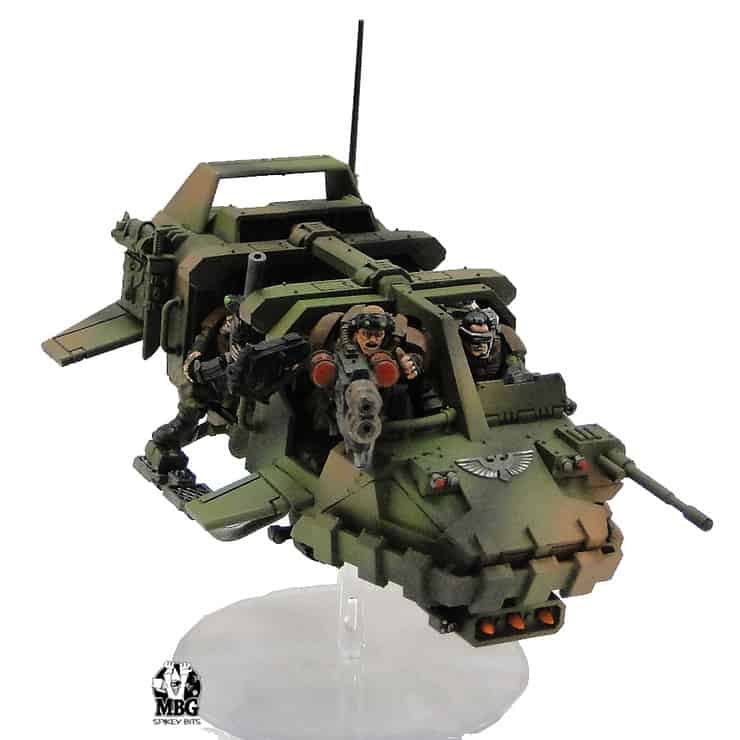
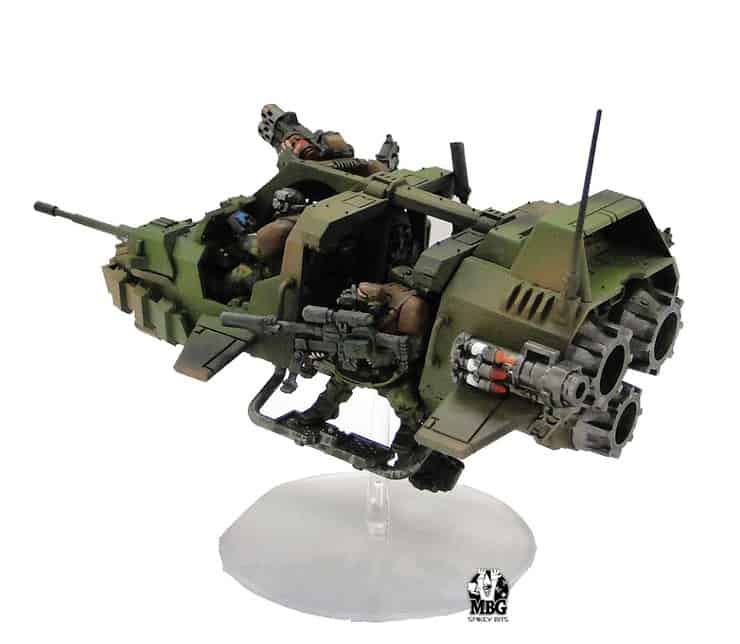
After priming the whole thing black, he “base-coated” it with Camo Light Green (Vallejo Airbrush Paint).
Then he used US flat brown, and just painted in large blob-ish patterns that look natural, no straight “man-made” lines. Next he came back and cut those blobs with some Dark Green from the same airbrush line, making sure to stagger them apart from each other.
Last he lined the larger left over Camo Green areas with a small line of black to break that profile up as well.
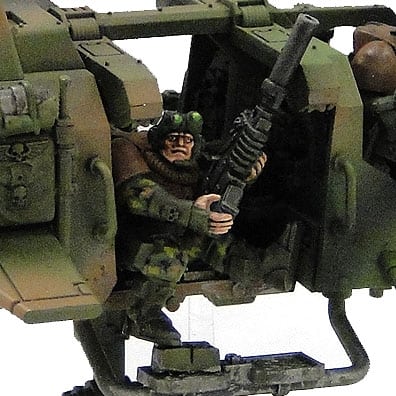
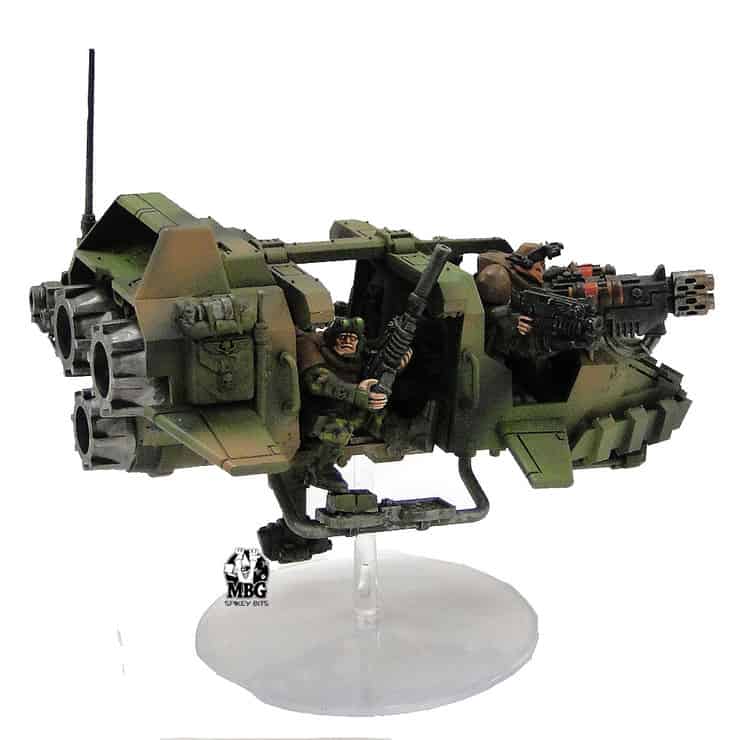
The crew’s fatigues were painted with blobs of the US Flat Brown, Camouflage Light Green, and Black (similar to the speeder’s armor). Their carapaces were painted Calthan Brown, and washed with Develan Mud.
To keep them “tactical” all the weapons were painted Codex grey and washed twice with Badab black.
Check the Three-Sixty below, and be sure to comment if you have anymore tips!

Using an airbrush really cuts down on the paint time, he painted this completely in only a few hours. If you are in the market for an airbrush, these are the two I have used and would recommend. -MBG
Grex TS
Iwata Eclipse