Airbrushing Tanks: Afrika Korps Panzer Style
 Hi everyone. For my first post on Spikey Bits, I’d just like to give some background. First, I am not a top-level painter by any means, especially compared to the great artistry we see on this site every day.
That said, I enjoy painting to the highest level I can, given the constraints of my time and talent. Second, I feel that for 15mm scale FoW models, the “Three Feet Away” rule is a good one to follow. That is: how does the model look from three feet away?
Trying to reach every detail on 15mm models can often look clunky and awkward, but basic techniques can make a model pop when playing a game (case in point: blacklining). Third, my favorite part of the hobby is actually playing games.
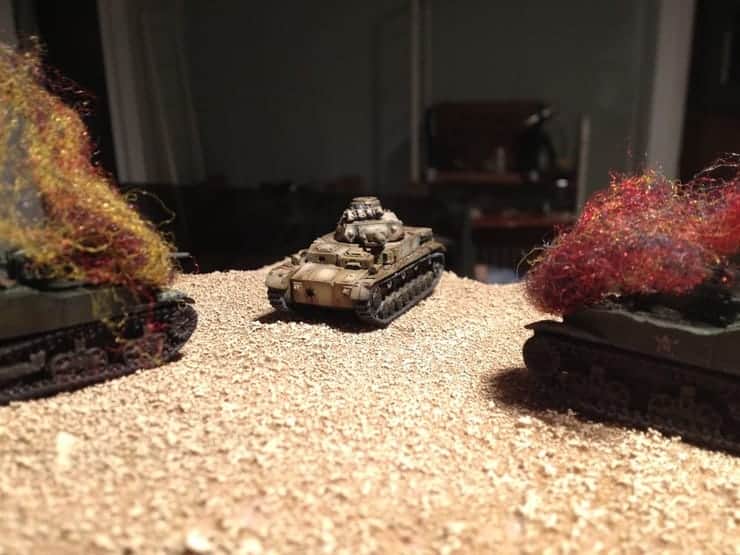
Loving it, even though I got smoked in this game.
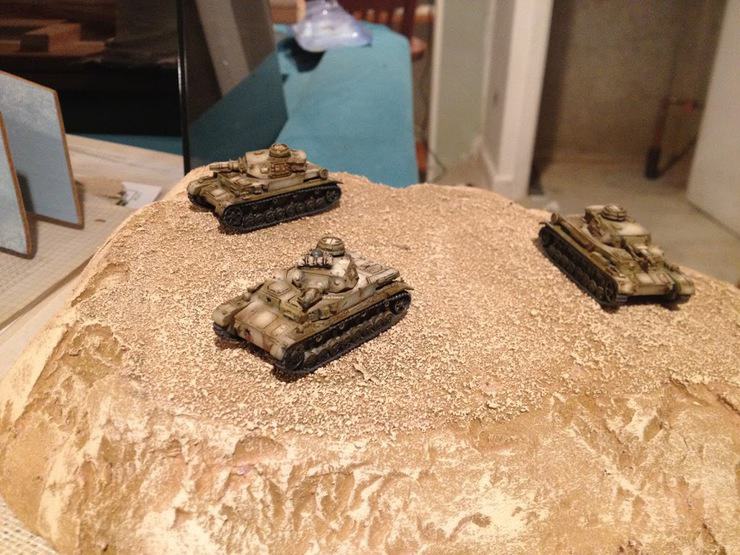
For years, my main FoW armies had been Finns and Germans. But this year I got sucked into the American forces, and was pretty successful in my local tournament scene. Looking forward to next year I think I will return to my German roots, beginning with the construction of my first Early War army: German Afrikakorps Tanks! My list will feature lots of Panzer IV tanks (and assorted variants); hopefully enough so that a lot of the models will work in Mid War as well. Anyway, lets dive in.
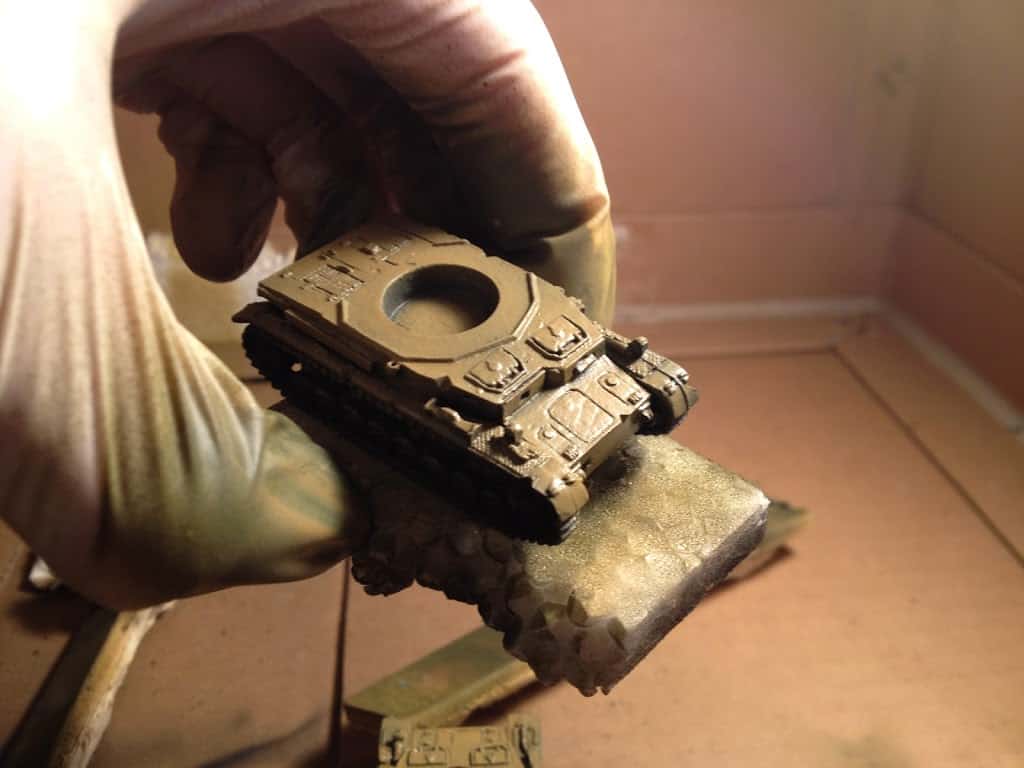
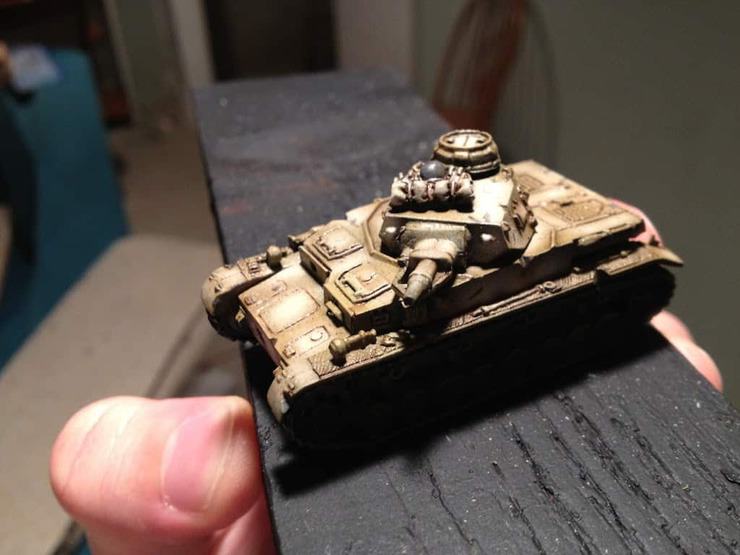
I wanted to give the 1iC of my tank force some character, so I knew going into the project that I’d want to apply battle damage to the vehicle, which I’ve never really done before. I used a file to chip away some armor and make some deep scratches. Shallower scratch effects at 15mm can be accomplished with a no.2 pencil during the painting stage. I also used a small pin-vice drill and exacto-knife to make a blasted hole in the hull. The other tanks were left alone, and really just served as test pieces.
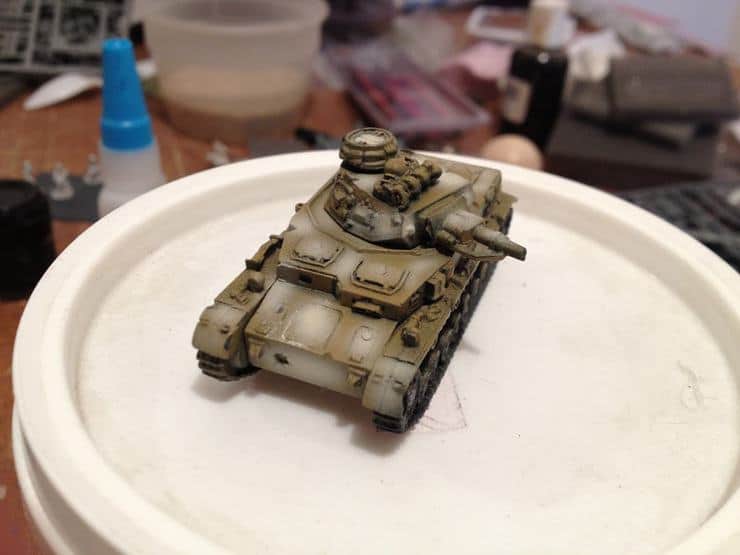
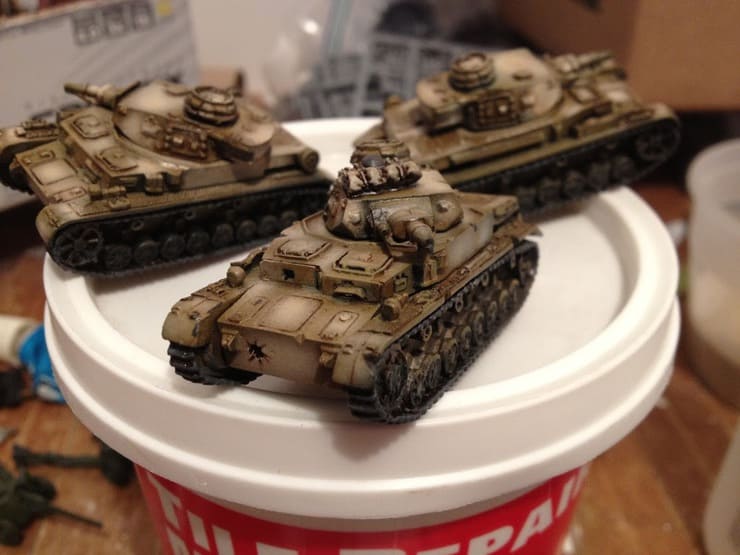
I started by airbrushing a basecoat of Vallejo Air Green Brown across the hulls of the models. Of course some got on the tracks, but it’s not a big deal.
You can see some of the knotches I filed into the hull.
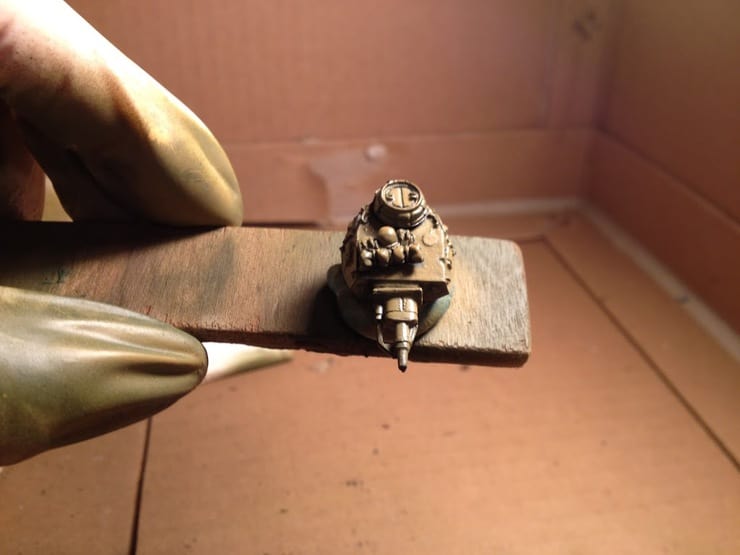
(stowage bits added to the turret)
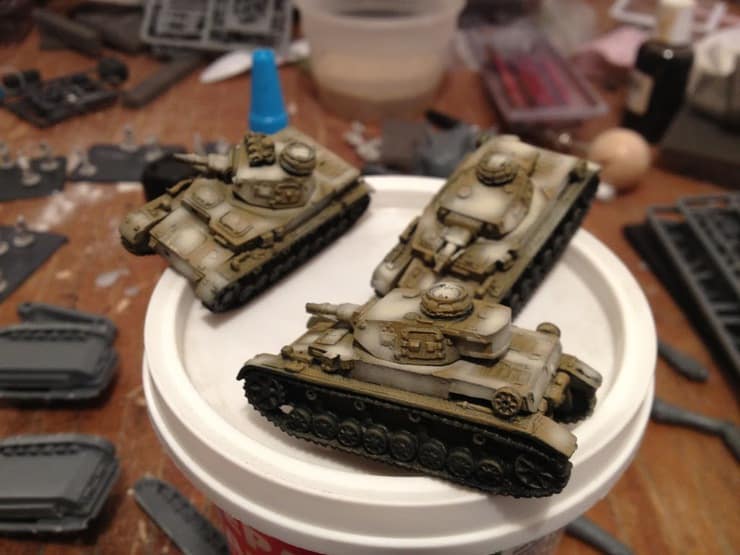
Next I used Vallejo Air Sand to airbrush a lighter color onto the flat areas of the model. I will have to try a new technique with the airbrush next time since I was having problems during this process, but I still think the results came out well.
It looks a little awkward now, but the future ink wash will blend everything.
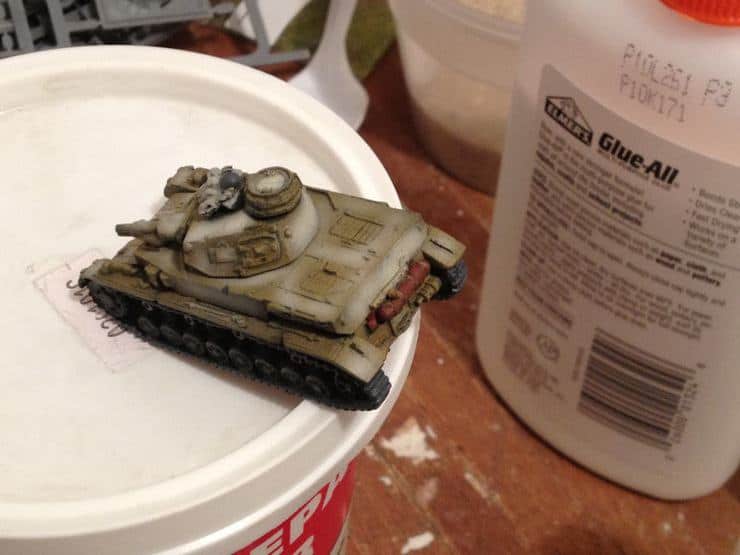
After that came the tracks. I just coated them with German Grey.
Next I started painting the details on the vehicles. Tools, stowage, wires, etc. I also painted the rear exhaust ports/fuel tanks. I follow Battlefront’s lead and use these areas to add contrast to the vehicle’s color scheme. For example: I paint the fuel/exhaust pipes a rusted red (Vallejo Cavalry Brown) and then use the foam packing from their blister packs to dab on some darker brown.
Now came the ink wash. I used Didi’s Magic Ink – Brown for this. No watering down; just straight out of the bottle. I used a brush to coat the whole model, including the tracks.
Not too shabby, in my opinion. The ink also holds well to my damaged areas.
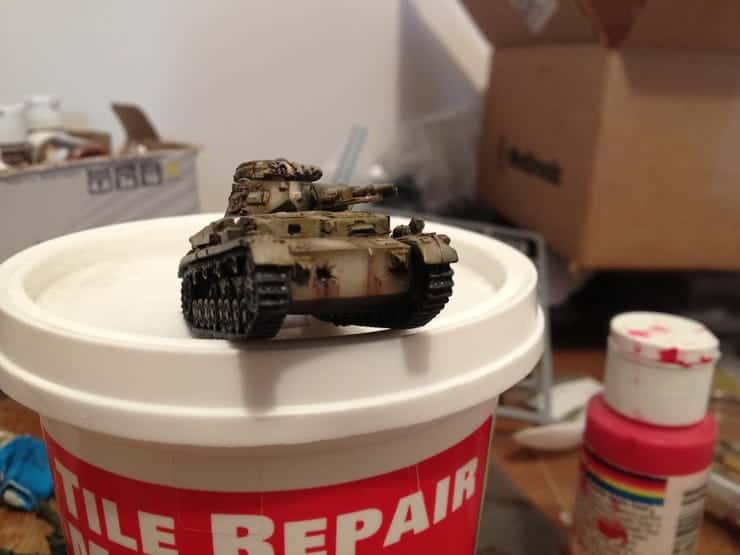
Now I had to make some rust/damage effects for my 1iC. A no.2 pencil was used to add assorted scratch marks at various points on the model’s surface. I used a very fine brush to gently stroke some red paint (choose a red that is brighter than the Cavalry Brown) leading straight down from the damaged areas. After applying the paint I would carefully take my finger and drag it along the paint in a downward direction. I then dabbed some reddish pigment underneath the affected areas.
Rust along the front.
With the always-spooky iPhone camera flash.
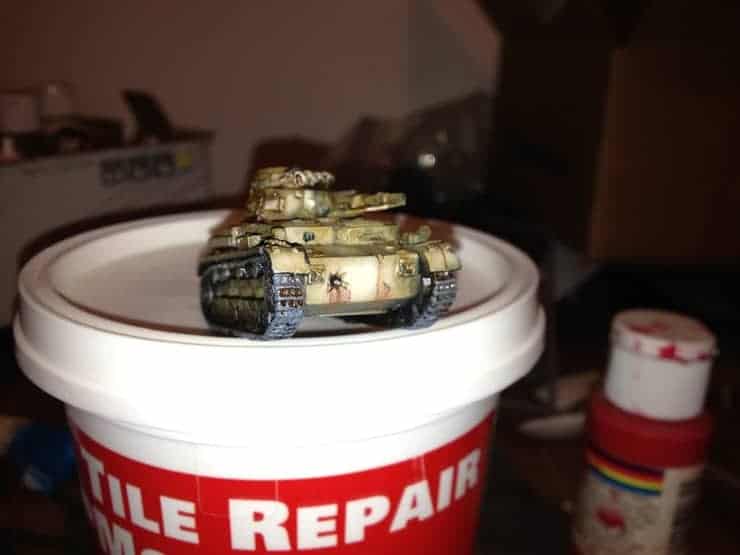
That picture above illustrates my first-ever attempt at battle damage, and I am pretty pleased with the results. Nearing the end, I was faced with a quandary Normally I use a dark brown pigment or paint to apply to the tracks and lower hull, which simulates driving through dirt and mud. But applying a desert-themed color would have blended too much with the paint scheme on the hull. Also, I had applied some decent damage effects, and didn’t want them to be covered. Ultimately I decided to get these models on the table as they were, and I just sprayed a coat of Testor’s Dullcote Matte Varnish on the models.
Not so tough without your tank destroyer friends, are you??!!
My one regret with this project goes back to my lack of experience as an artist: I wish I had applied better contrasting colors to the tools and stowage on the tanks. Overall though I am pleased with the results. Hope you enjoyed reading this article.
Wundewahr! Be sure to checkout Parker’s great FoW Hobby blog over at
D Minus One -MBG
If you buy something from
a link on our site, we may earn a commision. See our ethics statement.