Maggy M here with the follow-up to my first photographing miniatures article a few weeks ago.
Now that we’ve discussed the primary piece of equipment that will be the key to great miniature photography, the camera, there are a few more items of importance as well.
Tripod
There are a lot of different types available but a mini, or flexible tripod is the ideal option here. These two types give you the best chance of getting to the right height when working on a table taking your photos.
Various brands are available, and they usually cost less than $30.00. Now mind you, if you’d rather use a sandbag or something similar, that’s fine too. Basically we are looking for something that will keep the camera steady so you can get good crisp shots without the worry that shaking may ruin the photos.
Some camera kits may come with one, or some photo studio kits available may come with one as well, so if you don’t have one, shop about and see if there’s something else that you may like that a tripod may be included with.
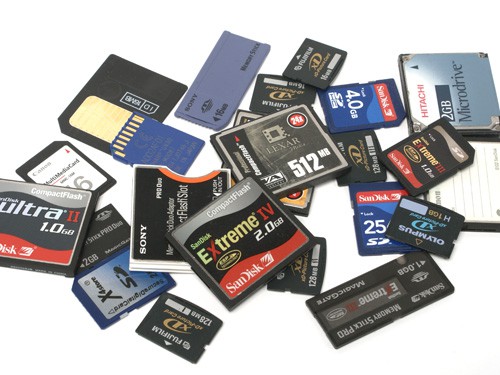
Memory Card and Reader
For most cameras this is the standard storage device that you will use. Some cameras have compact flash cards instead, but have the same function, store images for you to retrieve at a later time. Some computers and laptops have various forms of card readers built into them. If you have one built into the computer you’re using, the USB card reader is unnecessary.
I suggest using the built in reader (if applicable) or a USB card reader rather than plugging the camera into the computer via USB cable (otherwise known as tethering) for several reasons:
– Less drain on the camera battery (Key if you camera uses alkaline batteries and not Ni-Cad.)
– Speed. You can work faster from the card directly instead of having to go through the camera itself.
– Ease. If you fill up cards while shooting, you’re already removing this. It’s also much easier to copy images and delete the images from the card when working directly with it. On average, you will save anywhere from 10-45 minutes or more depending on the number of images you’re removing from the card. Also facilitates cleaning the card out afterwards, as you can simply highlight them and delete them rather than go through your camera to do so.
– If you’re using a built in card reader, you don’t have to install any software.
They are fairly straightforward to use, as you follow a couple simple steps to have access to your images. Generally you remove the SD card, following any manufacturer specific directions for removing it from your camera, insert it into the reader before you insert it into the USB port, then plug into your computer or laptop USB port. In no time at all you will have access to your images via a menu on your screen.
With using a card reader, it is just better practice to put the chip into the device and then plug it in, and reversing the process to remove it, after ensuring you shut it down via the “Safely Remove Hardware” button that will show up on the right side of the toolbar (small icon with a USB plug image and a green checkmark). Make sure to follow the proper steps to remove it from your system so you don’t possibly inflict damage to the SD card, reader or computer.
Light Box and Lights
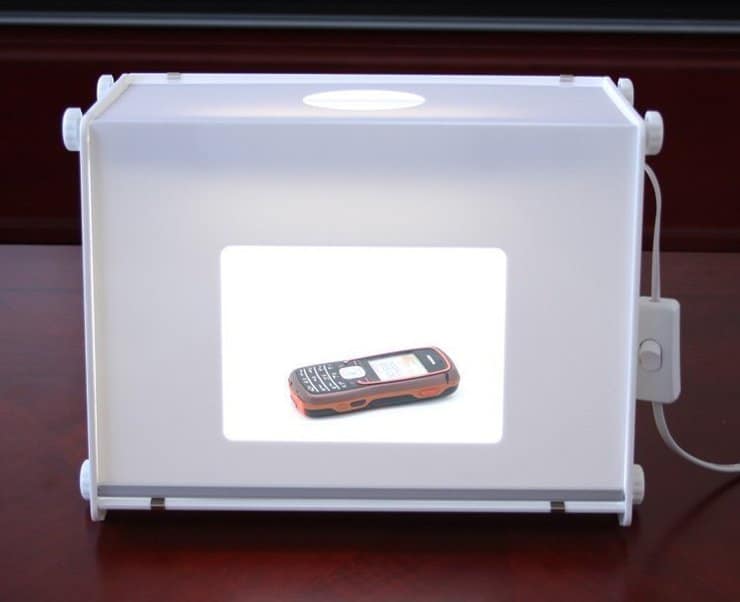
When it comes to a light box there are several different options available.
You could purchase one online, such as this great combo kit from Think Geek (http://www.thinkgeek.com/electronics/cameras-photography/a205/ ) find plans to make your own (easily searchable in any good search engine, there’s lots of versions available if you want to try your hand at this) or borrow one if you’ve got a friend that happens to have one.
Just remember when constructing it that it needs to be made of a thin white material, be it vellum, light cloth, or something similar. There are advantages and disadvantages to whichever of these you choose, as well as personal preference, and budget that will ultimately help you make the final decision.
Effectively they all provide the same thing, a small space that you control the conditions within so you can get the best images of your miniatures possible.
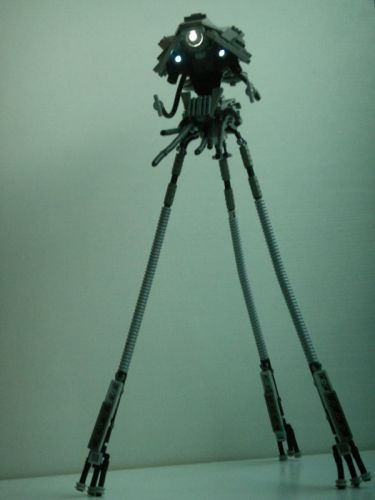
Lights are also important as well. Ideally, a small pair of lights that will allow you to direct the majority of its beam at the sides of the light box, effectively making the light box glow. These don’t have to be huge lights that regular photographers use when doing shoots with models, just small, compact white lights. Remember you’re trying to light up the box and produce a glow within the box that will show your model in the most favorable light.
Yellow or another colour will tint the box unfavorably, causing the colours not to be accurate. Either the bulbs that show “real colour” or standard white are the best options. Remember that small lights tend to get hot very fast, so if you’re doing multiple shoots, they should be turned off between miniatures.
Misc.
There are a lot of small things you should have as well, some may even seem insignificant when mentioned, but they help a great deal in the long run. Some of these are just a recommendation to facilitate your experience in miniature photography.
Power Strip
Because you’ll be moving the lights around a bit to get them in the best spot, a power strip to work from is handy, giving you extra room and helping keep all the cords in one area, making the area less likely to be at tripping hazard.
Backdrop Material
Because the models you photograph vary as much as the weather, various colours of material to use for backdrops are a must. A good selection of backdrop colours include: Black, White, Red, Blue, Green, and Grey. You can make your own in Photoshop and print it out, such as clouds or another type, but inexpensive pieces of material really work well. Solid colours are best, so you don’t detract from the model, and they should average about 24” wide x30” long. It should have a bit of weight to it, especially in the case of a light colour, so light doesn’t go through it. When you’re not using these, either carefully fold them or roll them up and store them in a safe spot. Wrinkled backdrops tend to have uneven colouration when lit, and can detract from the model itself.
A large well lit area to work in.
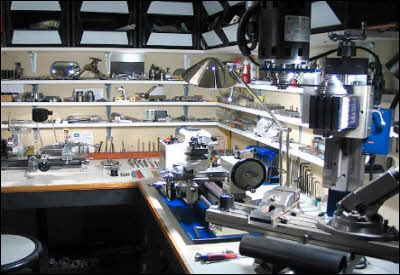
Natural light is a wonderful asset but not necessary for good photography when using a light box and lights. If you’re working in an area with little natural light, you may simply need to add a bit more to get a great situation. It’s much easier to add light than it is to remove it, if you are working with a combination of natural light and artificial. Having a large area to work in allows you to get the best possible light for your photography, as you have more room to work with, whether you need to add more lights or adjust how far away from the box they are.
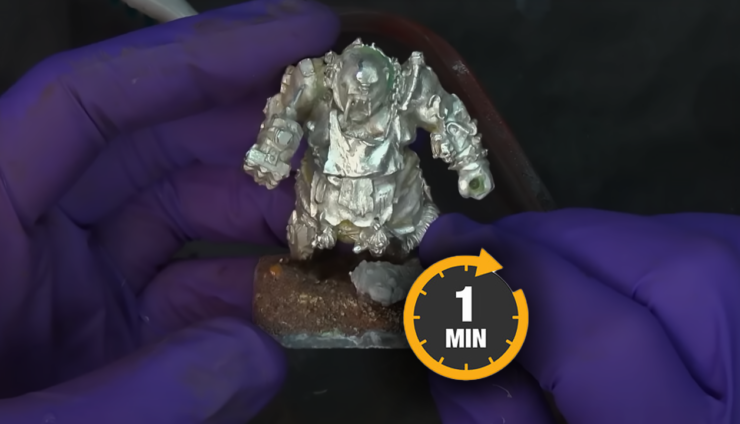
In general, a few minor things to point out to help avoid frustration. Remember light colours reflect light and dark colours absorb it. Miniatures varnished with matte varnish are ideal candidates to photograph. Gloss varnish will make it harder to get good angles without a lot of reflections and shiny spots. Boxes can be your best friend. You can use boxes under the backdrop to elevate the model, if need be, to the same level as the camera on the tripod. Just make sure the box doesn’t have writing that will show through once the area is lit.
Next up: Step by Step Photos of Setting up a Shoot.
Be sure to checkout my blog Red Stick Studio, for more articles on the artistic side of miniatures!