Parker from D-Minus One here, A friend of mine at the store was looking to get some models painted up for an upcoming battle report that he’s doing for his own gaming club’s publication.
He wanted to continue to use the SS Panzergrenadier list out of “Nuts” that was so successful for him in the tourney, but he was stuck using a pile of unpainted figs. I have been looking to try my hand at a commission for a while, and so I offered to paint his two Sturmtigers for $10. He agreed, and so began my first commission!
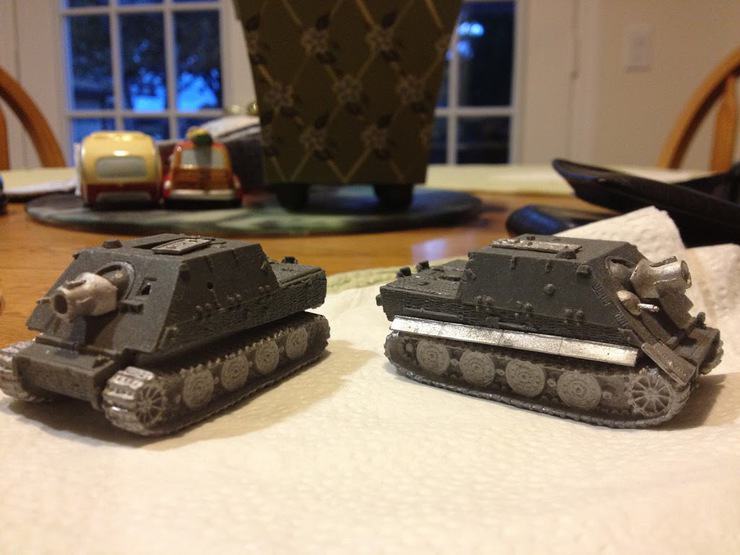
I started by airbrushing a coat of Vallejo Dark Yellow over the models. As an aside, airbrushing these models was probably the most frustrating airbrushing session I have had so far. My compressor was giving me shit, the paint wasn’t mixing well with the thinner – just a bunch of little mechanical problems delaying my progress.

After the Dark Yellow I applied the Camo Brown. In hindsight I definitely should have done two coats of the brown (spray, let it dry, then spray again) but I didn’t have enough confidence in my airbrush and my own abilities to risk ruining what was already a pretty good first coat.


After the brown came the green, which is applied in less quantities than the brown. By now the airbrush and compressor were really acting up, so there were a couple mishaps with the green.


I then started the detailing. The metal parts (shovels, axes, and the treads) were painted with German Grey. The handles of the shovels and axes were painted with some sort of brown I had lying around. Most notably I used Cavalry Brown to paint the exhaust pipes, and then dabbed a little brown onto the pipes using foam to show a little wear and tear. I also added a few “scratch marks” using German Grey and a No. 2 Pencil. This was all followed by an ink wash using Didi’s Magic Ink – Brown.
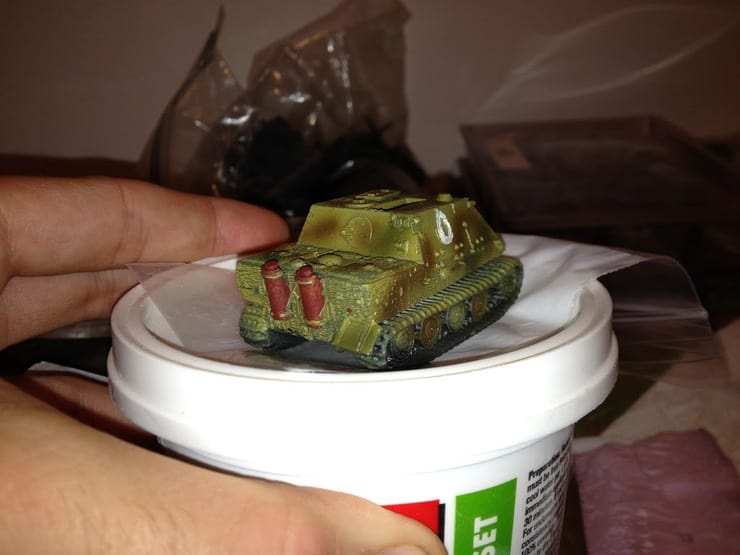
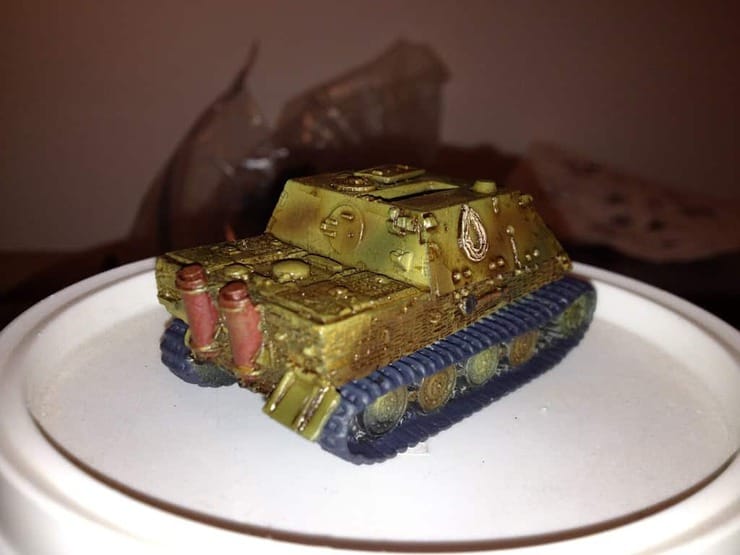
My now very shiny model was nearly complete. I applied some Burnt Sienna Pigment to the treads to make them look worn and rusted (at least, that was the idea), and used a No. 2 Pencil to add a few more scratch marks on the hull. Finally, I applied a spray of Testor’s Dullcote.
And that is the finished product. You’ll notice that I still have a lot to learn about using inks to simulate a rust effect (look to the right of the gun barrel’s shadow), and I really wish I could re-do the tracks (trust me, they do look better in person, but still not great). Overall though I think my buddy will be happy with the results. I hope you guys are seeing what even beginner-level painters can accomplish with the right tools and a plan.
Thanks for reading. Be sure to checkout Parker’s great FoW Hobby blog over at D Minus One -MBG