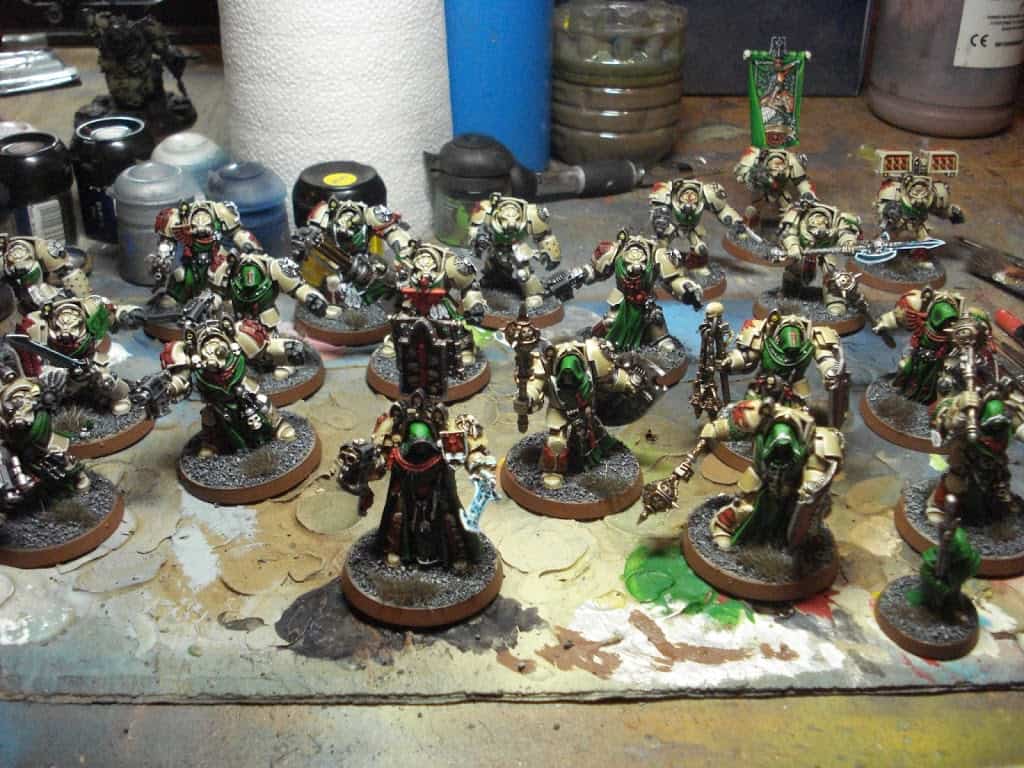
Hey guys, Rage of Khorne here from The Order of Chaos going through how I “speed painted” a small force of Deathwing Terminators.
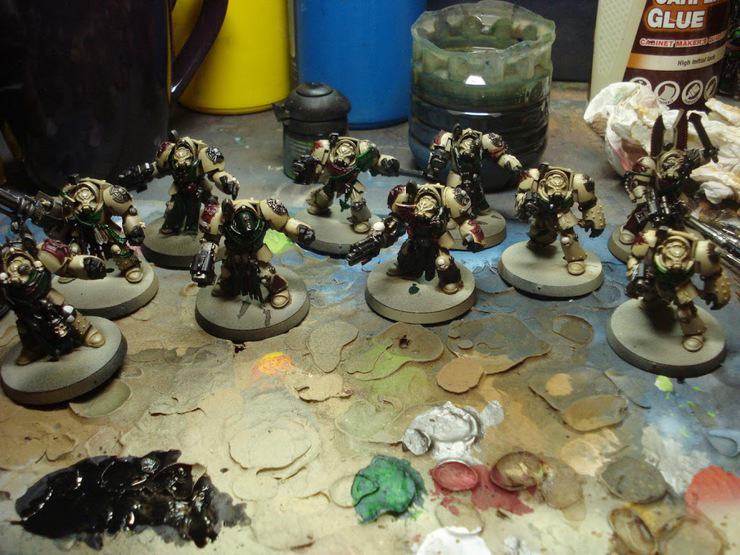
I started off by spraying the models with chaos black primer and then giving them a thorough covering of XV-88 Paint. I then went over the models with an air brushing of Ushabti Bone but left some of the XV-88 in the cracks and crevices. I then started adding the base coats.
Time saving technique 1: Airbrushing – I don’t use airbrushing to create a fade on the models very often but I love how smoothly it covers. I used airbrushing for the XV-88 spray and the Ushabti Bone spray to speed up my progress on the models as it covers more quickly and smoothly than doing this step by hand.

Time saving technique 2: Coverage over neatness – When base coating the models I try to focus on the basic coloured areas of the model and paint right over top of the details. I’ve noticed most people tend to paint around details and are afraid to paint right over them but unless you are adding a ton of layers, it shouldn’t cause you too many problems. Also, keep in mind that you don’t touch the bone colour with your paints as this is the only area of the model that doesn’t have very many stages of painting left to do and fixing light colours takes allot of time.
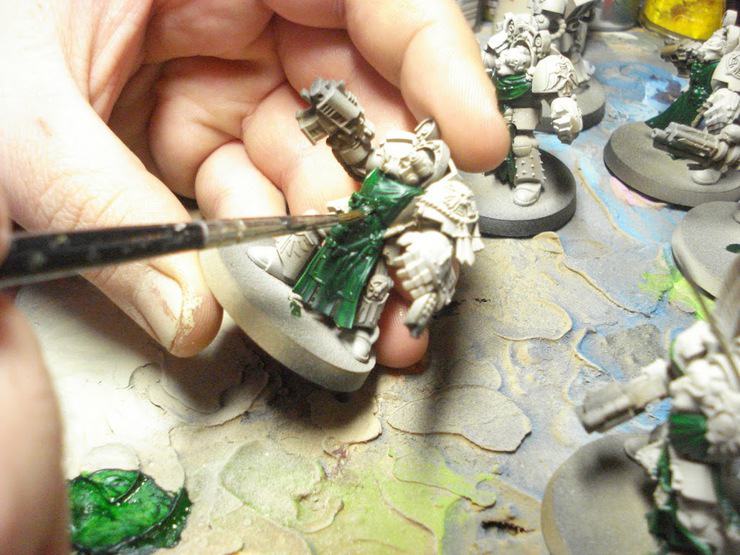
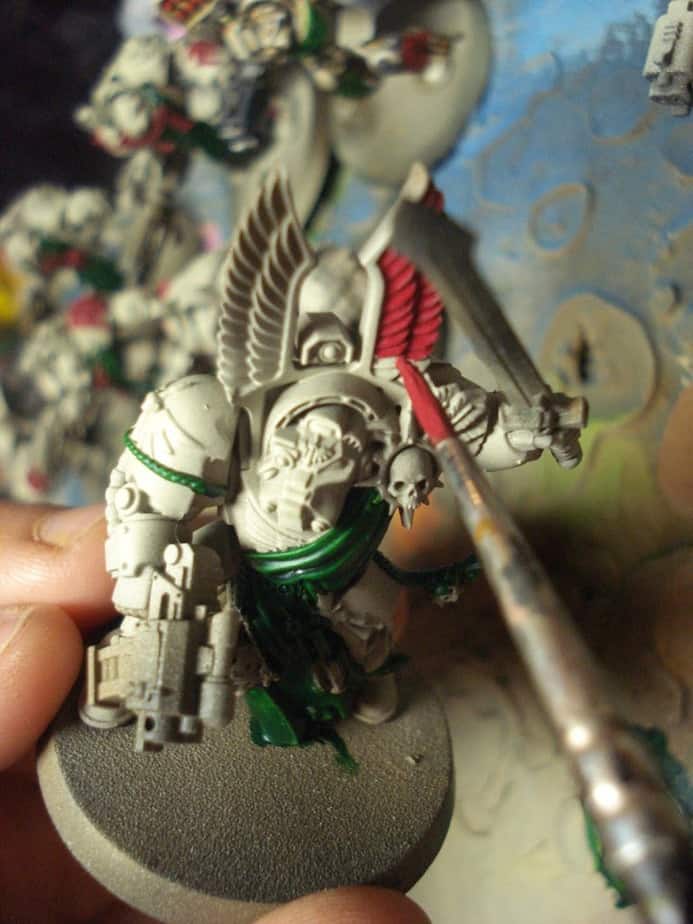
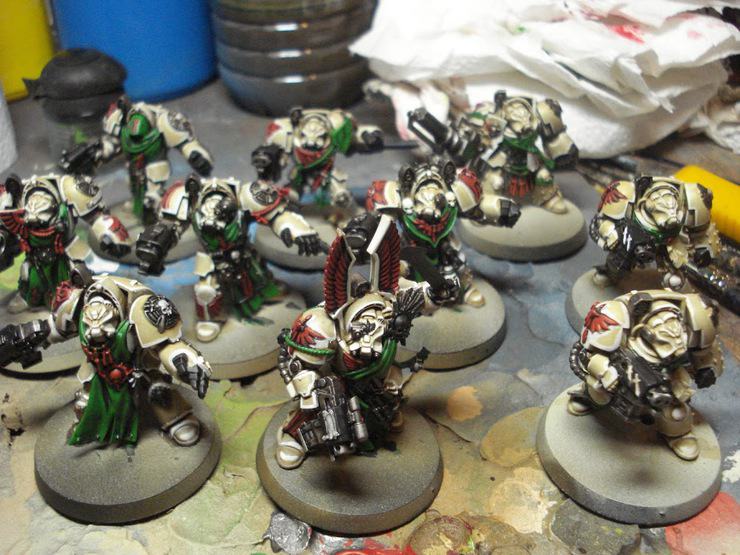
Time saving technique 3: Extra watery paints – If you have a fairly steady hand, try adding a little more water then you are usually comfortable with. The colours will flow onto the model allot quicker and cover more thoroughly without leaving spots unpainted base colours. This trick is shown as I paint the Caliban Green and Khorne Red onto the models. You’ll notice the bone colour bleeds through the red and the green a little bit which would usually look awful but because I will be adding more layers of paint later, you can hardly tell it was ever a thinner layer of paint.
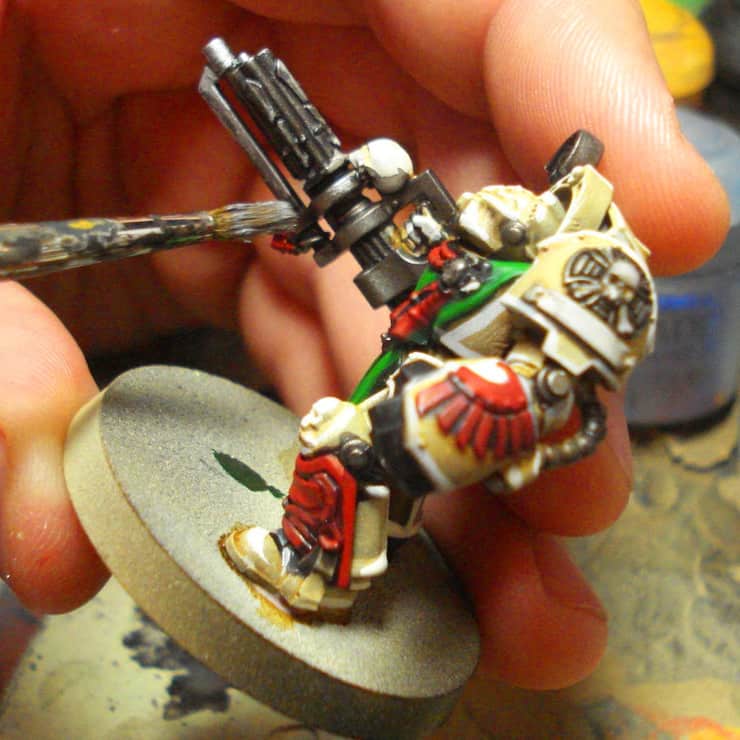
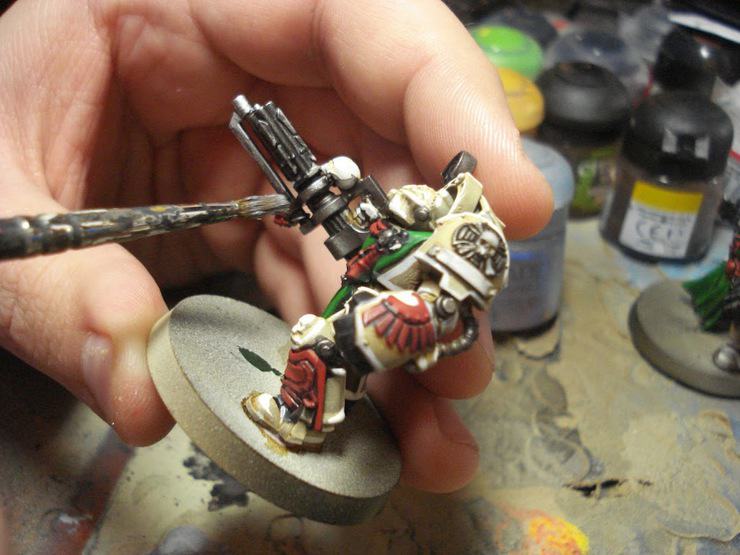
Time saving technique 4: Brush sizes – When painting a model, use the brush size that can cover the most area quickly without ruining other details or making a mess. I often switch brushes to paint different areas of the model that can be accessed more easily. For example, when I painted the metal on the models I used a large brush to paint the guns because they are away from the main body and are fairly large. Once I finished painting all the guns, I switched over to a smaller brush and started painting all the metal areas that were more difficult to get at. I often see people doing base coverage coats with a detail brush instead of something more appropriate for the size. This not only saves your detail brushes quality for when you need them, but it can save you money on replacements.
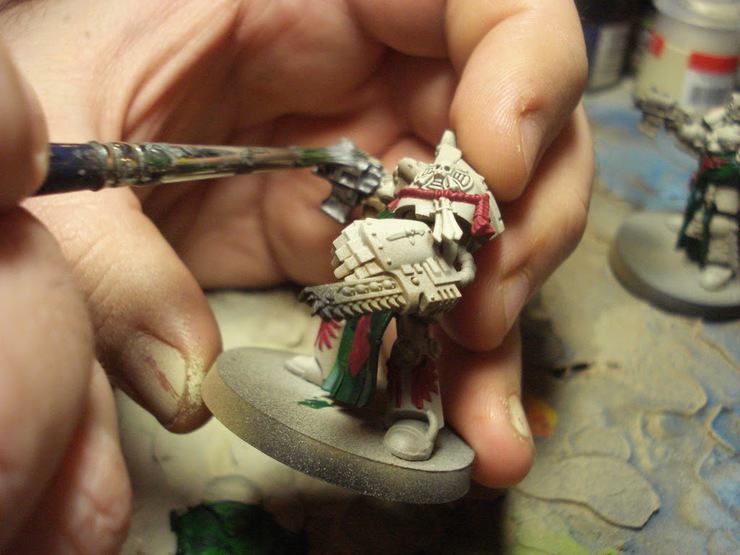
At this point I finished adding the black and white details to the Terminators and started applying washes. The washes I used were Seraphim Sepia for the armour and Nuln Oild for the metal, red, and green areas.
Time saving technique 5: Watering down the washes – When I speed paint using washes I tend to thing them down allot to make sure that if they puddle or collect in areas, they don’t stain the pale colours. The Seraphim Sepia was a good example of this technique; I watered the wash down 1:1 and applied it over the armours surface and on the skulls. The Nuln Oil was watered down less because I needed the harsh lines to show up in the armour and the red areas.
Time saving technique 6: Don’t be too picky, everything is fixable – When I’m highlighting my models I like to get into a rhythm and not stop painting either until my pallet is empty or until the step is finished. This is important because it keeps your speed consistent but it does create a common problem. When people get into a grove you may notice you are being less neat and tidy and your highlights get a little thicker than they would be usually. I used glazes of the base colour to hide these inaccuracies which helps smooth them in. If you really make allot of mistakes, take your time with the final steps and clean them up once everything else is finished. Acrylics are great because you can always go back and fix your mistakes or at least try and hide them.
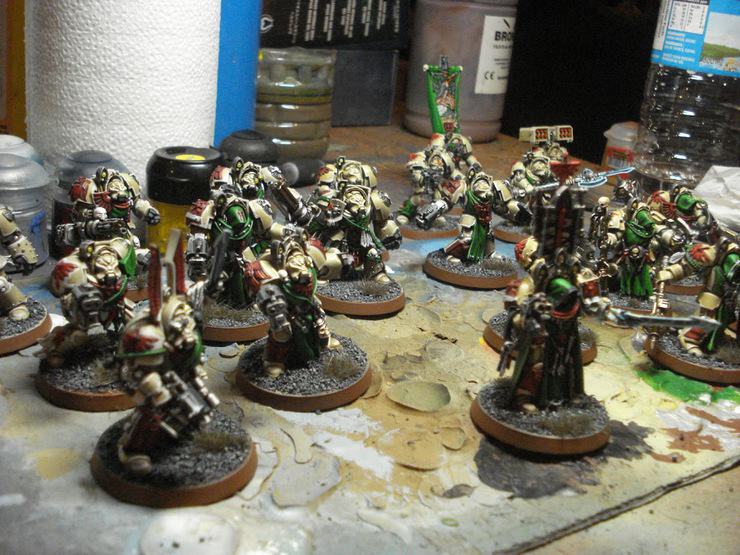
Time saving technique 7: Know your colours – To highlight the red I used a combination of Mephiston Red and Balor Brown which comes out as a fairly opaque mix. This mix was good for highlighting the red as it only required one coat and remained fairly bright in tone. The main issue with highlighting red is that if you add most light colours like white or yellow you can dramatically change the colour to either pink or orange. By adding a yellowy brown the mix retained its redness but highlighted up well. Knowing your colour theory and experimenting with different mixes is a great way to improve your speed.

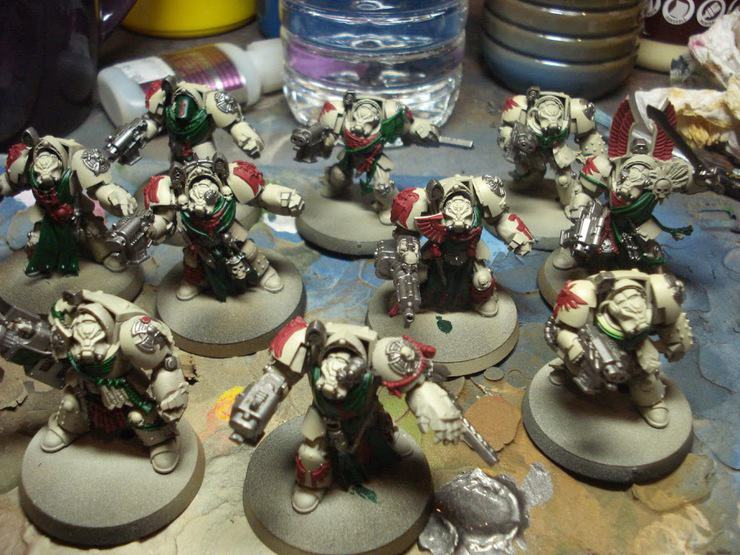
Not including drying time this unit of 10 Deathwing Terminators took just over 6 hours to finish including the basing. Hopefully some of my tips will help with any speed painting experiences you have in the future J.
If you buy something from
a link on our site, we may earn a commision. See our ethics statement.

About the Author: Rob Baer
Virginia Restless, Miniature Painter & Cat Dad.
I blame LEGOs. There was something about those little-colored blocks that started it all... Twitter @catdaddymbg