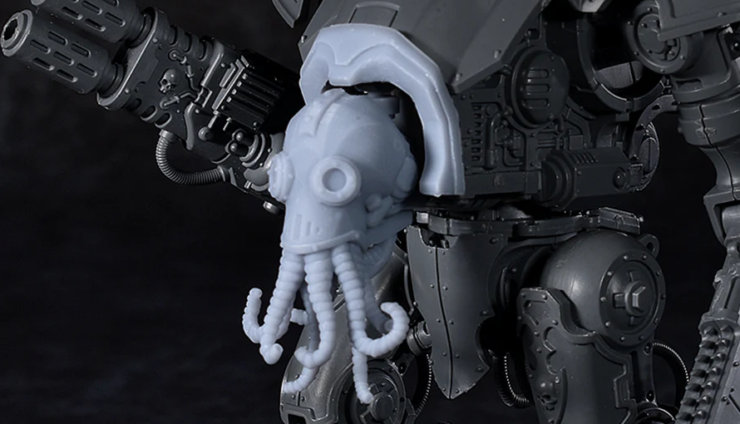
Hey guys, Rage of Khorne here with another article and this time it’s all about the new Imperial Knight Titan.
This project was going to be for a friend who wanted to add a knight to his work in progress Catachan army and he wanted to try and get the feel of his Catachans while still having some of the cool icons, hazard stripes and details present in other knight houses.
What follows is how I painted and assembled the knight titan in a few hours of work.
After assembling the basic frame of the titan I primed the frame and armor plates separately as they would be painted separately.


I used an airbrush to paint dark silver onto the frame and arms as they would be getting several layers of wash treatments to get an aged and weathered appearance.

The first wash was a simple black wash and the second was a medium brown wash. If I have a hard time finding the right color of washes to use I substitute some of the colors with watered down colored India ink.

To show rust effects on the underside of the frame I applied a thinned down wash of Skrag brown and then wiped the raised surface with a damp paper towel.

This application was focused on the areas where joints met and areas covered from the elements.

The metal areas of the model still looked fairly uninteresting so I applied a liberal coat of brown wash to select metal areas to give the effect of different metals being used. This often required the wash to be reapplied several times.

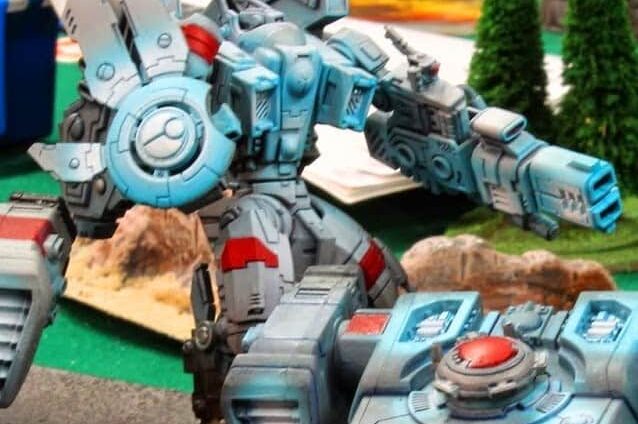
Wires and cabling was painted in a variety of blues and oranges and in most cases I would apply the paints thickly and then highlight them. In the case of the knight I instead applied thinned layers of the paints and left them highlighted. This not only left them looking worn and old but took far less time to paint.

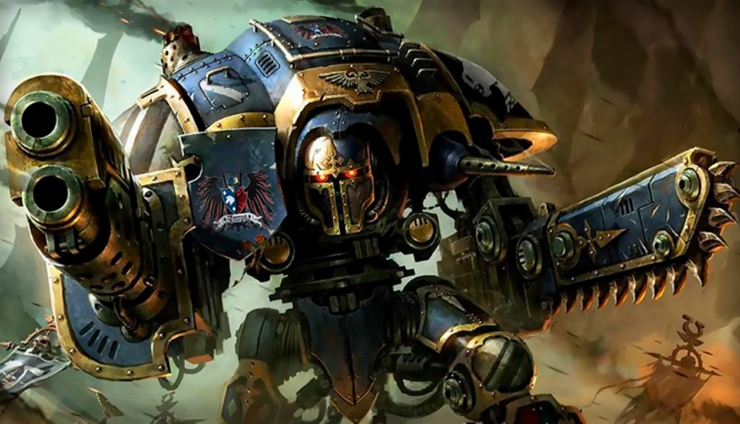
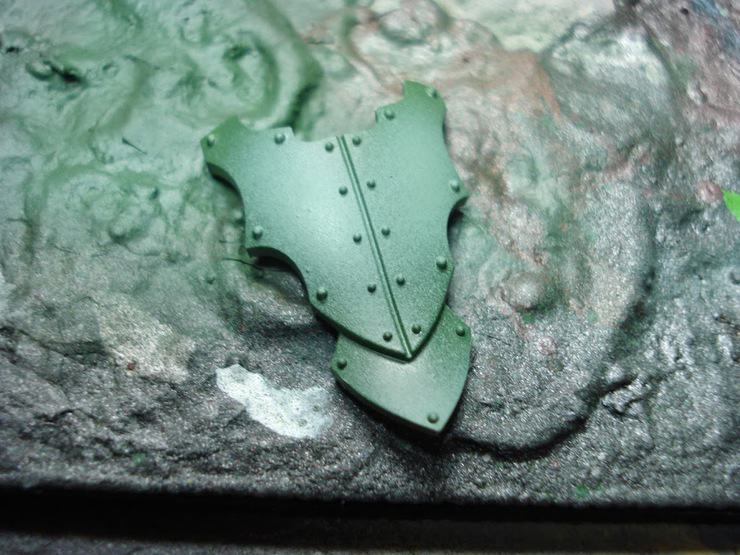
The armor plates were then divided between the ones that would have camouflage patterns on them and the ones that would end up being mostly green. I used an airbrush to paint and spray-highlight these pieces.

The camouflage plates were given a patched application of yellow and green which would be the foundation for the design.

I then worked to detail the camouflage by dry brushing darker greens into the middle of the green patterning which helped to deepen the contrast.

This process was repeated several times all the way to black. Several small black dots were added to the design using the back of a brush and gently dipping it into a paint pot and then onto the armor. The trim was then painted to match the metallic areas on the rest of the model.

The trim was then washed and highlighted to match up with the frame.

Skrag brown was then used to weather the shoulder and shin plate.

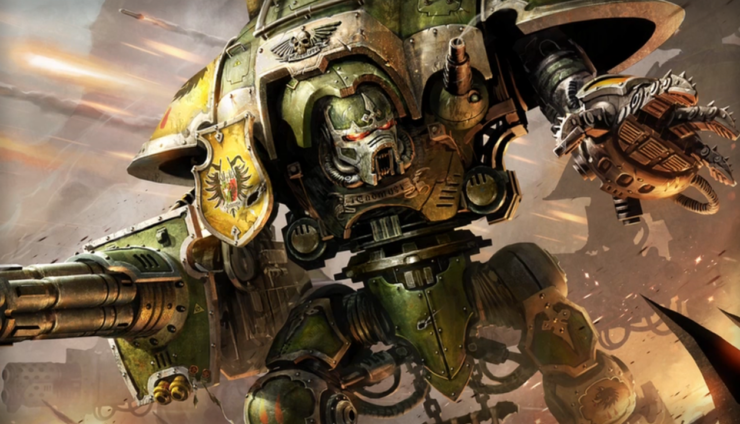
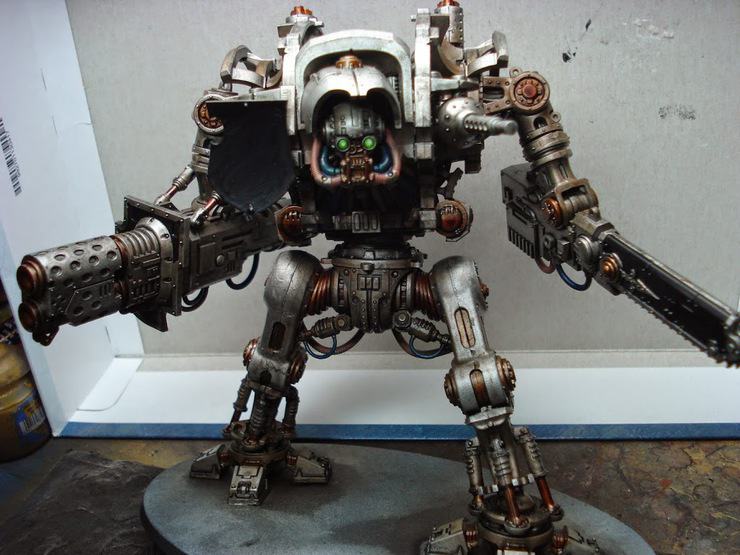
The finished model with hazard stripes and free hand.


Add some extra swampy looking basing and he fits right in.

If you buy something from
a link on our site, we may earn a commision. See our ethics statement.