In this installment we will be looking at a cut down version of the lasgun- the las carbine.

I use this weapon for my veteran squads to help distinguish them from regular troopers. All that you need is a Cadian pattern lasgun, a few different thickness’s of plastic rod and a sharp knife and modelling file. So onto the tutorial…

An Example of the rod sizes you will need.
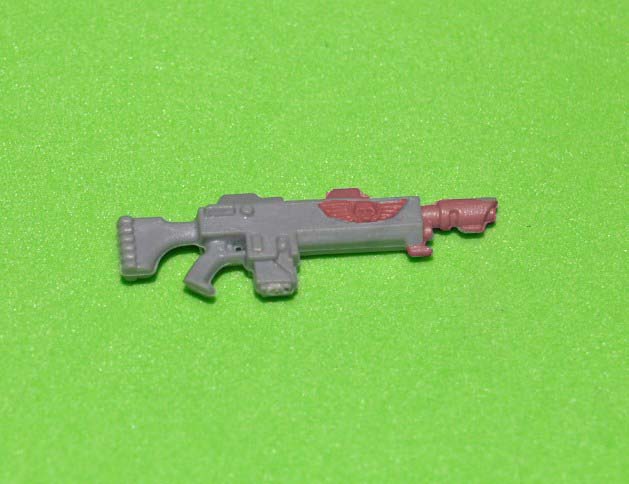
So the areas in red above are areas that will need trimmed off. Its not clear in this picture, but the top mounted sight needs to be cleaned flat as well. Its much easier to see where to cut in the next picture…
With the eagle removed, the front barrel and the top sight gone, we need to cut roughly five mm off the end of the gun casing, like so…

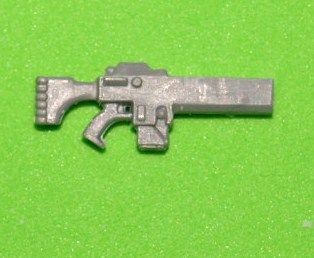
Then remove the area marked in red by making a straight cut through the gun along the pink line.

You should end up with something like this…

At this point I like to add a slight diagonal edge along the weapon casing, to smooth the lines a little bit, and make it easier for guardsmen hands to hold the weapon.

I simply scrape a sharp knife along the edge of the casing until I get a smooth level line. Then I remove the grip detail on the weapons’ stock and drill a hole in the front of the weapon for the barrels to go.

The barrel is going to be made out of two short pieces of plastic rod. The thinner of the two rods will be glued to the casing, placed in the hole I have drilled. The thicker piece will be glued on the end of the smaller piece, as weapons muzzle.

And in the end it should look something like…

Here are a few examples of the weapon on my veterans…

Above I have added the scope, the tutorial for which can be found on right here on Spikey Bits.


You can Check out more of my Guard regiment on my blog.