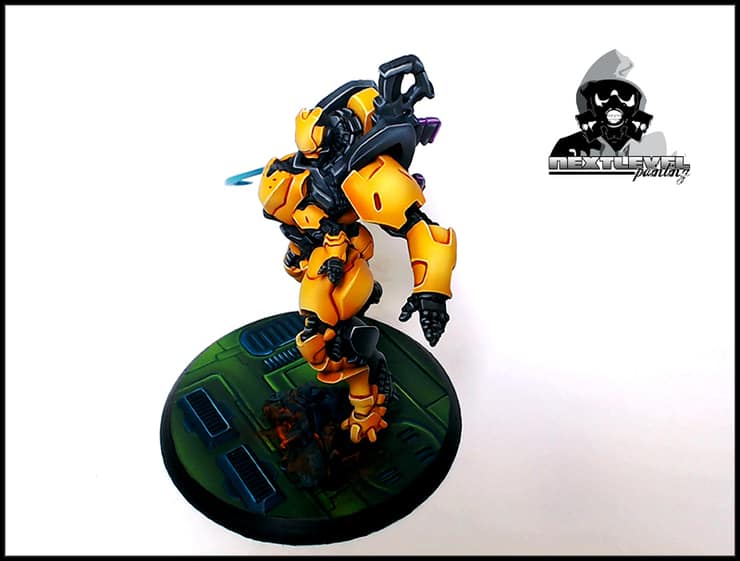
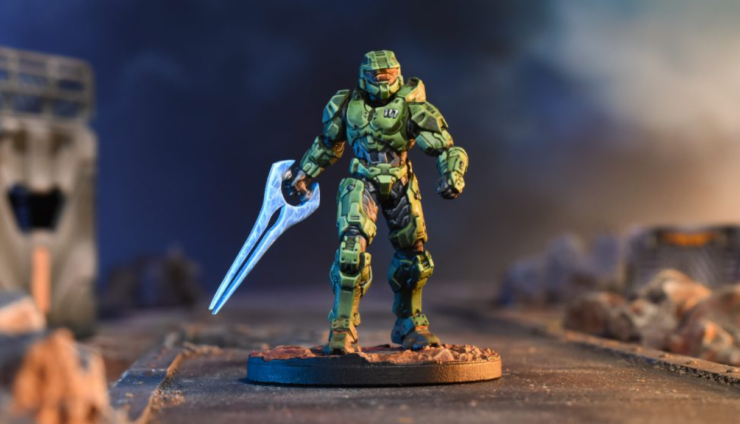
Checkout the secrets to getting your yellow model to the table top standard, and hit all the key points on a painting rubric at a tournament.
You can get a model to this level and then continue to work on the models to get it to the next level. Have all the fun with these table top models, and then come back and edge highlight your entire model.
Things you’ll need:
- Black
- German Grey
- White
- Prussian Blue
- Blue-Green
- Black Wash
- Acrylic Varnish

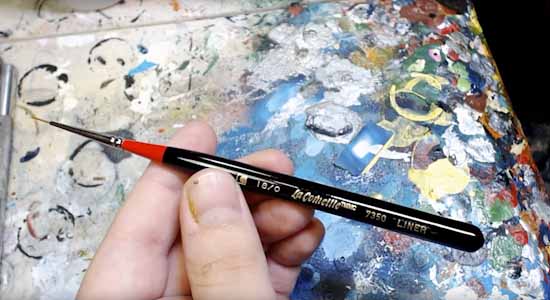
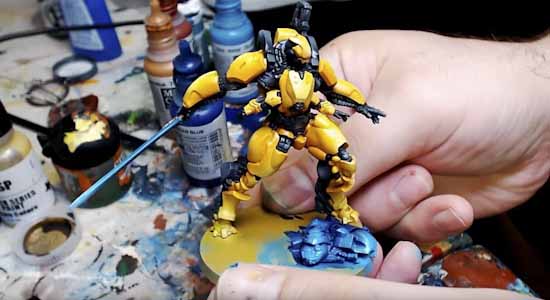
Step 1. Get your brush and get all the areas that are really close to the yellow so that you don’t get black on your yellow.
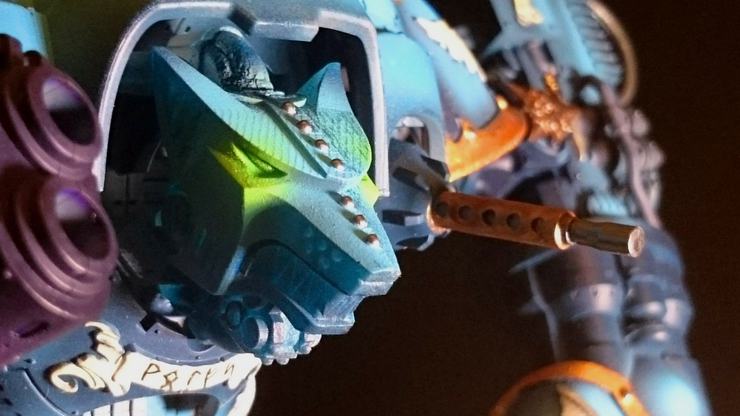
Step 2. Go over the under armor parts with black and German Grey. It’s amazing, it gives us insane amount of contrast with this yellow and the grey gives depth to the black.
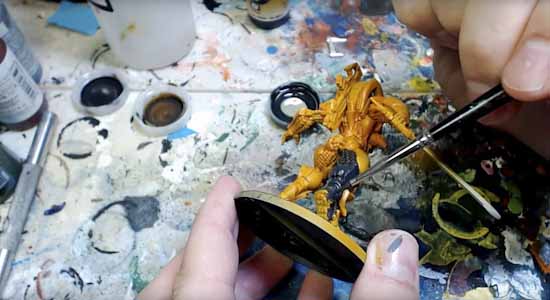
Pro-Tip: Go slow, you can send small particles of this black paint on the surface if you start moving too fast.
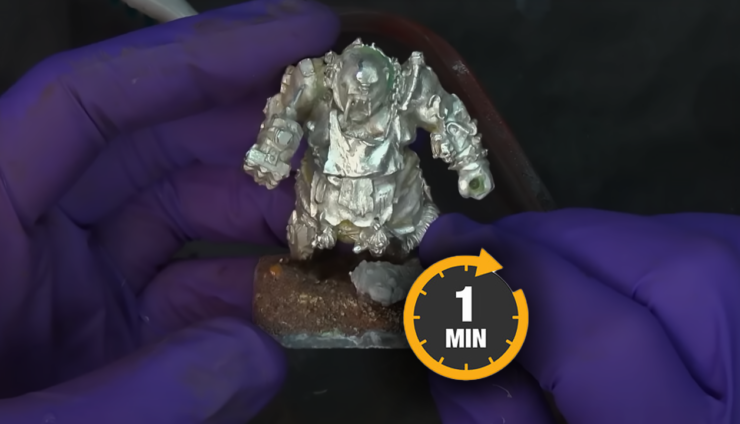
Note: We Gloss Coated and then Matte Coated this model before hand in order to protect this model as much as possible because these pewter models chip. This is almost a pound of pewter. The satin finish is letting the paint flow. It does help the black paint find the area’s right up next to the yellow armor with as few brush strokes as possible. But this is advanced so you might not want to start with this right off the bat.
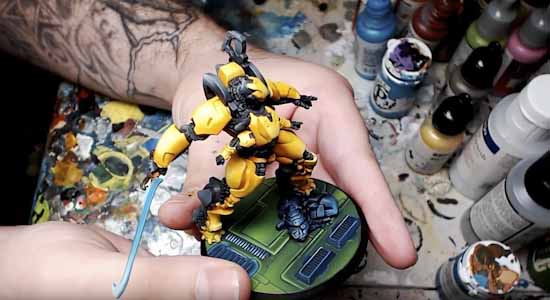
Step 3. Use a bigger brush and get the big flat area’s. I’m giving the yellow a wide berth. There are no shortcuts; you gotta do the work. I want you to know, I spent literally all day cutting this armor back right. If you’re watching something in the background, turn it off and focus on this part.
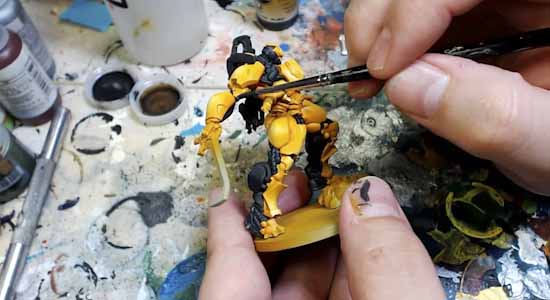
Step 4. German Grey and Airbrush Flow Improver. We’re going to drop some grey off into these bigger panels. You could liquid mask this, I don’t like it but you could, for now I’m just careful. I do tricks holding up some paper to block off sections.
Step 5. Add a touch of white from the center out. When you go back in that little touch will go a lot further.

Step 6. Pure white, off radial white on the final bit. You might have to go in with a brush too. Just the way it is.
Step 7. I’m using Prussian blue, which is what we used on the entire pan-Oceana army.

Step 8. Blue-Green and Prussian blue to round out that corpse under his feat.

Step 9. Blue Green and white to give one final highlight.
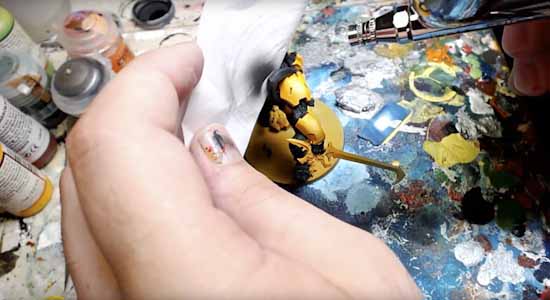
Step 10. We’re going to mix in some gloss acrylic varnish and airbrush thinner and spray down that base because I’m going to wash it. I’m also going to go over the whole model again to protect it. I do multiple thin coats at every milestone.
Step 11: We’re going to wash the cropse.

Step 12: Since the whole model is glossy, that manipulates the surface tension so we’re going to take this opportunity to use a wash and get down into those cracks.

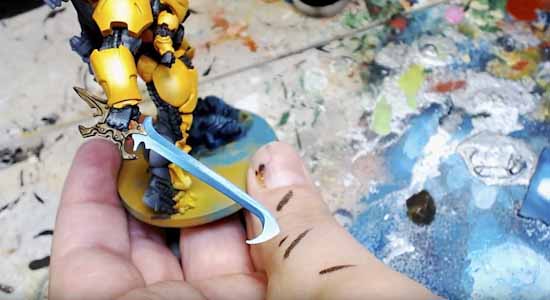
Step 13: hit the sword, which is another tutorial.
Step 14: Varnish and Dull Coat him up.
As usual, if you want to see me go toe to toe with model and get him in shape check out the video!
Secrets For Painting Yellow To A Table Top Quality