Welcome back Hobby Maniac’s today we’re bringing you a hot and fresh project set up. Come see how to prime you models the right way, ‘ere time!
Today, we’re going to break down some hobby basics on how to prime your models right proper.
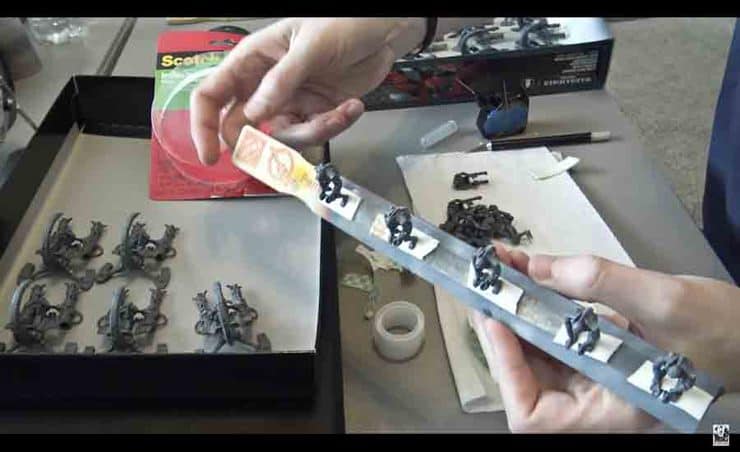
I like use basic rattle cans whenever I can. Testors Model Master Series works really well in most conditions even if it’s a bit humid out because of it’s chemical composition. Testors is the truth you hear it here first.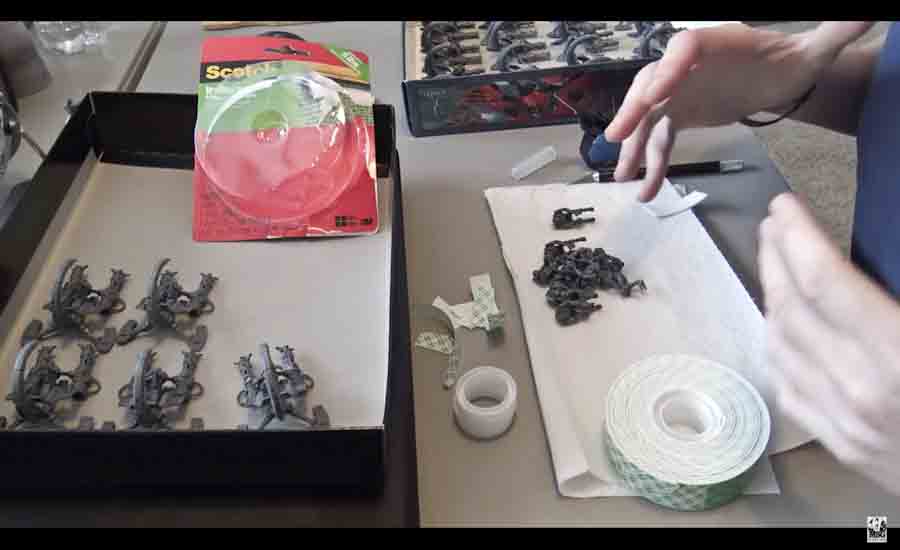 You’re also going to need a basic latex paint can mixer stick, which you can grab at any hobby store, and some double sided tape. This method is going to help us set up, put it down, and then pick it back up in in a few hours or a few weeks.
Step 1. Grab your Scotch Double sided stick tape and your Xacto knife. You can cut it length wise to double up the amount available, you don’t need the full width. Then you’ll slice it horizontally and tape your models to your paint mixers.
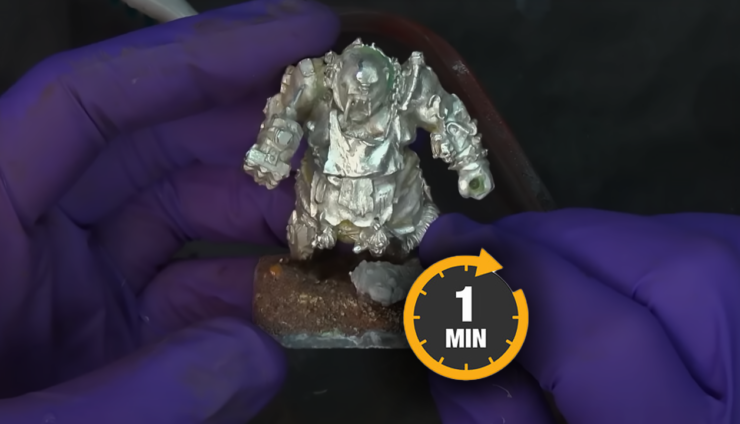
Step 2. Rattle Can Action. For this project, because it’s Necrons I’m not going to push this metallic through my air brush, I’m just going to use Testors Model Master’s Metallic. It’s great because it’s a lacquer and you can use it in almost any humidity level.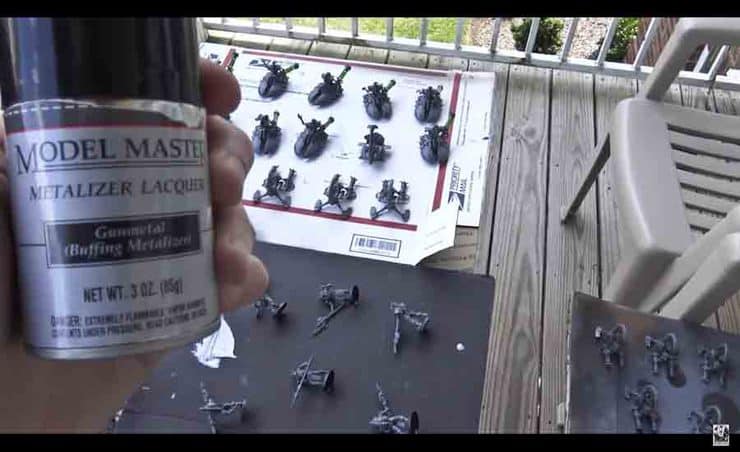
Step 2.1 Shake it up, feel the ball in the can and make sure you’re getting it up and down throughout the can.
Step 3. You’ll notice these guys are flat, we’re going to lay them flat while we hold the paint tray on our other hand. They’re side ways because we don’t want to miss the bottom.
Clutch Technique: slowly rotate the board (like spinning a basketball) while your spray so that you get all the nooks and crannies.
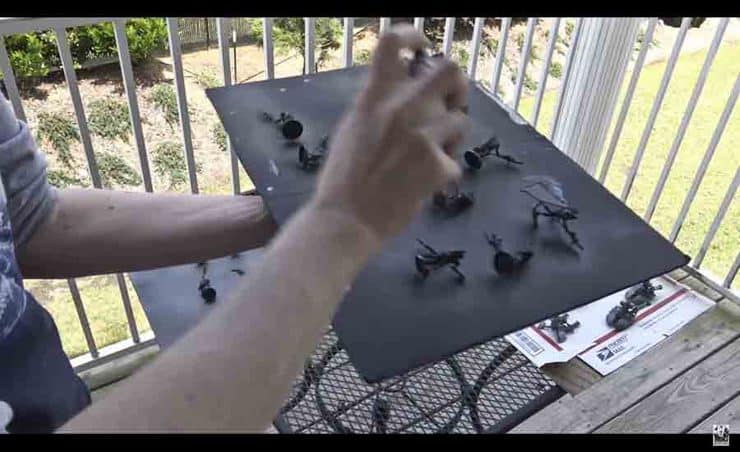
Pro-Tip: Don’t just pray and spray, use tight controlled bursts while you’re moving in tight, short, lines.
Step 4. Wash, Rinse, Repeat for all the other models you have.
Step 5. Flip the models that were on their sides and then get the other side.
Decision Time
If you’re using a paint brush I’d recommend just a bit more paint on them by standing them up to get any last spots you may have missed.
If you’re going to be using an airbrush I’d leave it as is because I know I’m going to be putting on a lot more thin coats of paint and I don’t want to over do it with this base.
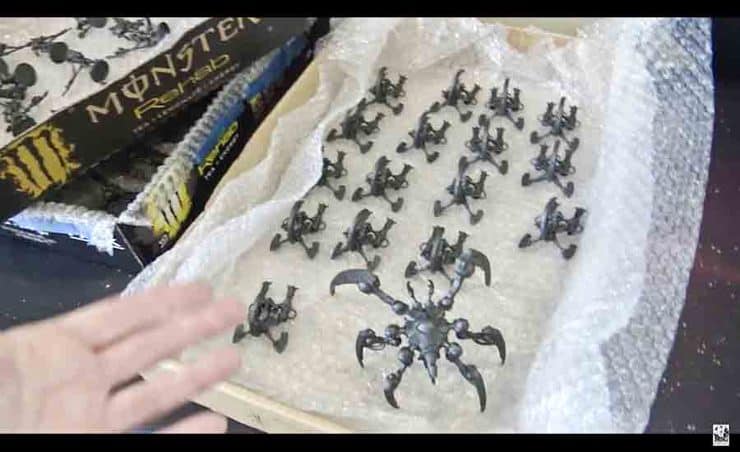
Step 6. The Project box is a clutch piece of tech, I line mine with bubble wrap so I don’t chip any paint on the rough cardboard.
To get the full hobby story I’d recommend you hit play on the video below!