I have to admit, the Stormraven kit really kicked my butt. Maybe I was just preoccupied with things around the shop, or just tired from the night before- either way I still managed to screw it up a bit. Regardless this kit is pretty cutting edge and it’s a blast to assemble.
First off, when putting the kit together, I recommend plastic glue. I prefer Testors, with the precise applicator tip cause it puts the glue where you need it, nice and neat in small beads. Super helpful when working with a kit that has moving parts near where you have to apply glue.

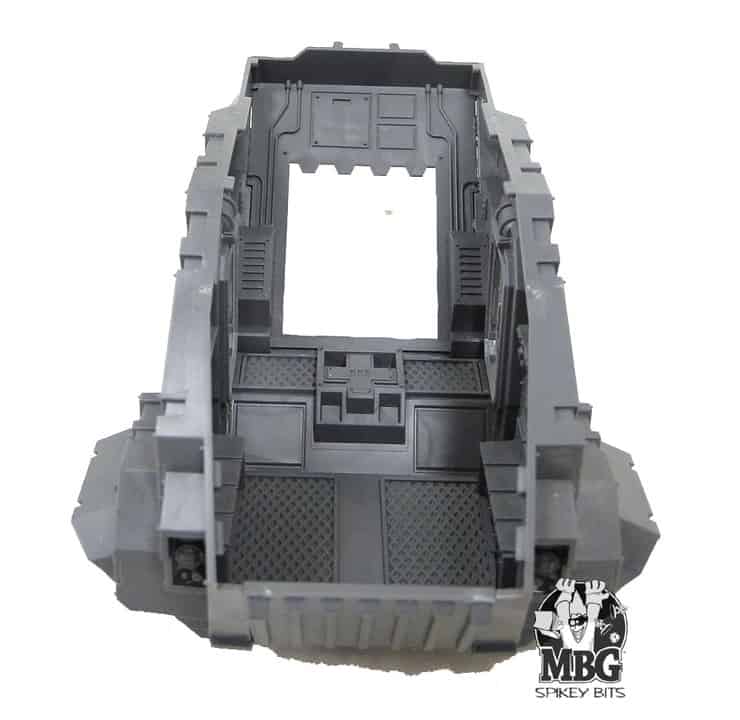
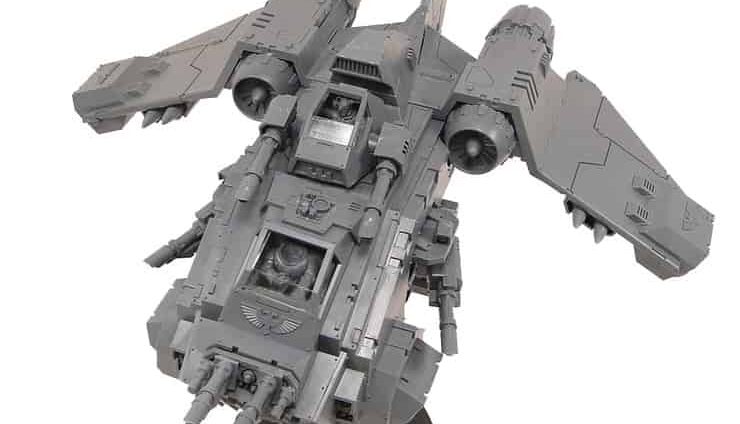
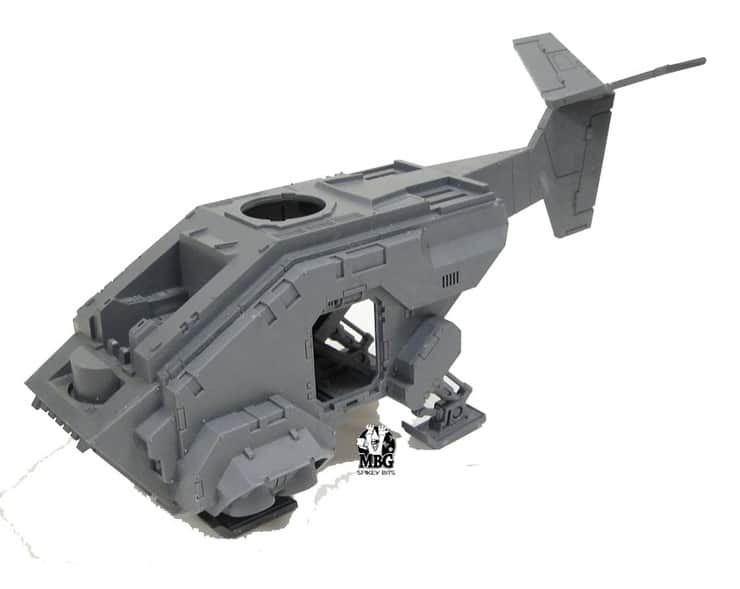
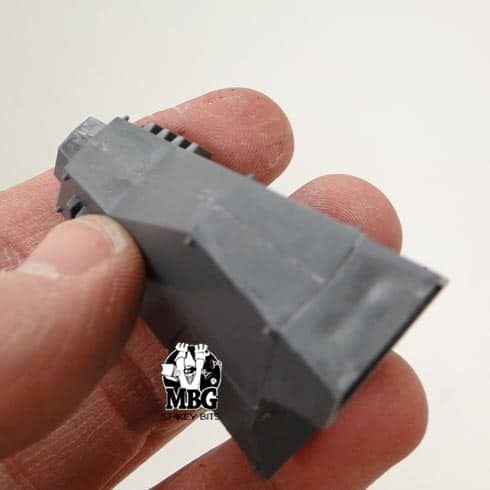
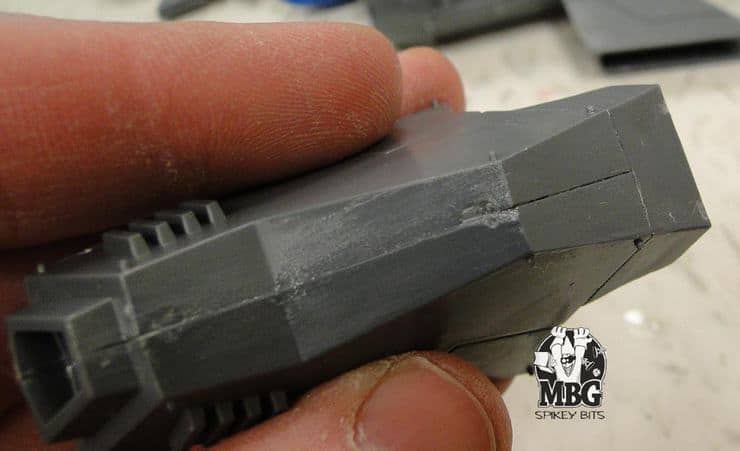
You’ll start off assembling the front fuselage first. There are two moving thrusters attached to the lower fuselage area that you will want to look out for as well as the front ramp- don’t get any glue into those moving areas. Definitely use some rubber bands to keep pressure on the assembly after you get it all glued together. You want the panels set square- this kit has very tight tolerances.
Next you’ll want to put the tail section and the landing gear together. This is pretty easy- just make sure you match up the pieces with the instructions. I flipped the rear landing skids around to face forward because I didn’t like the way it looked in the instructions.
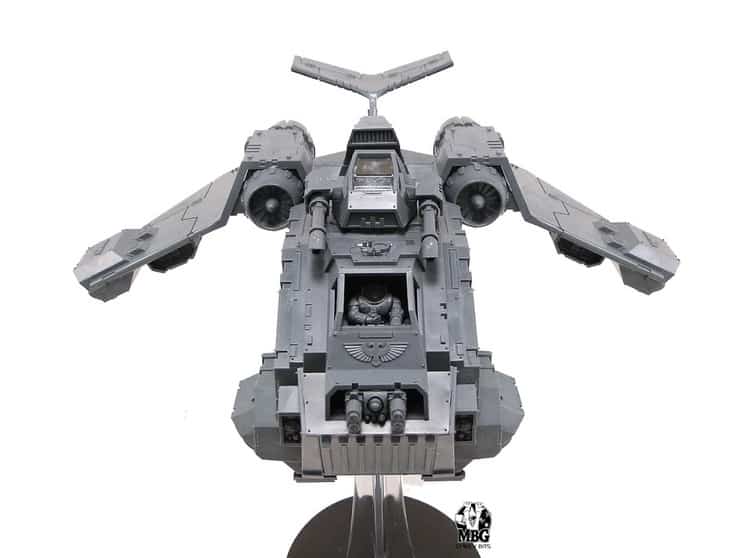
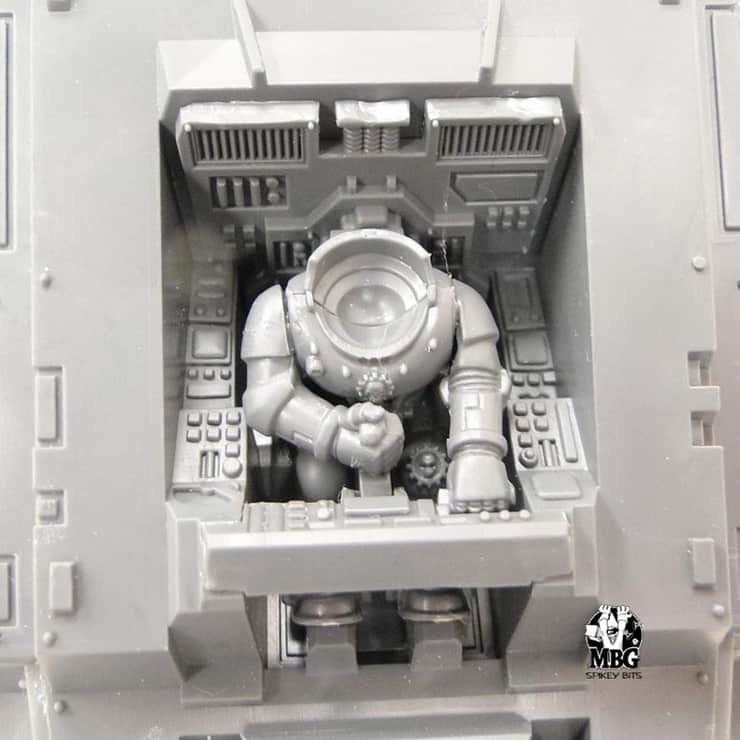
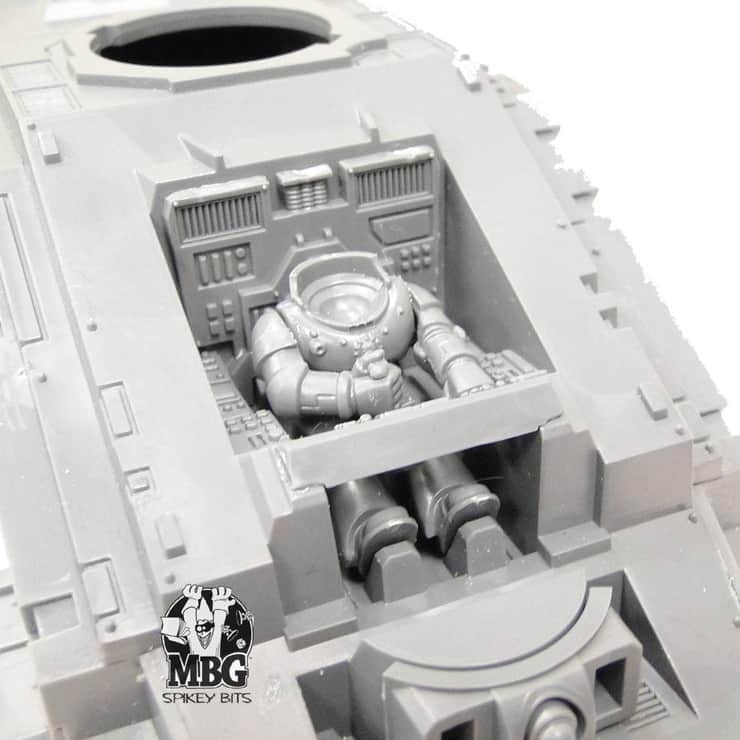
I really enjoyed assembling the cockpit area. The designers really did a good job here! Every piece is well placed and the whole thing seems really thought out.
 From there it’s on to the engines and wings, and this is where things get a bit tricky. Since this is a new kit, double check EVERYthing. Conveniently the instructions reference corresponding piece numbers, so its best to work with the correctly numbered pieces at the same time (it really helps). You will want to use rubber bands again on the wings to help keep them flat while they dry.
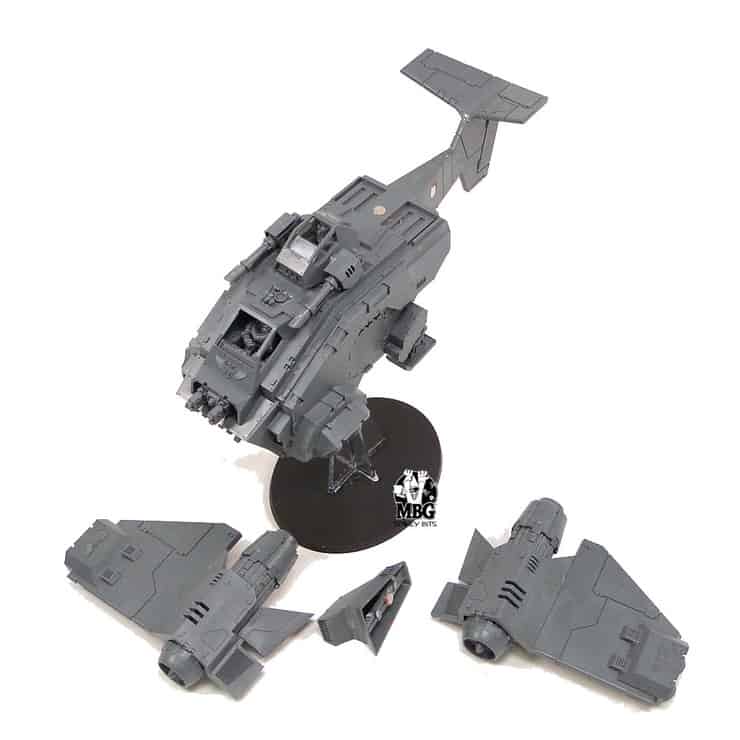 As I was dry fitting the wing pieces together I decided that I was going to magnetize them so that vehicle would fit into a Sabol Foam tray for transport and storage. So I carefully magnetized each wing assembly to the rear tail, and also added magnets to the top intake piece that locks each wing down.
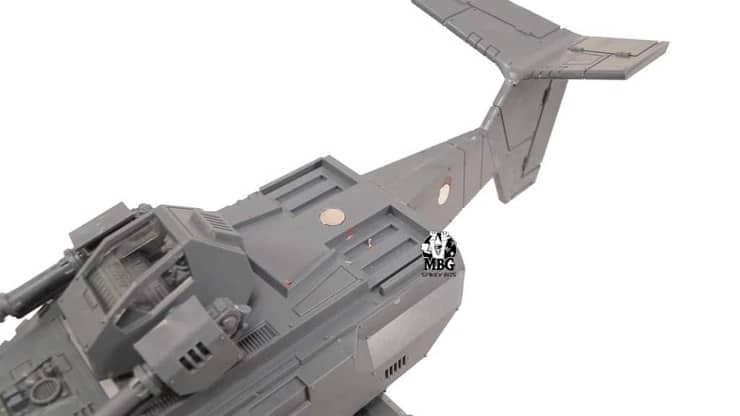 For this job I used 1/4″ magnets because I wasn’t sure what kind of force would be needed to keep the wings in place, but it turns out that was probably a little to much (besides I had to use a power drill to get that diameter hole). Looking back, I think 1/8″ magnets would have done the job just fine. Either way the wings lock in, and the Stormraven fits in a standard Sabol 4″ foam tray! There is even extra space behind it for a Dreadnought, or even a Rhino!
Overall I think Games Workshop really put a ton of detail into the Stormraven, and it definitely leaves the door open to bigger and better kits in the future I hope!
Click here to become a follower of Spikey Bits Blog. I’ll be posting up a ton of new Stormraven goodness in the near future!
Now if we can just get them to FAQ it (0-1 of course) to be used by all the Power Armors, not just the Red and Steel Flavored Space Marines!!!! -MBG