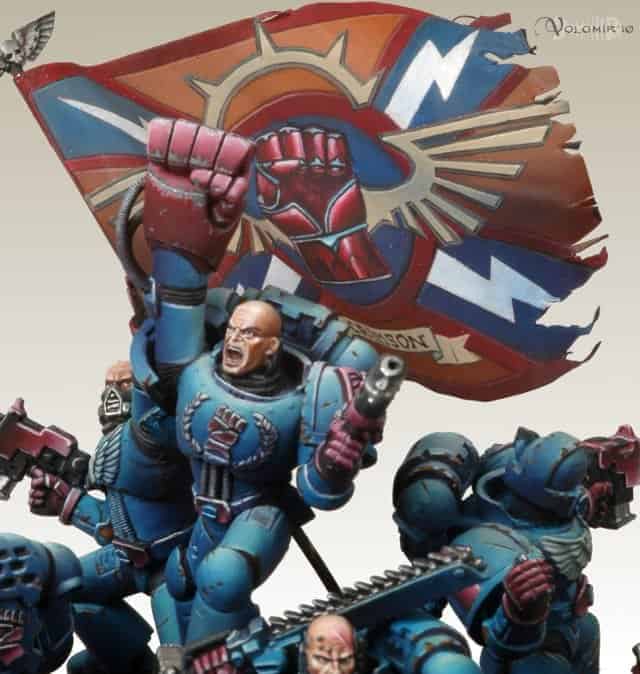
Welcome to a new segment here on Spikey Bits called Back to Basics, and is authored by international Golden Demon competitor Volomir!
Maybe some of his Golden Demon talent will rub off on all of us though his articles!
Anyways lets give him a warm Spikey Bits welcome! -MBG
Hello Spikey Bits! Let me introduce myself. My name is Rafael Garcia, a.k.a. Volomir, and you may already know me for some of the stuff I paint (because you already follow Volomir’s Blog, of course!). I am a very enthusiastic international Golden Demon competitor, I’ve been doing so for many years now, and the miniatures I paint are usually destined for painting contests.

I have lately been struggling with trying to achieve the best painting level in as little time as possible. Being this blog as it is a gamer’s place, you must know what I’m talking about. While in this search for pictorical nirvana, I’ve prepared a series of articles I’ve called “Back to the basics” where I will share with you some of the basic concepts, tips and tricks you will find useful when painting miniatures, may that be for tabletop or to engage in tougher brush missions. Today I’ll start by explaining what a wet palette is.
It’s very common to start painting by dipping your brushes directly into the paintpot. I can’t think of a less efficient and improper way of painting. Paint in the pot is too thick to use, it needs some watering down. To do that, we use an auxiliary surface, which we call palette. Any surface may be useful in the end to serve as a palette for the painter (could be a plate, a tile, or a plastic egg container), but it is always convenient to find a material which is able to prevent color mixes as much as possible from drying. In the case of acrylic paints, this is especially important because they dry very easily when exposed (sometimes even inside of the paint pot).
To prevent this from happening we use the wet palette. It is composed of a material which lets moisture pass through, but not paint. Thus, paint on the palette takes a long time to dry because the paint is constantly wet. To make a wet palette we just use a flat container (a dish or similar) where we make a bed of absorbent paper (paper towels or toilet paper). We wet this layer of paper thoroughly with water, and then, on top of this we will place a piece of baking paper, which is the material that allows moisture to pass through but not the paint. This surface will be our wet palette.

The wet palette needs to be renewed when the paper towel has dried . Before that happens we should add more water, simply removing the baking paper and pouring water on the paper towel. Also, there may be times when the baking paper is saturated of paint mixes. In that case just replace the baking paper. The wet palette can be stored in the refrigerator, where it is able to maintain the paint wer even longer. This allows us to have our mixes on the palette for a long time, and save our colors from a painting session to another, even when some time passes between them. However, it is adisable to change the palette from time to time as prolongued moisture can lead to mold growth.
In addition to the palette, we need to have some absorbent paper at hand (preferably a clean paper towel or similar, much better than toilet paper) where we will clean out the excesses of water from our brush when painting. It is also useful to have around a blank piece of paper where you can test your brush strokes before painting the miniature. But this is other stuff I will talk about in future articles.

Now stop using your lousy palettes and move on to the wet sweetness! You’ll paints will remain fresh like the first day!
Don’t forget to cruise on over to Volomir’s Blog and checkout all his hotness as well!