Slow an Purposeful- Nurgle Obliterators
Today we have a great guest post by Rage of Khorne from The Order of Chaos gaming club.
This is a very nicely done walk though on how he built and painted his Nurgle Obliterators for his WIP Word Bearers Army.
By Rage of Khorne
- Hobby Knife
- Jewellers Saw
- Super Glue
- Green Putty
- Styrene Rods
- Paper Clips
- Assorted GW Bitz
- Cork Sheets
- Sand
- PVA Glue
- Sculpting Tools
- Pin Vice
- Air Brush
- Assorted GW Brushes
- Citadel Paints (Old and New)
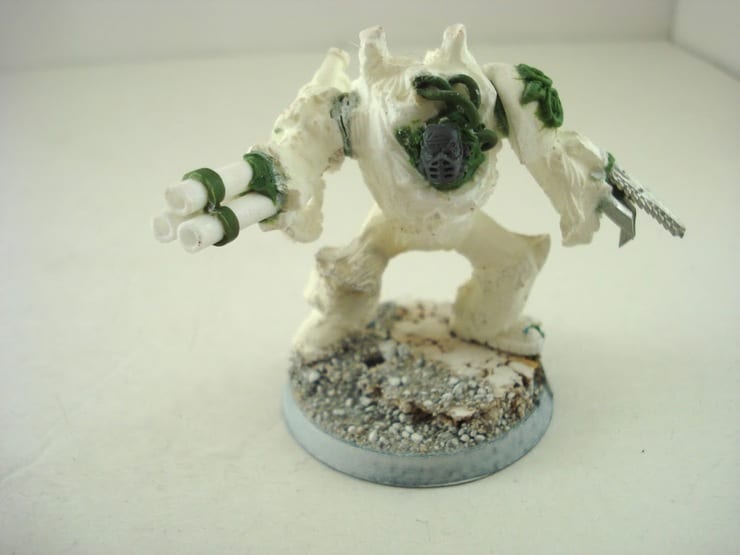
First I had just intended to paint these bad boys up as just more normal Word Bearers, and has primed them white to start.
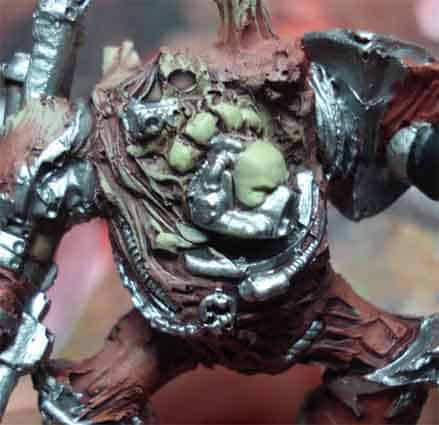
But then after seeing all the cool Nurgle conversions out there when the Dark Vengeance set came out, I became smitten by the Lord of Rot, and I started modifying them by cutting scrape marks and drilling holes into the surface of the model.
The intention of this is to show the effects of rotting maggot holed armour and cables. I also cut one obliterator at the groin with a jewellers saw so I could make one model with a more dynamic pose.
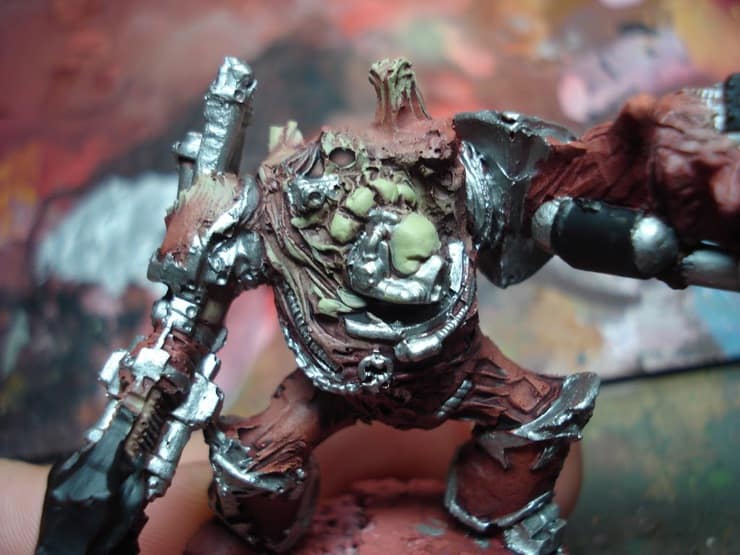
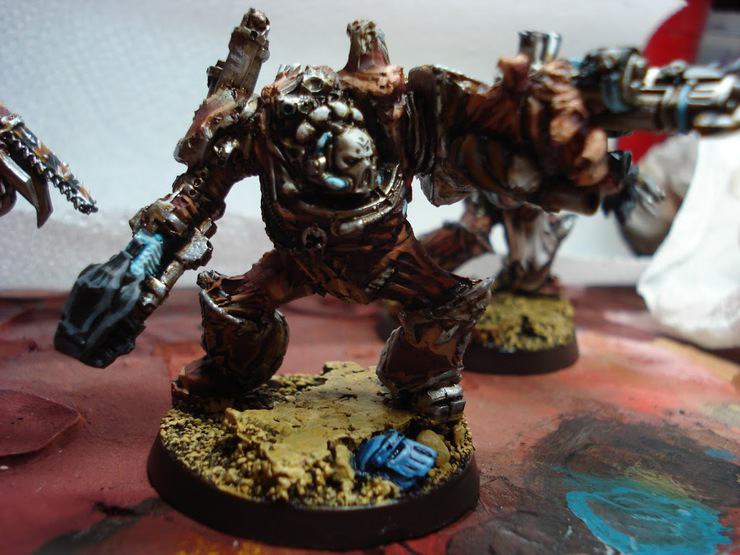
After I was finished affixing the partially built bodies to the bases, I started attaching all the modification pieces. For this I used some old Kai guns from a metal chaos lord in terminator armour for the right hands and I used heads from some old and new chaos marine kits.
Extra guns were cut to shape using my hobby knife so that they would better fit the wrist mountings I attached them to. To make the modifications look cohesive I sculpted green stuff over parts of the weapons and filled gaps to make it look more organic. Styrene rod was really useful to create extra exhaust tubes on the backs and to lengthen the barrels on the weapons or in the case of the triple barreled weapon, built them entirely from scratch.
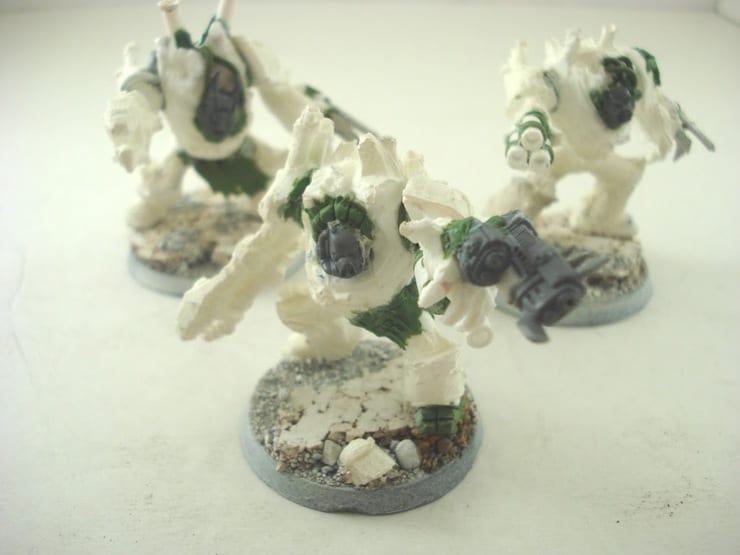
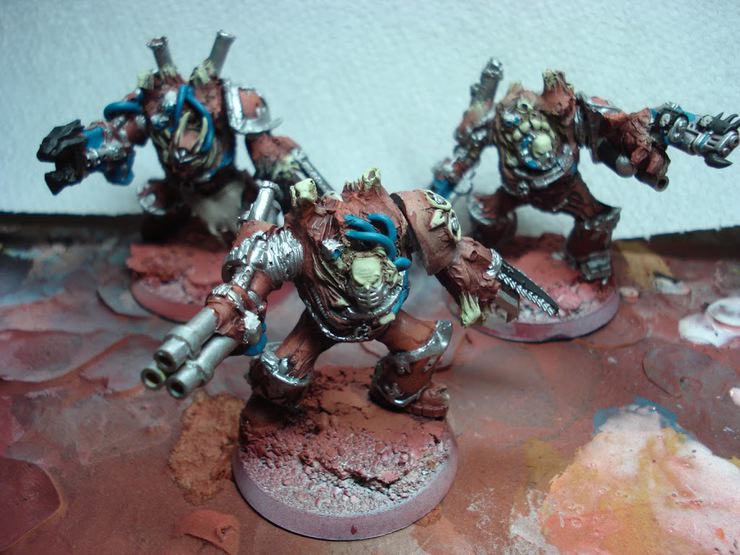
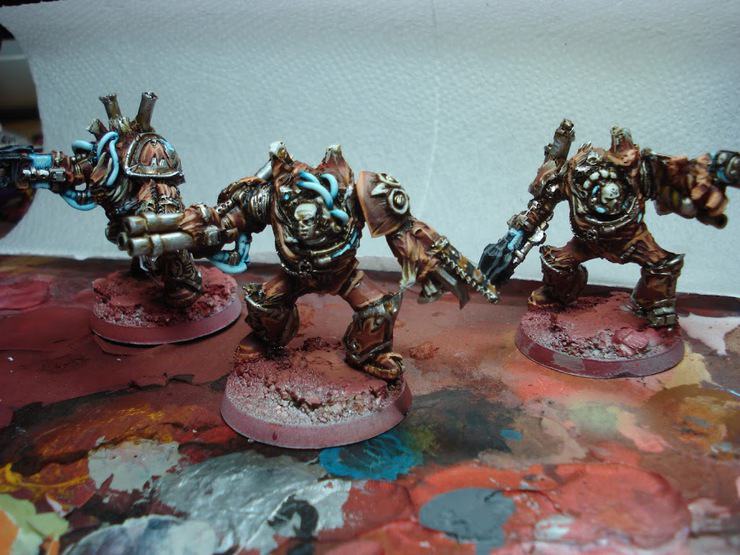
When I started painting the models, I wanted to go for colours that would set the models out as nurgle but keep them looking fairly uniform with my army (Word Bearers). To do this I chose the dark reds of the army as the main armour colour and I used subtle greens on the mutations and growths. To make them fade into each other, for a more natural look, I airbrushed the models first with Khorne Red and then again with a lighter coat of a 1:1:1 mix of Wild Rider Red, Averland Sunset and White Scar. After the base coat was done, the mutations, skin, and growths were sprayed on with a 1:1 mix of White Scar and Gretchin green.


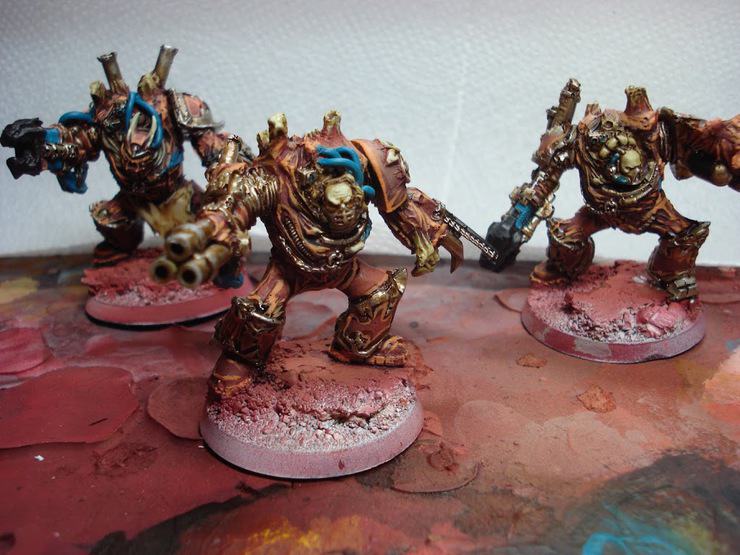
After the spraying it was just a matter of picking out all the details in silver, black, turquoise, and coating the whole model on a mixture of washes. The washes were important in changing some of the colours and I used some old Brown Ink as a mix to add a small bit of shine to weapons and open sores. The bones and green fleshy areas were washed with pure Seraphim Sepia and the reds and metals were washes with a 1:1:1 of Seraphim Sepia, Brown Ink and water.
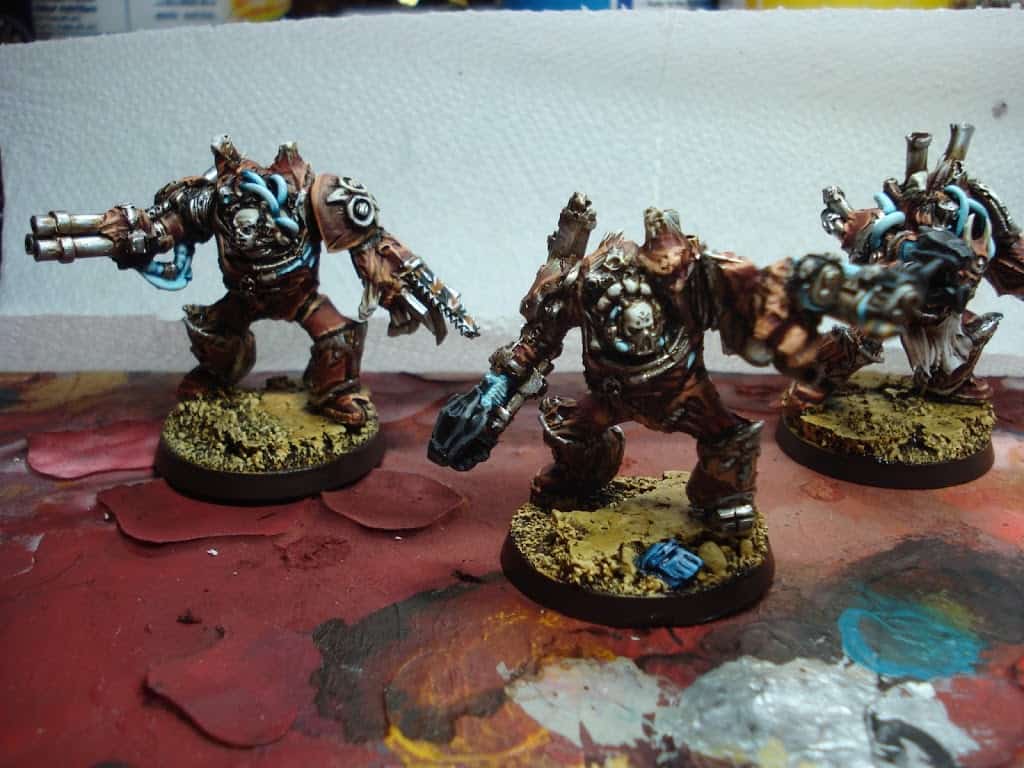
The next step was to start highlighting up the main colors, namely the green skin parts and the armor. The highlight mix for the red was the same I used for the over spray and the mix for the skin was a 1:1:1 mix of Gretchin Green, Ceremite White, and water.
After the main highlights were finished I went about adding small detailed like highlights to the cords, metal bits, and weapons. The mixes I used for highlighting were as follows:
Turquoise: 1:1:1 – Hawk Turquoise and White Scar and Water
Metal: 1:1 – Mithril Silver and Water
Black: 1:1 – Mechanicum Standard Grey and Water
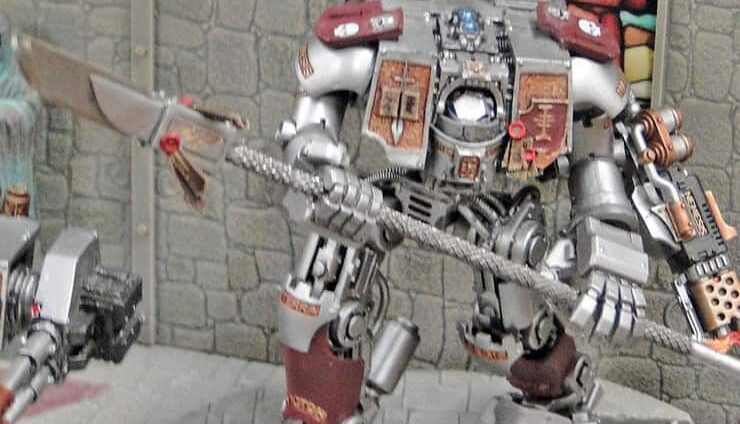
I’m pretty happy with the way these guys turned out and I think for the next project I’ll be adding a Hellbrute to escort them up the field. Now its time to give these guys a try against some loyalist weaklings!
If you buy something from
a link on our site, we may earn a commision. See our ethics statement.
Virginia Restless, Miniature Painter & Cat Dad.
I blame LEGOs. There was something about those little-colored blocks that started it all... Twitter @catdaddymbg