This article seemed a perfect fit for here, because it showcases what an “average” hobbyist can do with a little research and elbow grease. TPM is not a great painter (he even says so below), BUT he tries hard, follows tutorials, and in the end makes some really great looking stuff that anyone would be proud to own!
Which fits in perfect with the focus of this blog, which is to 1. Keep me motivated to hobby, and 2. help promote the hobby by showcasing great tips and tricks that anyone can use to take their painting or modeling to “the next level”.
Plus since I’m the admin of most of my buddies’ blogs, they let me borrow an article or two here and there, when I think it will fit well on this blog (well at least I think they do)…
So enjoy a tutorial on painting the infamous Heldrake -MBG
By TPM Painting a Heldrake x2
Let me start off by saying I know I am not a great painter. There are tons of great painters out there and I am thankful for the fact that they produce great tutorials that are helping me to get better. I’ll include a couple at the end of this post.
I wanted to take a moment to put up some pictures of couple of figures that I am pretty proud of and explain a little bit about how I did it in case there are other non super painters out there that would like to have a nice looking army.
I watched OrcPainterNerd’s tutorial on weathering using AK interactive heavy chipping solution and just couldn’t wait to try it and that lead me to this heldrake project.
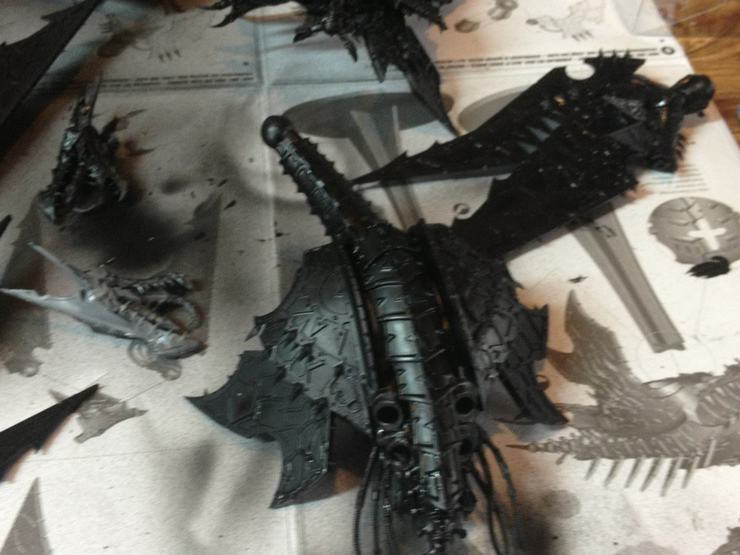
I started by magnetizing the wings and neck with 1/4 inch cylinder magnets.

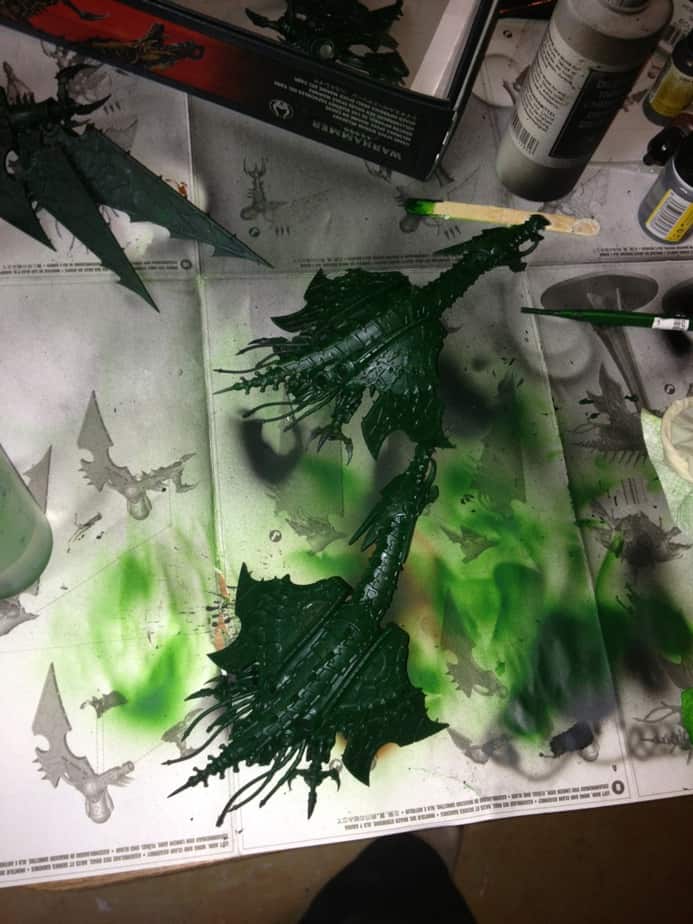
I then primed the whole thing black.
Here is where it was supposed to get interesting. I painted splotchy colors that was supposed to resemble rust and weathering all over the model and then covered it in Satin Varnish and once that was dried I covered it in the chipping solution.
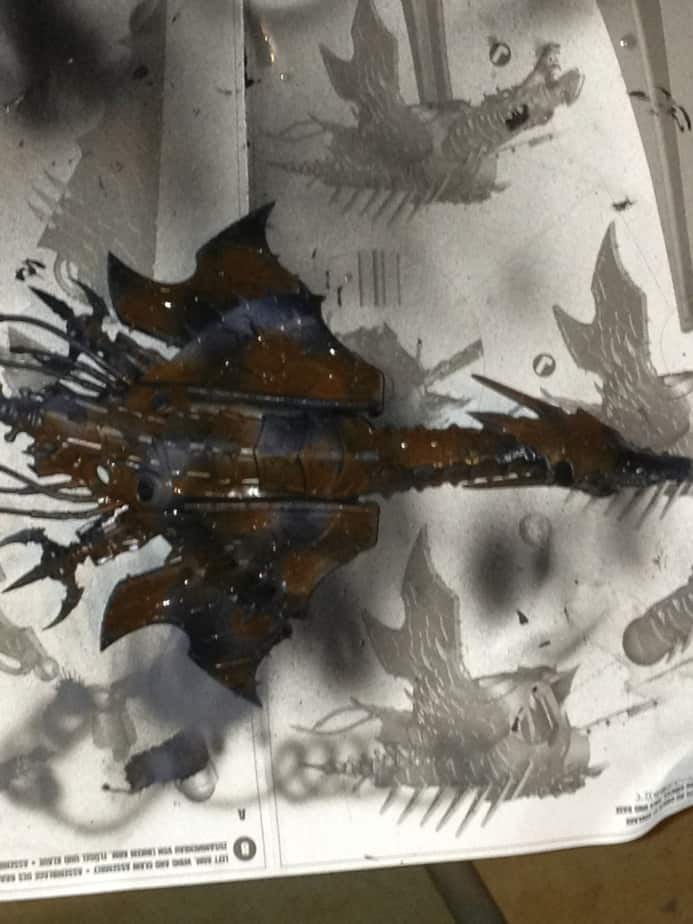
Well… Nothing happened and I couldn’t get the chipping solution to do its thing and I didn’t get the effect I was going for. So I rallied and did the weathering the old fashioned way – with a sponge. I started with a base coat of burnt umber and then brought it up to Vermin Brown and then finished it off with blazing orange. Then I slathered the whole thing in a ton of Devlan Mud

Here they are with a basecoat of Dark Angels green before I painted the crap ton of gold trim using vallejo old gold.
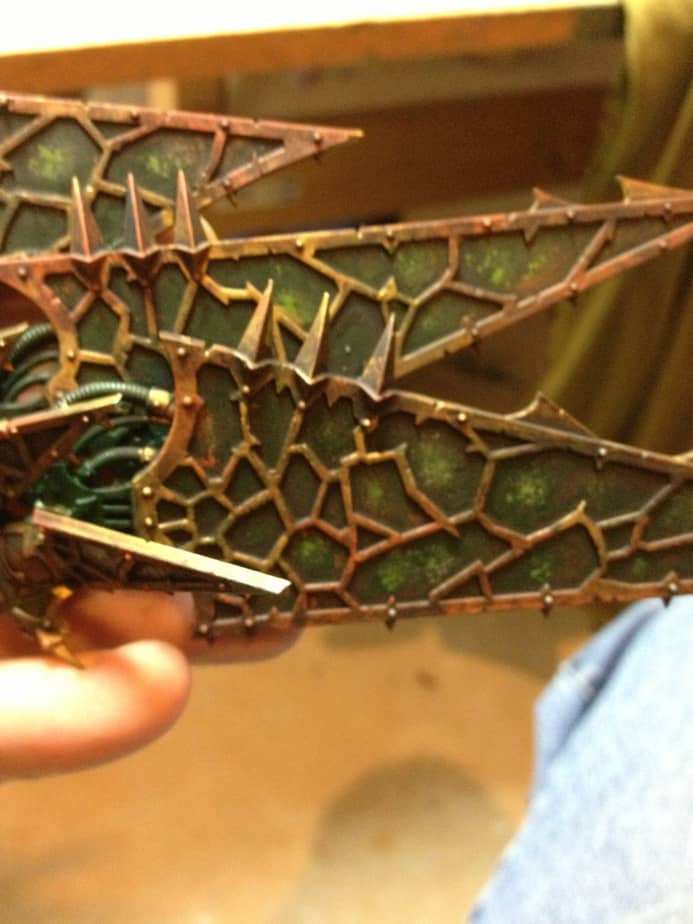
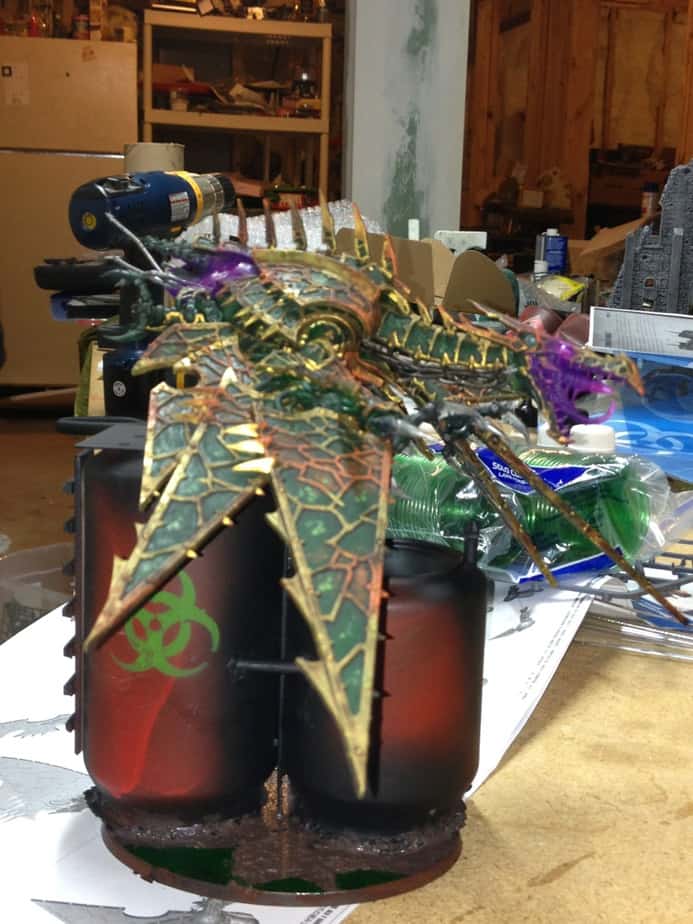
This is after the first coat of wash had dried and I went back into the wells of the wing with a sponge. The bottom layer is Light Camo Green and the top layer of the well paint is Necrotic Flesh.
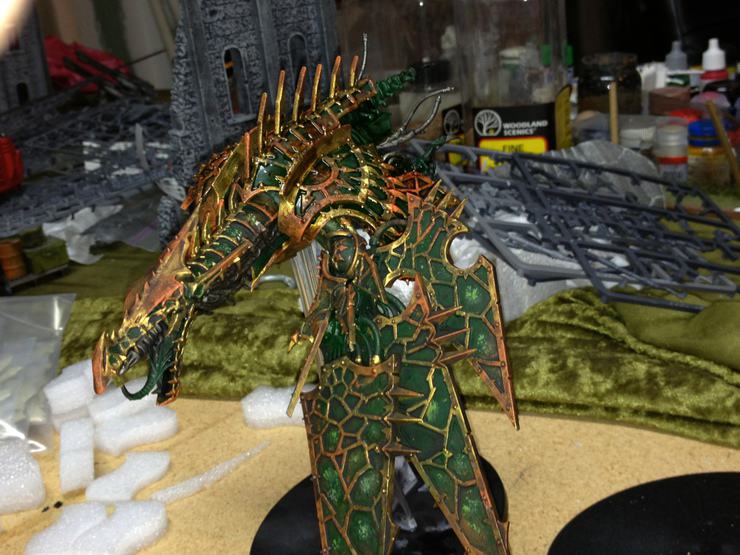
Here is a little more work in progress with one of the wings is in place and weathering has been done to the main body of the drake.
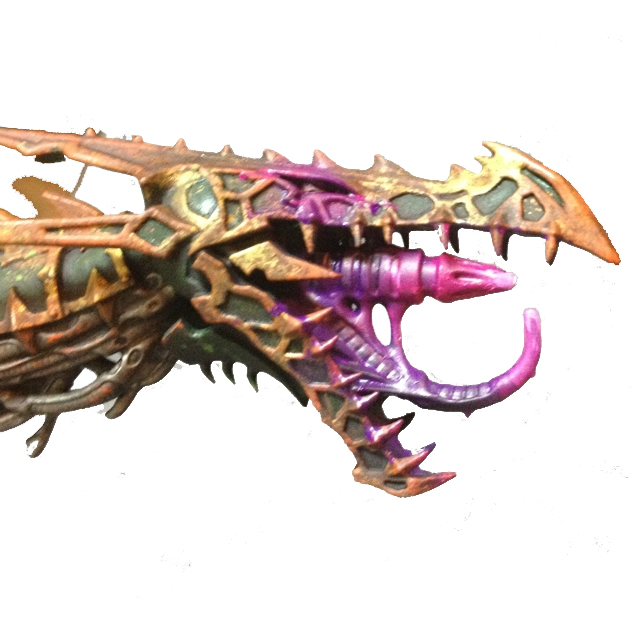
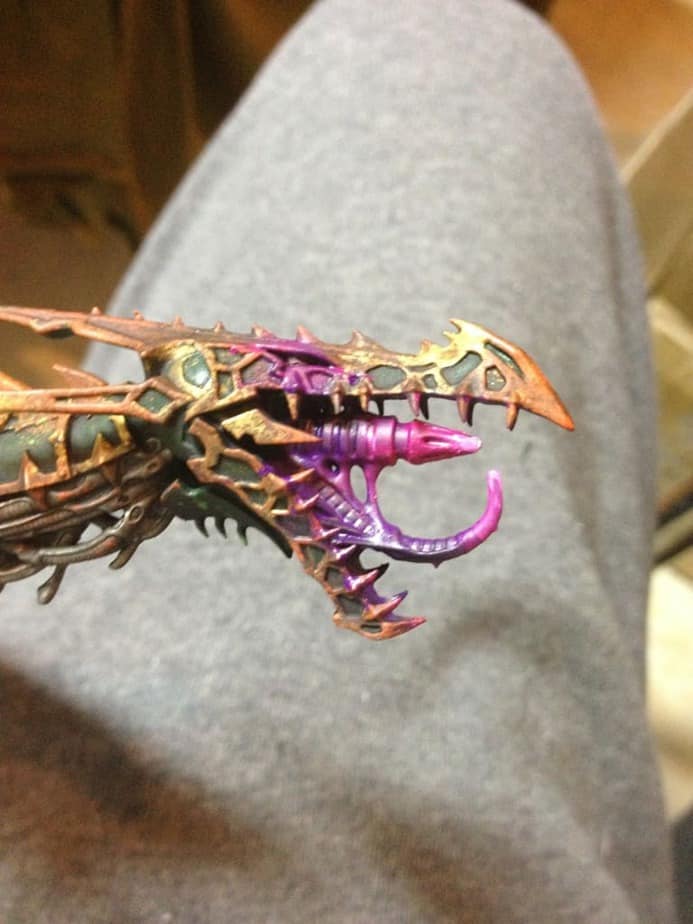
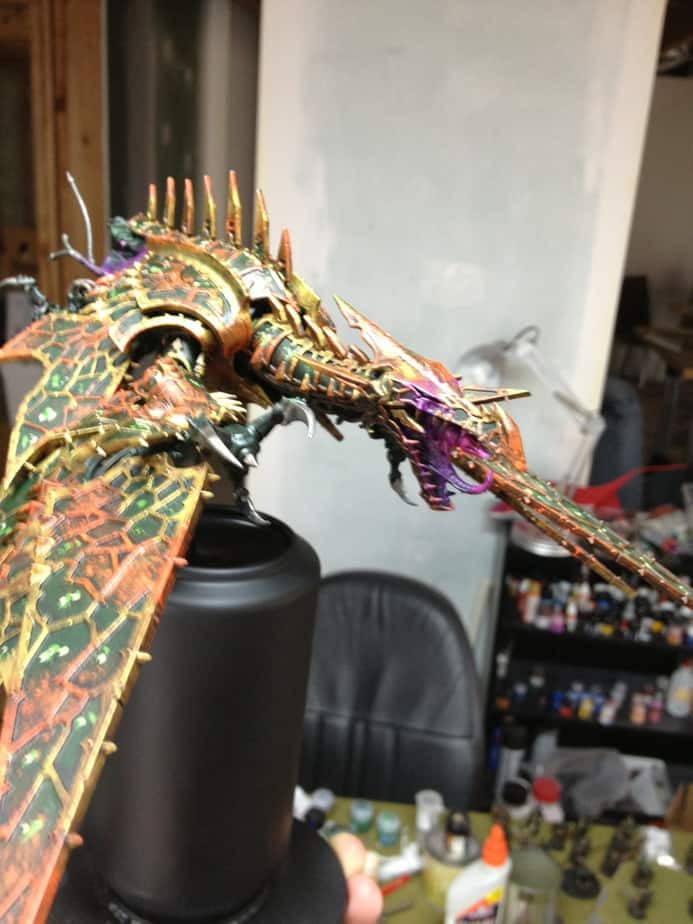
During this process someone suggested I try to do a ‘sick glowing effect’ on the head and engine. This was my first attempt and ended up being the best I could do. Bottom layer is lich purple, top is warlock purple and then warlock purple mixed with white. You can’t tell here but I do eventually go back and put a dot of white in the eye well and then do more highlights with the airbrush.
I started to work on the base here. In stead of the dorky flight stand that comes with the model I mounted it on a spoke.
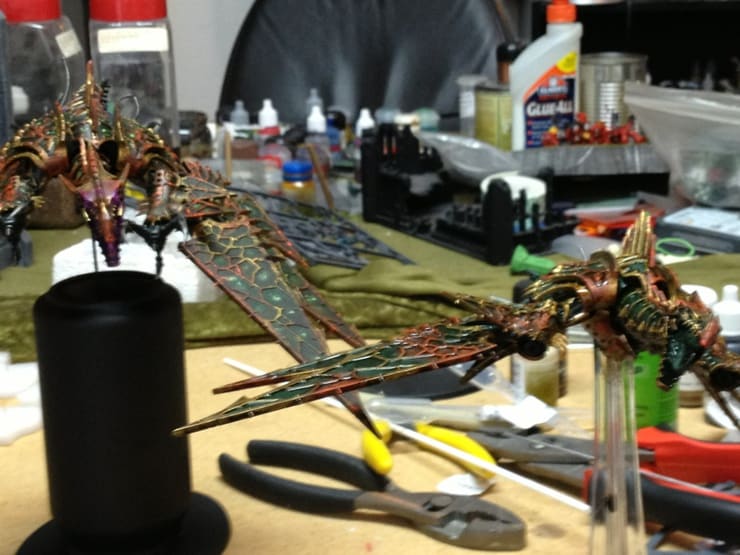
Heckle and Jeckle taking shape here.
Finished drake number 1
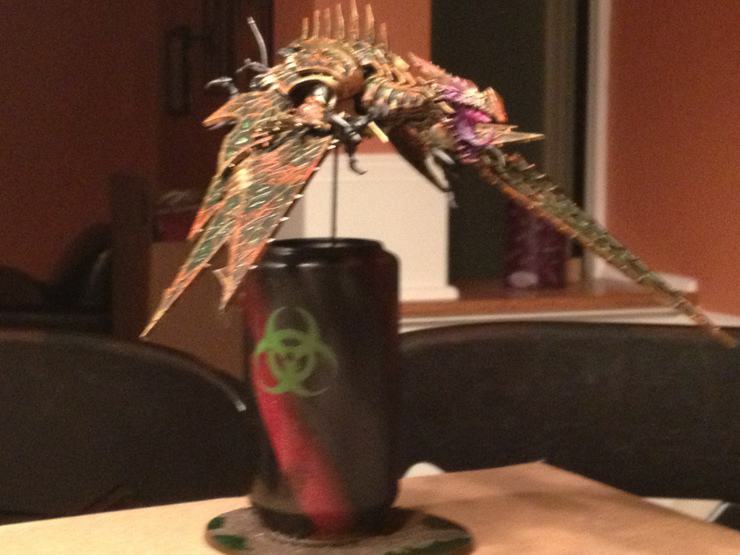
Finished drake number 2
I realize this nurgle style is pretty forgiving but I am very happy with how they turned out and they are getting work done for me on the table top.
As promised check out these actual tutorials below, and be sure to visit my hobby/ tactics blog Litanites of Hate -TPM
http://www.youtube.com/watch?v=Lw5bCNnDiXE
http://www.youtube.com/watch?v=RckNMlvyjKo