Hey everybody, Brandon from GMM here, back with my Adepticon project blog!
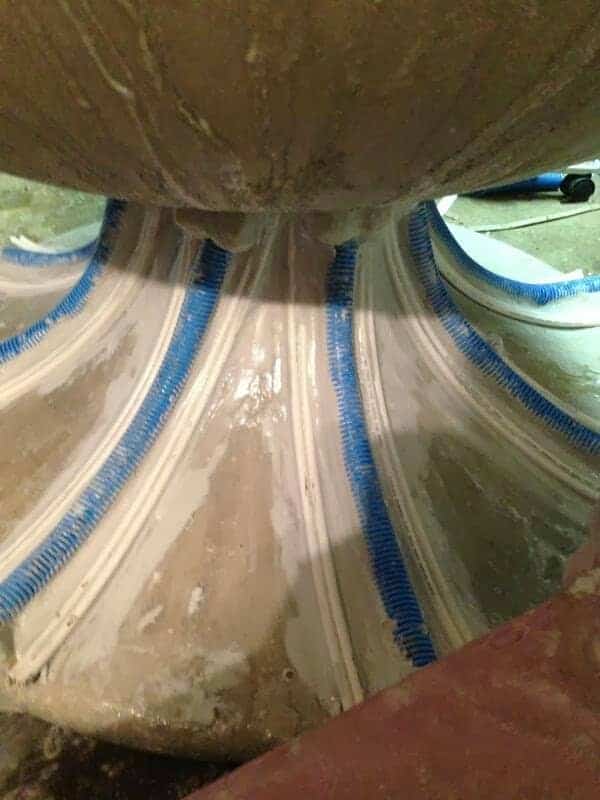
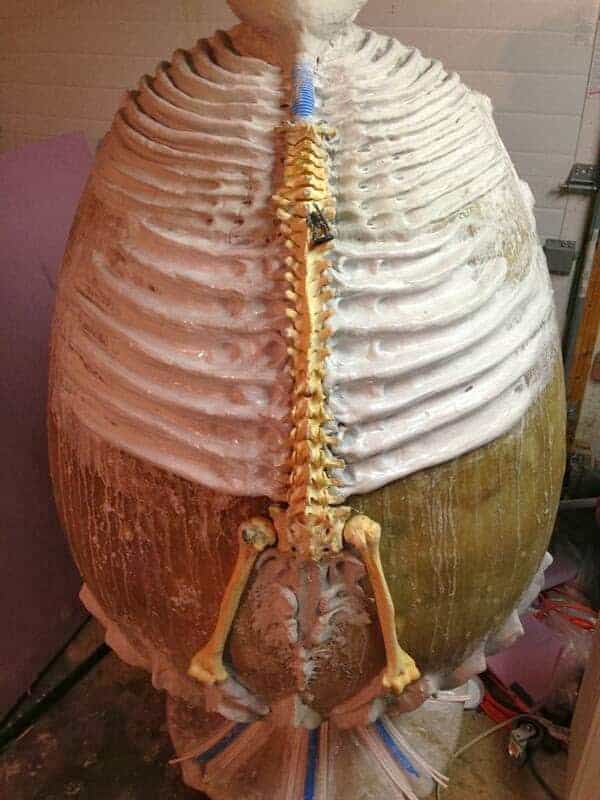
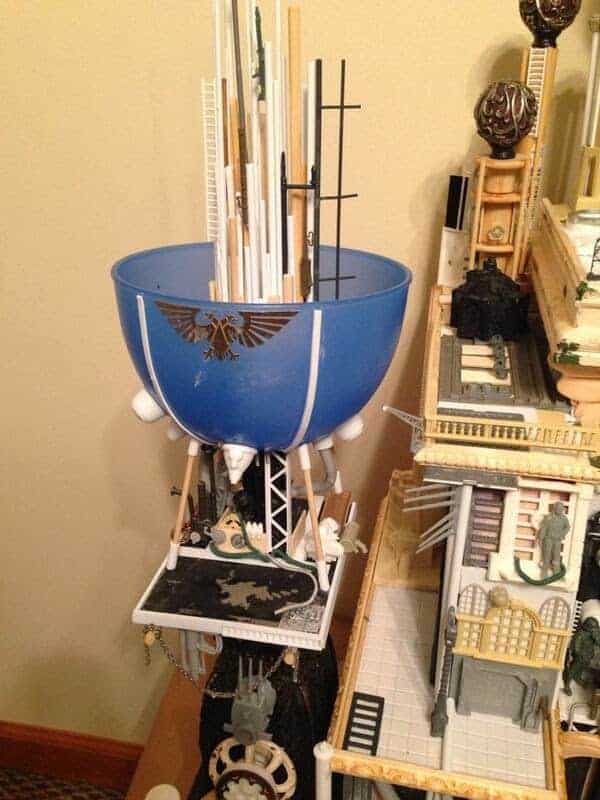
I have made a lot of progress the past two days. Enough that I feel somewhat more comfortable with the time left. It is possible! Let’s start with the progress I have made on the egg.


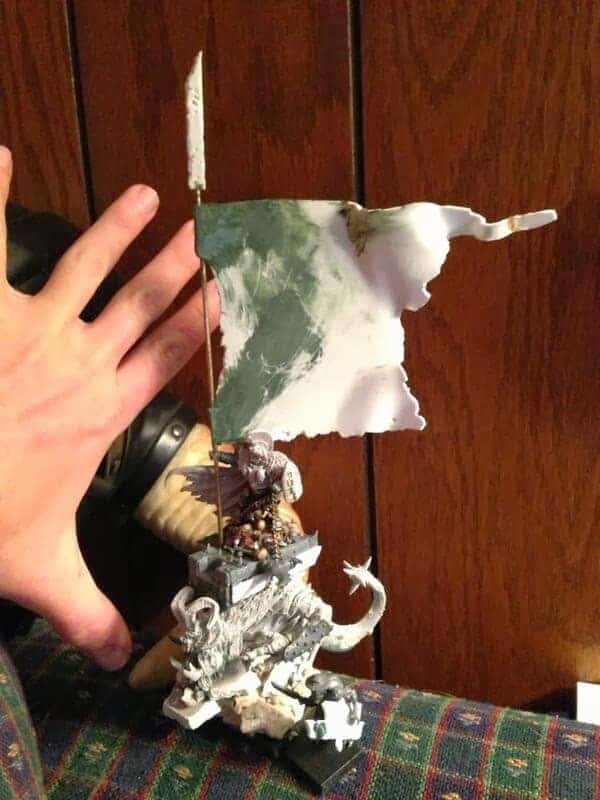
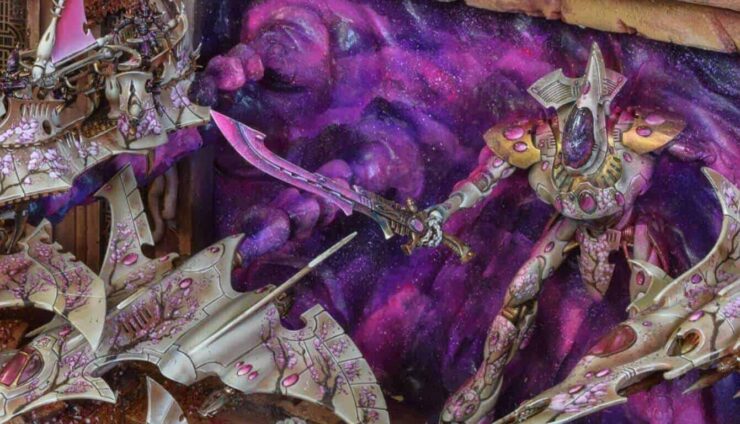
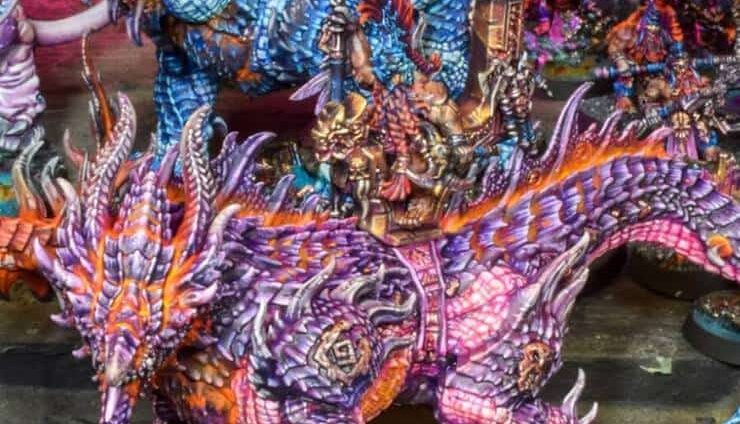
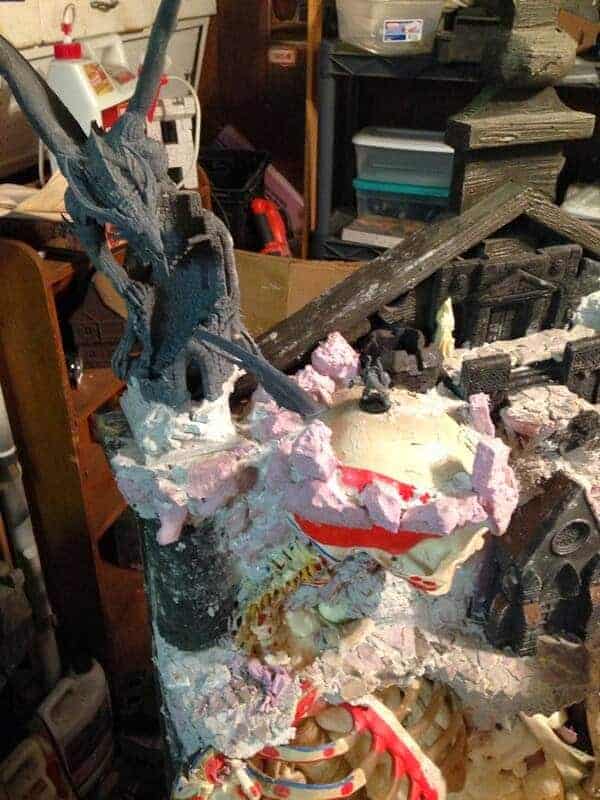
Modelling on the army has started. Tzeentch BSB on demonic mount. It’s officially a GMM army!


That’s it for this time, I will have more updates soon. I will be doing the inside of the egg and the modelling on the armies as these wrap up. Thanks for reading!
The Derelict
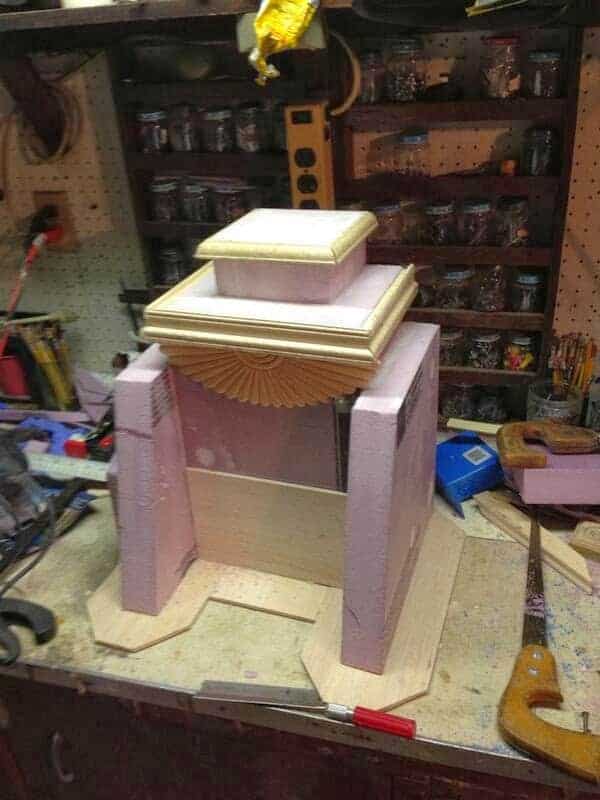
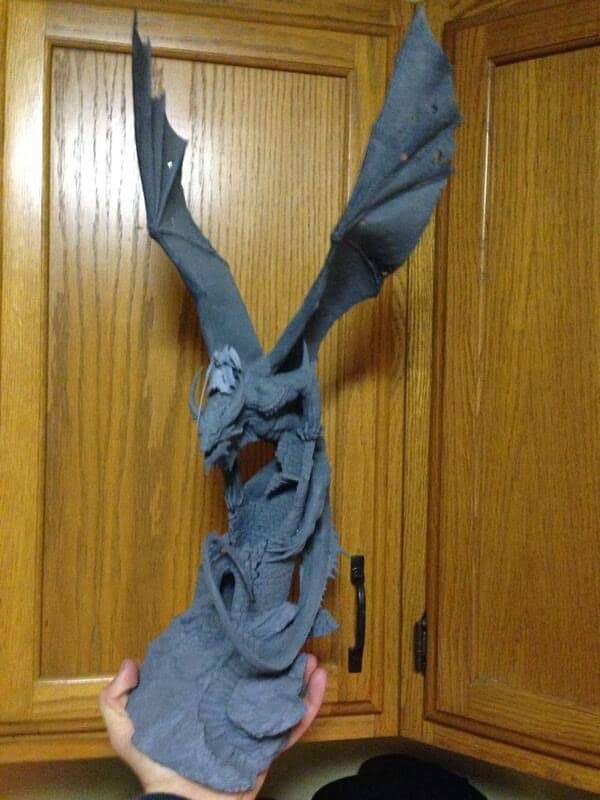
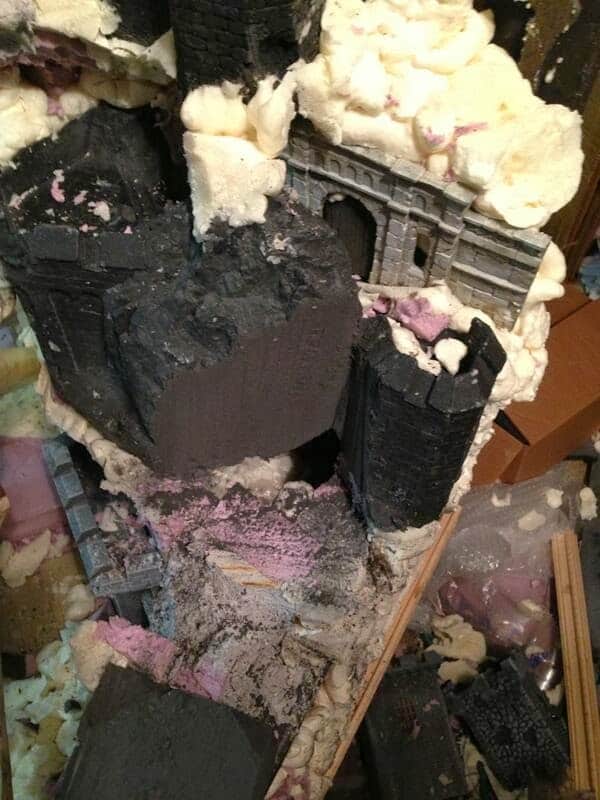
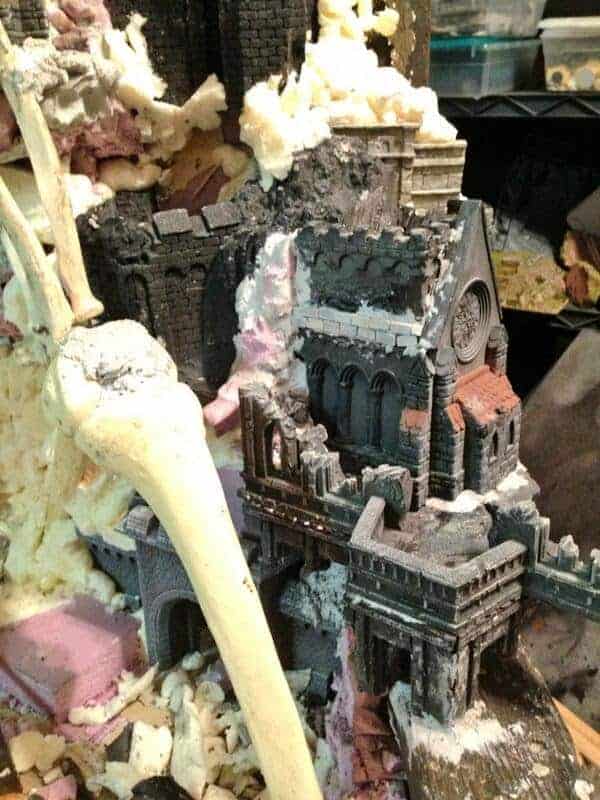
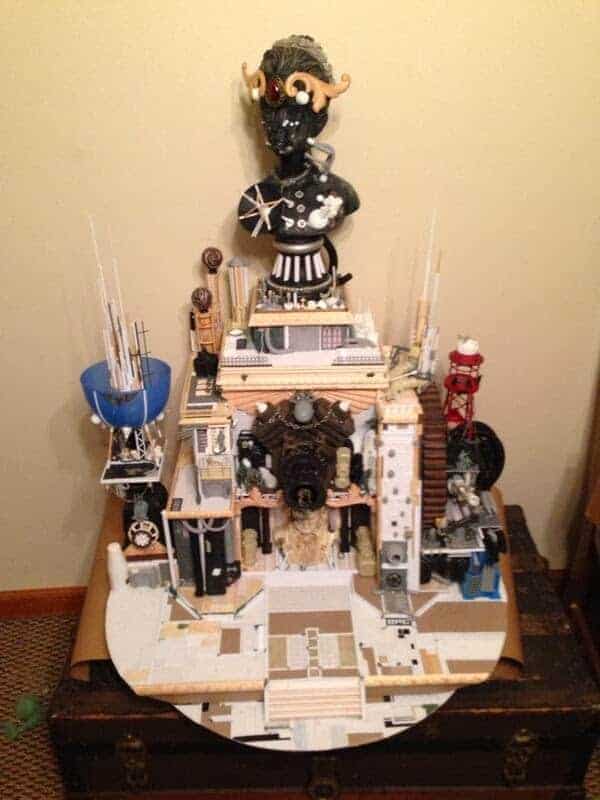
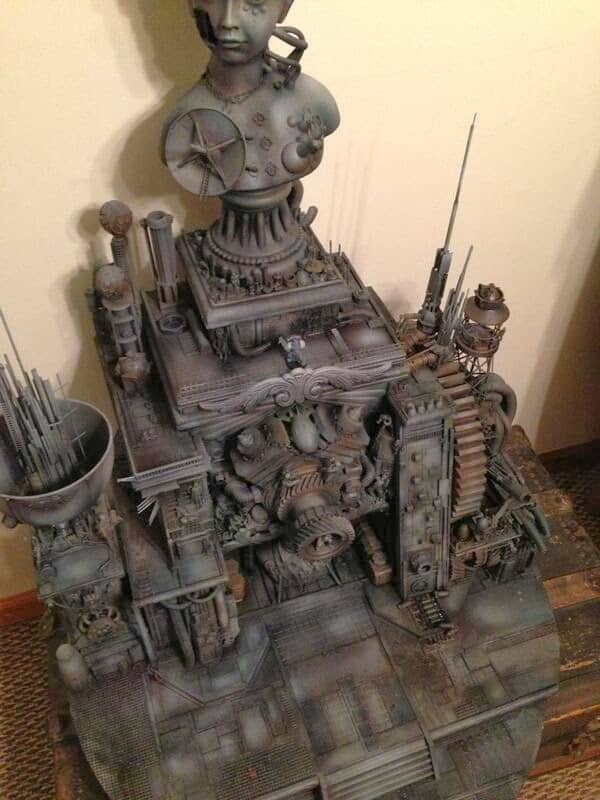
First, I started with a rough frame based in foam. I wanted something that felt architectural in design, like a lot of the Kuksi stuff, but also a lot of early traditional ship models. If you look to the darker side of early science fiction, you will see many ships are based around a tower sort of design. The ALIEN mining vessel is a good example, and most other ships are simply a tower turned on it’s side.
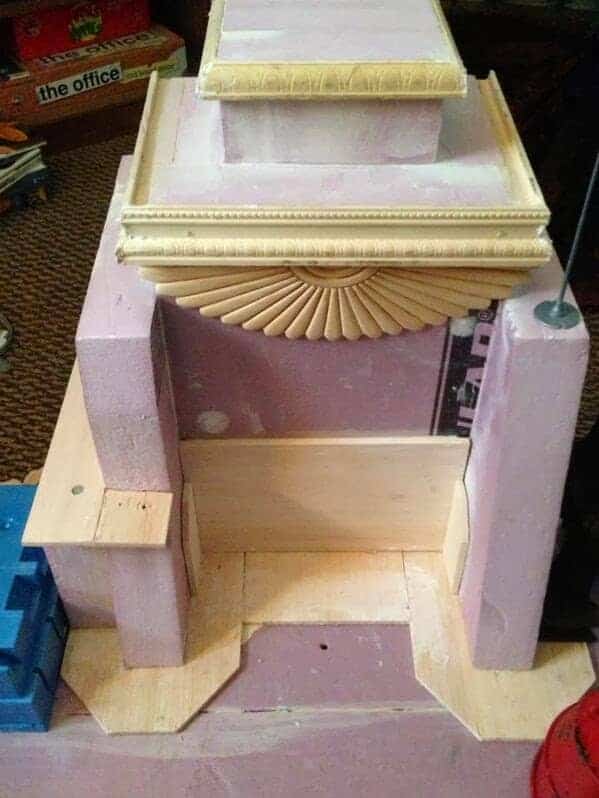
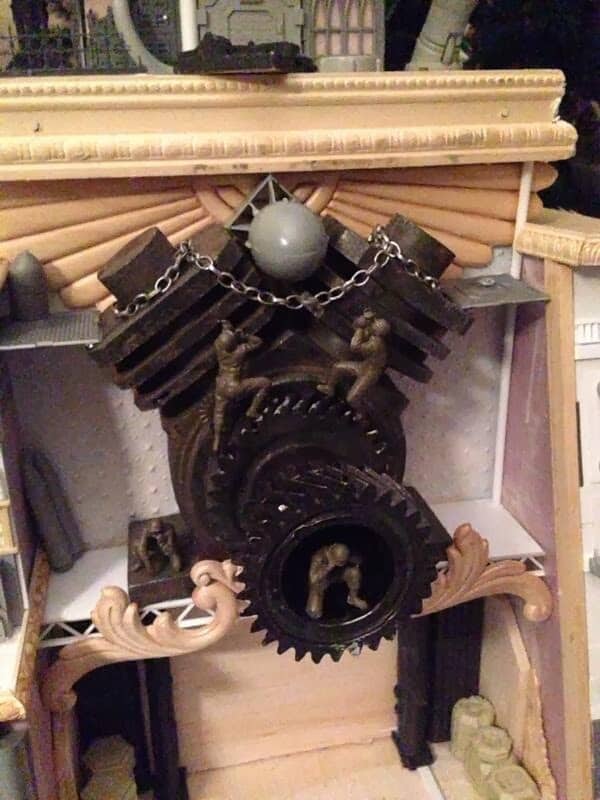
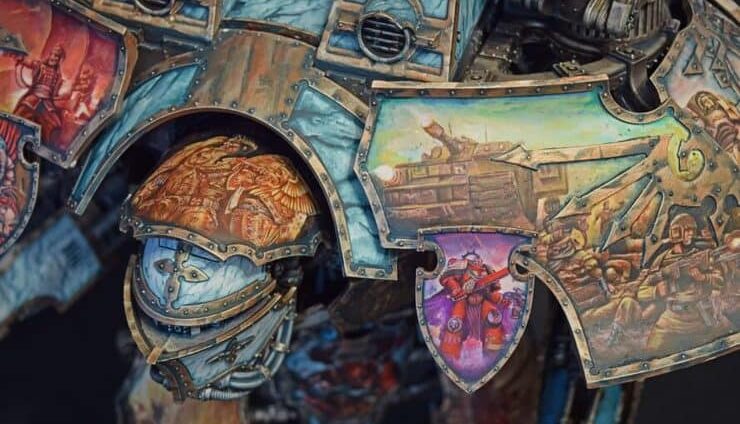
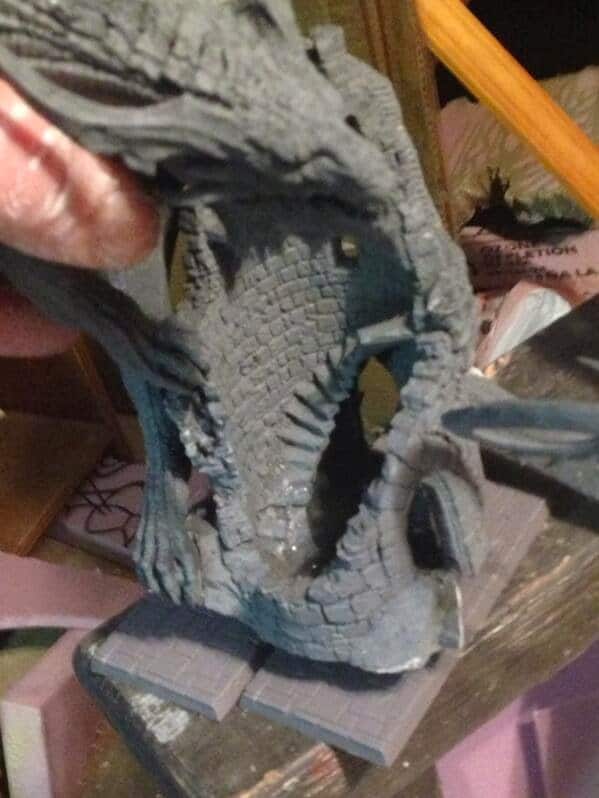
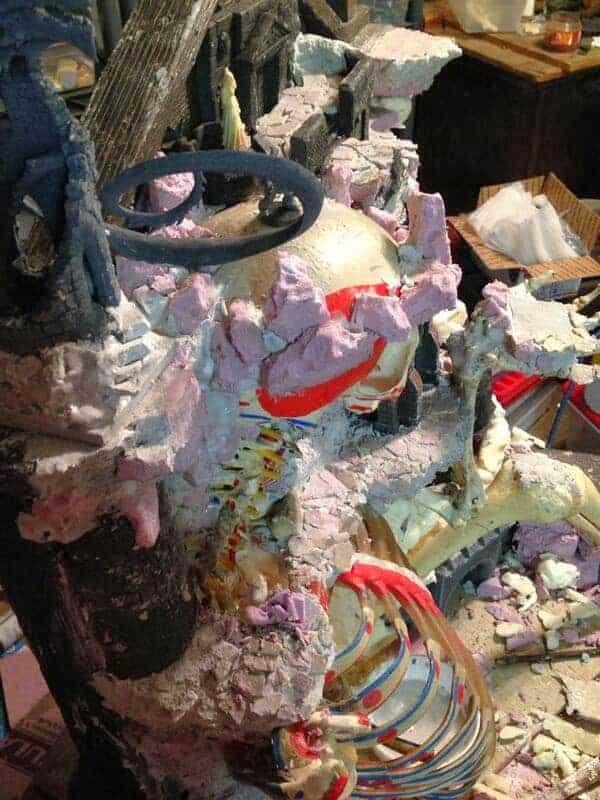
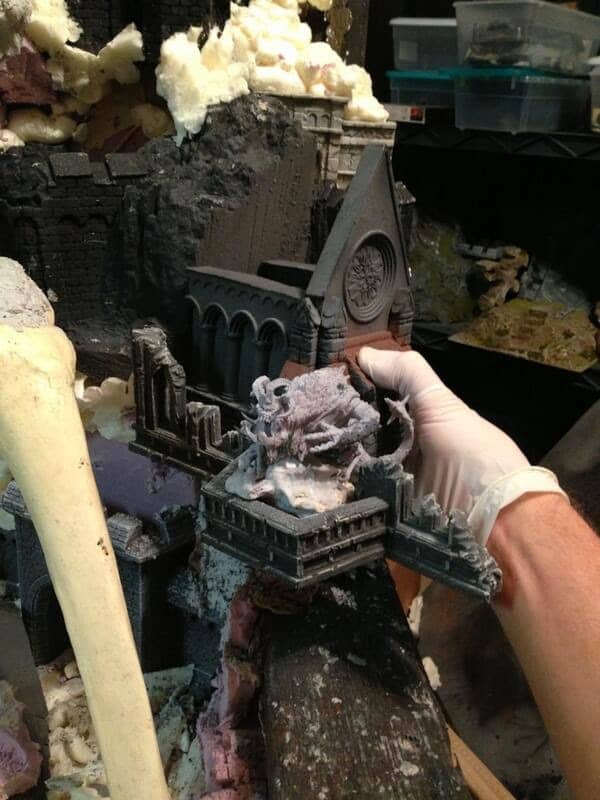
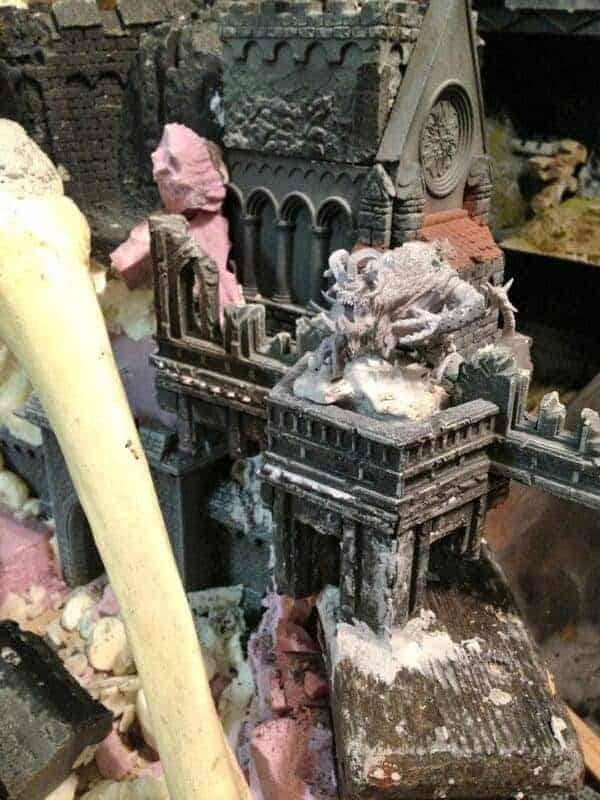
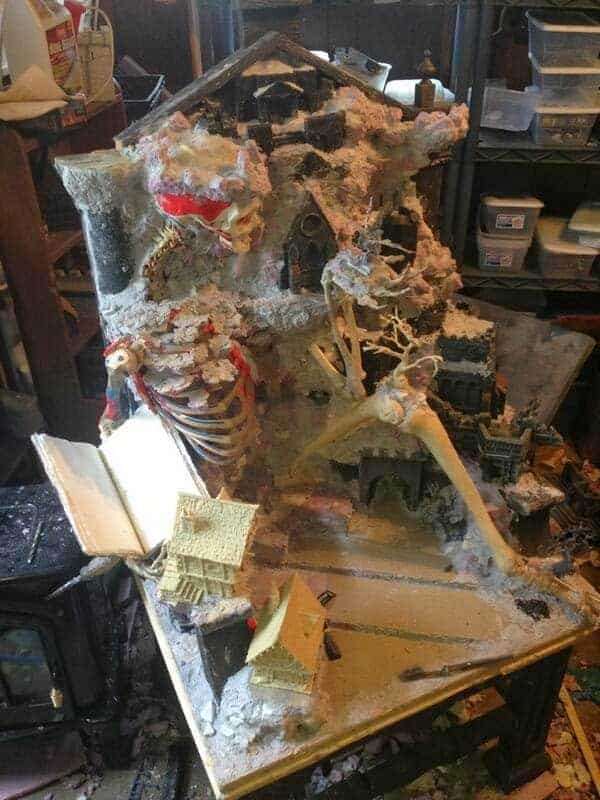
The center is my favorite part of the whole piece. For scale, those are 54mm miniatures.
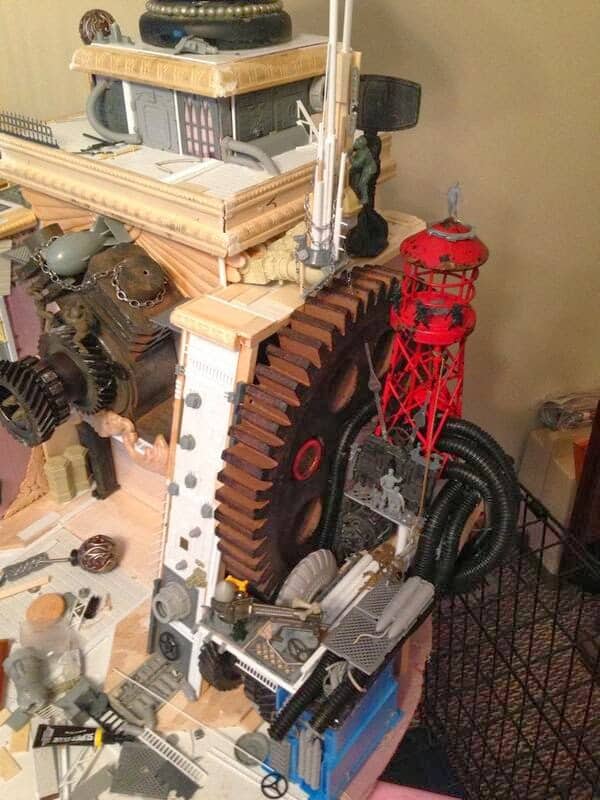

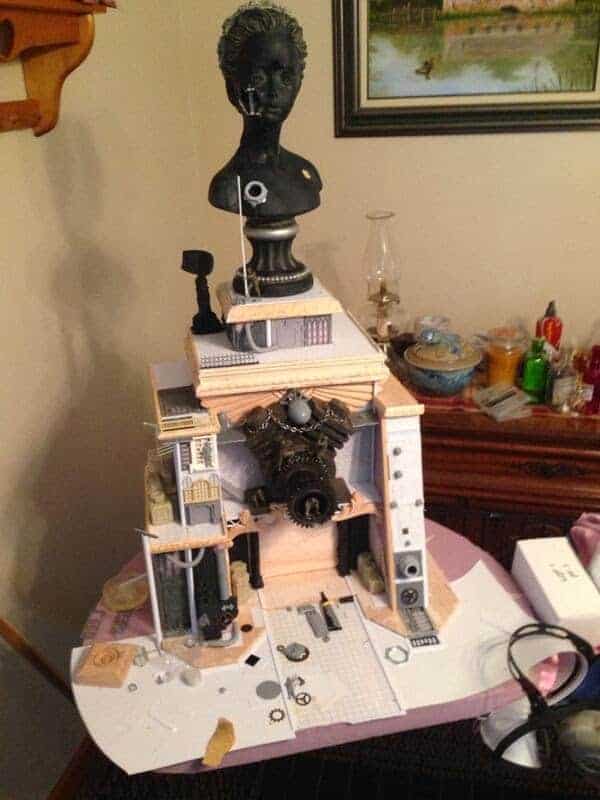
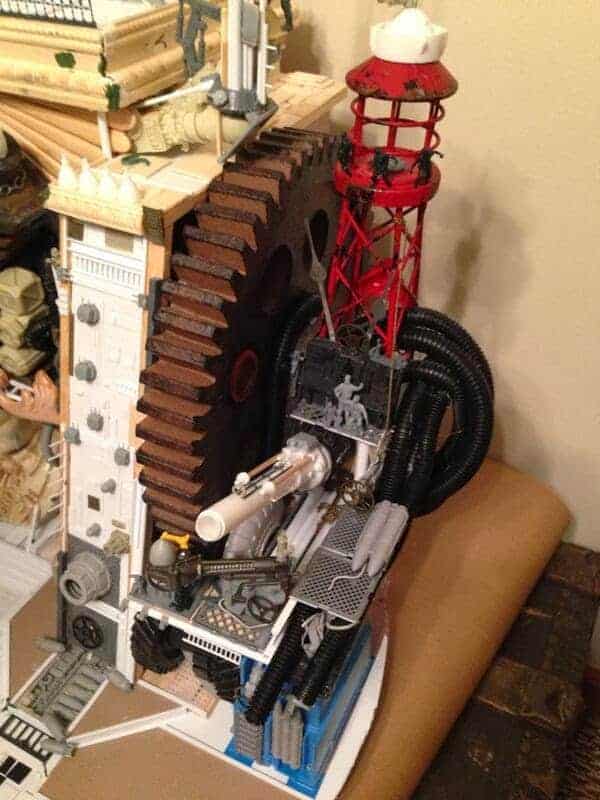
Images from the net morning of additional structure I had added. The left side is a sort of radar tower, and the left a very mechanical cannon. I am very happy with how the right side cuts off visually into a very dirty and exposed mechanical section, a lot like how the Millennium Falcon or other ships would have missing sections of hull with exposed workings. The radar dish is an homage to all the traditional gothic looking spires of antennas we see on every single science fiction ship ever designed.

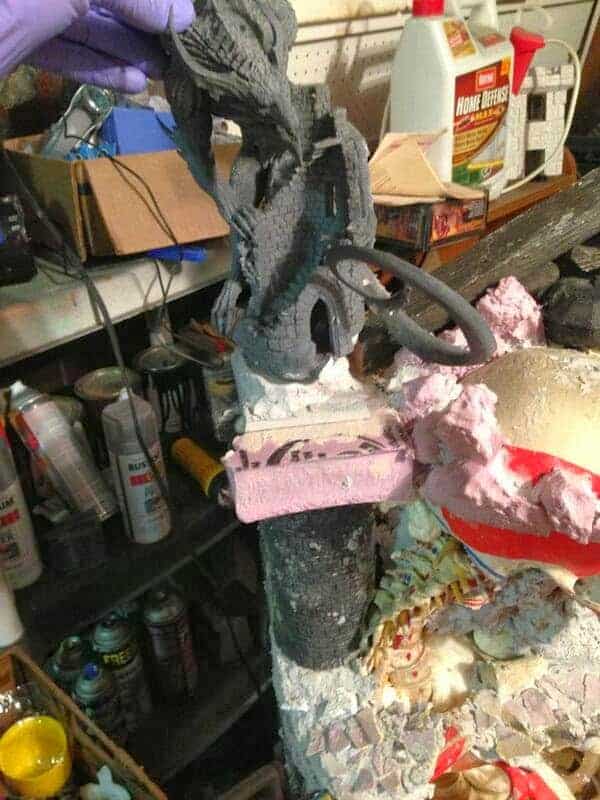
Added Mozart as some sort of strange hydraulic door. I don’t claim to understand or have an ability to explain how this thing works, but I think that is one element to the magic of early ship designs – they didn’t really either.

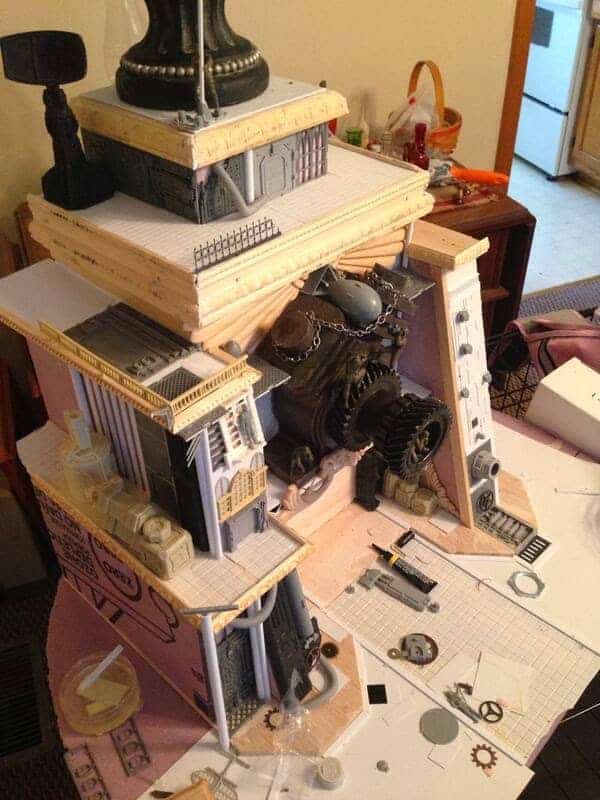
The right side comes into shape. Very happy with this side, I can hear mechanical beating of gears and steam as I work on it. It also has that weird cold war Soviet juxtaposition of “we are very proud and happy” with “soulless, dirty machines.”

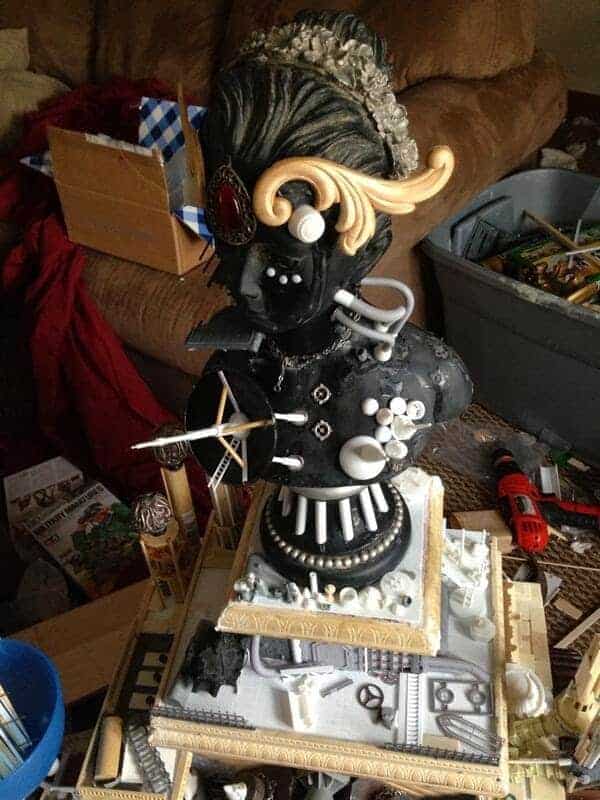
My living room is not happy with me, but it is nothing permanent! 🙂 The “bridge” is shaping up.
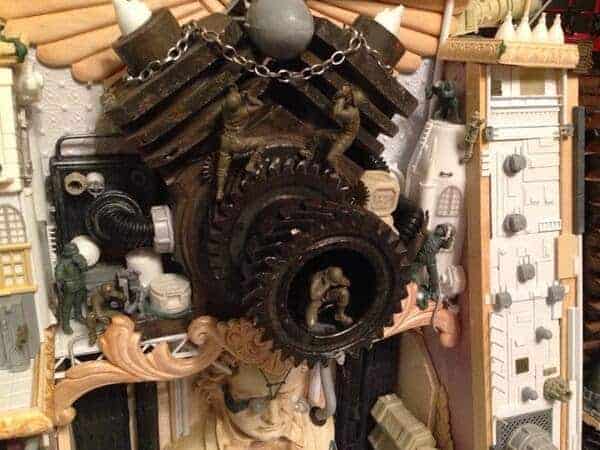


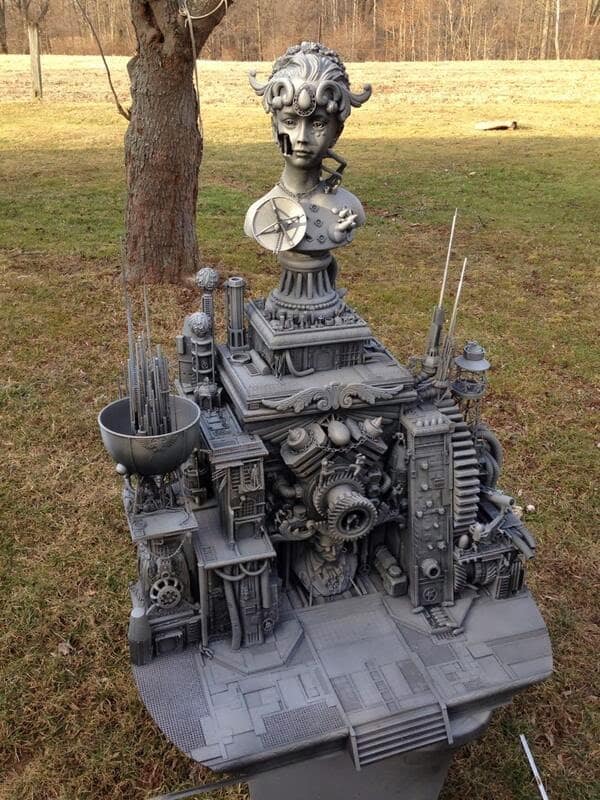
Some finished shots pre-priming. Again for scale the miniatures are 54mm, and the hole in the front center gear is about a 60mm (dreadnought) base.

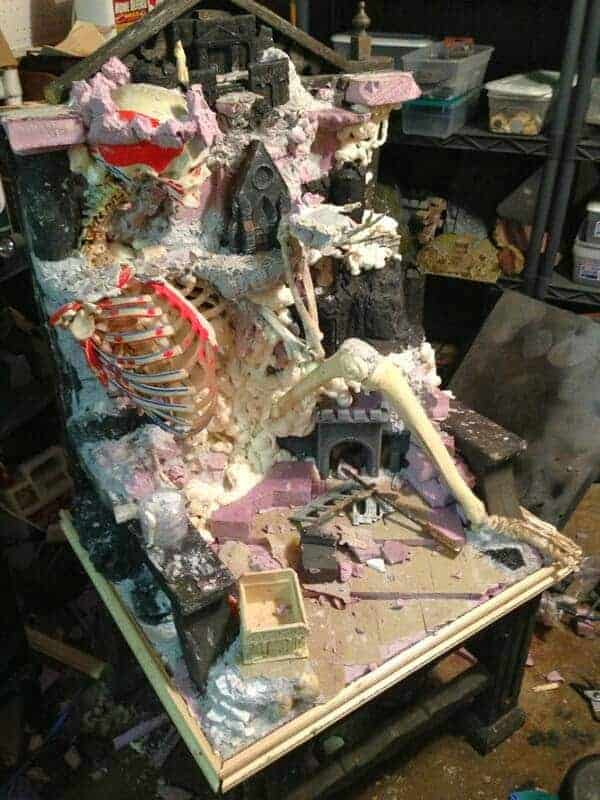
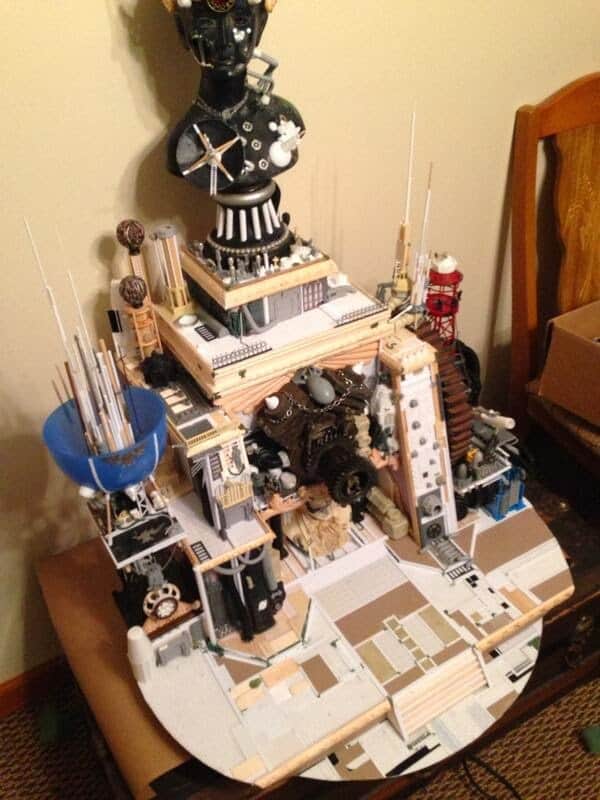
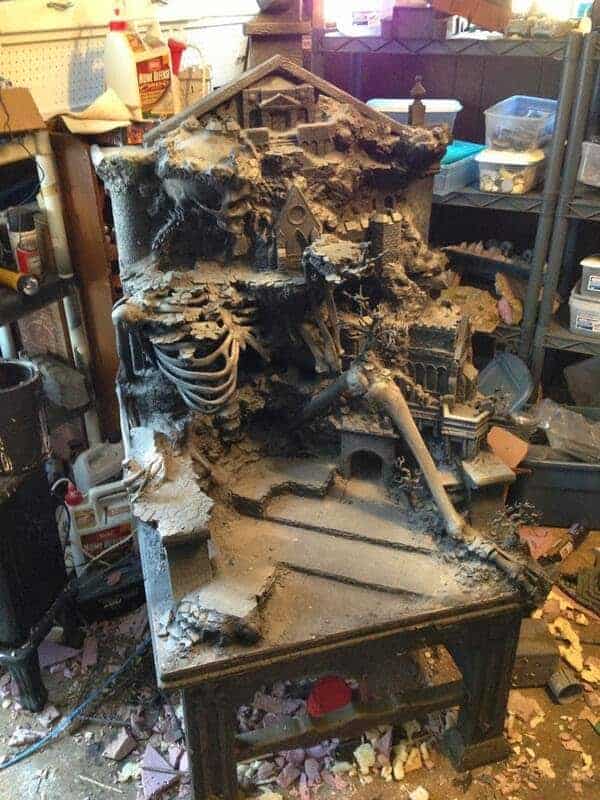
Back to the Throne
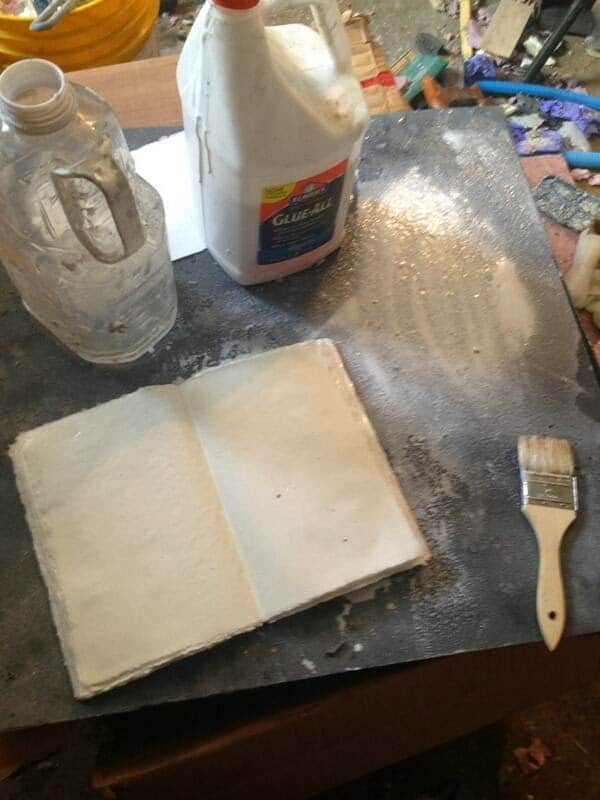
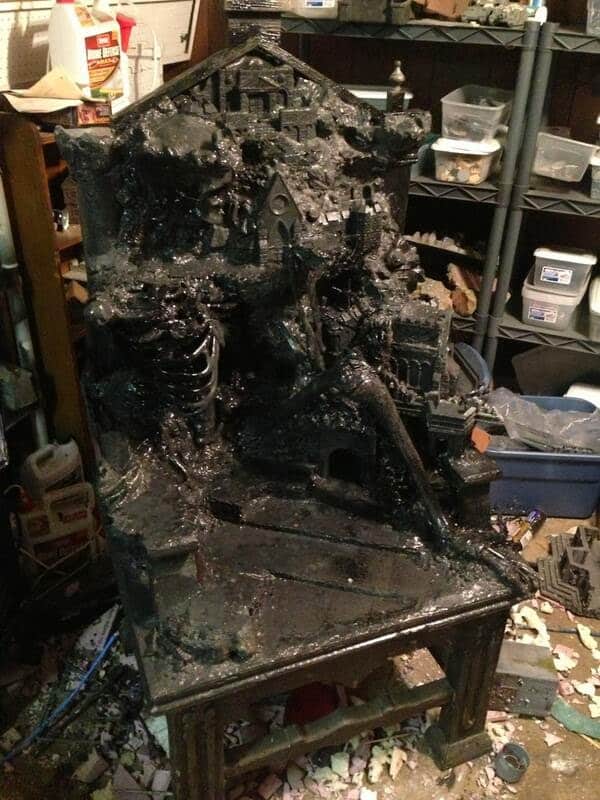
Wet primer!

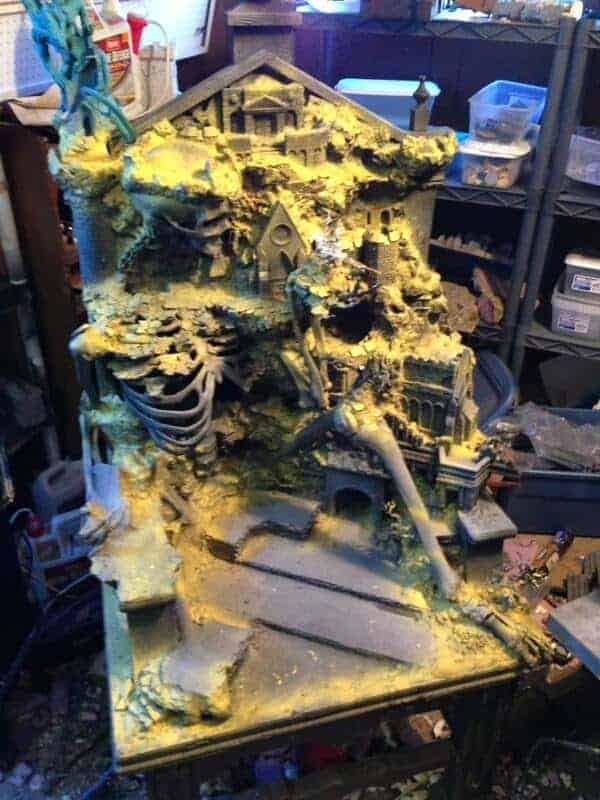
A starting basecoat of yellow.
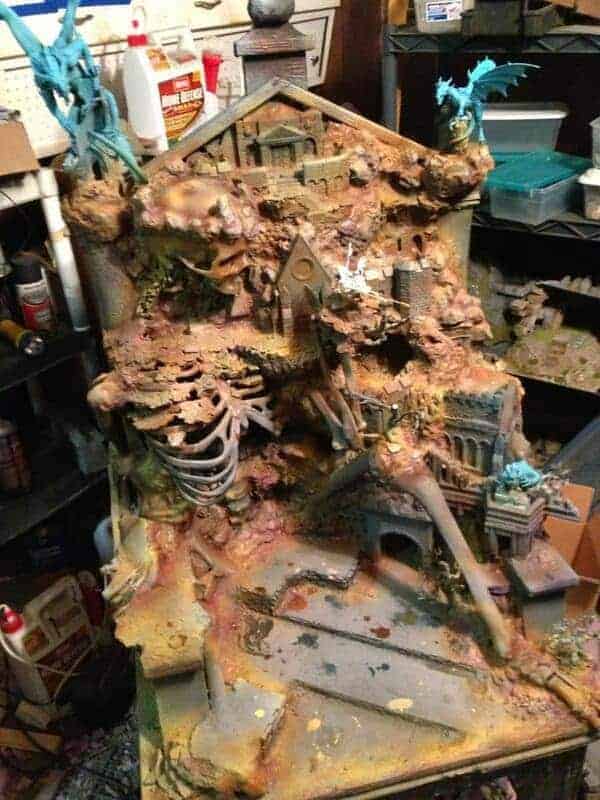
Some rough coloring. I will do the castle elements separately, and the city streets along with the bases.
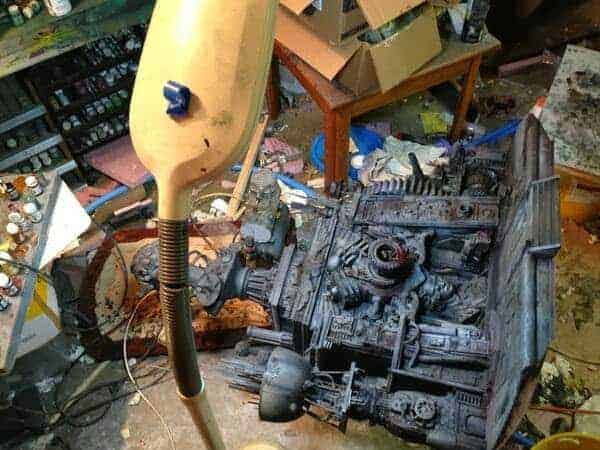
I also did a little coloring on the derelict. It is proving pretty awkward to paint!

And dry and back in the house. I will do some hand brushing highlighting and shading over it. Some places are just too hard to get to.
For next update I should have a finished ship, a lot of progress on the throne, and a final look at the egg before painting.
Stay tuned! Keep up with my latest work on Facebook, or connect with me on the blog! –GMM