Check out the latest news on the upcoming Star Wars Armada game from Fantasy Flight Games!
“That is the system. And I’m sure Skywalker is with them. Set your course for the Hoth system.”
–Darth Vader
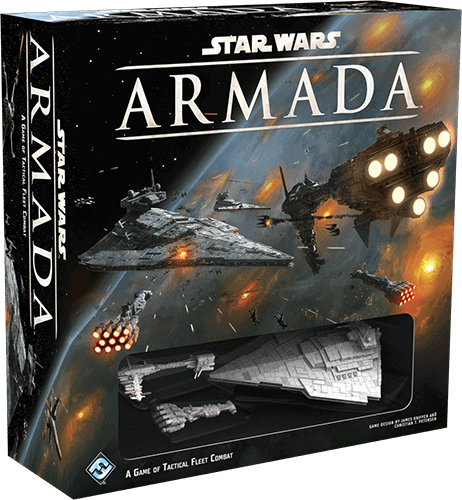
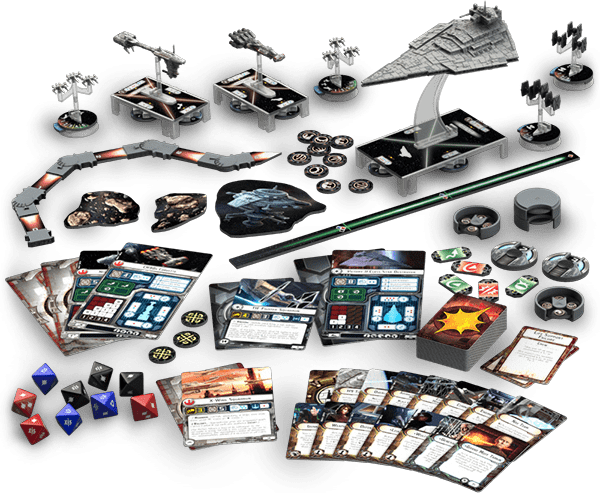
The Star Destroyers are on their way. Star Wars™: Armada is coming!
Imperial Star Destroyers and TIE squadrons go head to head with Rebel corvettes, frigates, and X-wings in this epic miniatures game of tactical fleet battles.
In our first previews, we’ve seen how Armada clearly differentiates its massive and explosive battles from the sort of lethal, fast-paced skirmishes waged between fighter squadrons. We explored the ways that the game’s command stacks add personality to the game’s different ships and force you to plan for the future. Then, we took a closer look at how your capital ships can attack your enemies, and we identified the different defenses they can use against incoming fire.
Today, we look at how your ships make use of the game’s unique maneuver tool and how they interact with obstacles. We’ll also address some of the tactical implications that follow.
Hit and Run
In Armada, your capital ships both attack and move during the Ship Phase. To review, once you enter the Ship Phase, you and your opponent take turns activating your ships, starting with the player who has initiative. When you activate a ship, you reveal its command dial, perform up to two attacks, and then move.
- Reveal Command Dial
- Attack
- Execute Maneuver
Among other things, this means that you’re always setting your course to set yourself up for the next round’s attack, rather than setting a course to set yourself up for an attack in the same round. Accordingly, you have to consider where your opponent’s ships have already moved, where the unactivated ships are likely to move, and which ships are likely to activate first in the coming round. It doesn’t do you any good to line up all your guns at a single enemy ship if your opponent will just choose to have it activate first, attack you at close range, and then fly away.
That said, you’ll always have a good idea of your opponent’s possible courses. You both use the same maneuver tool, your opponent’s ships have speed charts that are open information you can reference at any time, and each ship in the game has its current speed visibly locked into its speed dial. What you won’t know until your opponent activates a ship is whether or not that ship has been assigned the navigation command and can adjust its speed and bearing more than the open information would suggest.
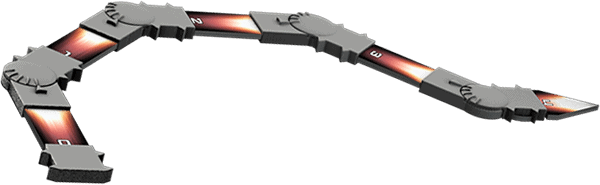
The game’s unique maneuver tool. (Product image not final. Pending Licensor approval.)
Thus, the game’s movement is yet another element that plays into the importance of making far-sighted, tactical commands. When you set your ship’s course, even though you know the exact location of every ship on the battlefield, you are never lining up an immediate attack. Instead, you are always anticipating the future, taking your best guess at how the battle will look by the time your ship next activates.
Charting Your Course
To set a ship’s course, you begin by resetting the maneuver tool so that all of its joints are straight. Then your ship’s speed indicates how far it will travel along the maneuver tool. At each joint, you can click the tool left or right a number of times away from the center position as indicated by your ship’s speed chart.

The speed charts for the CR90 corvette (left) and the Victory II-class Star Destroyer (right).
Each column on the speed chart corresponds to the speed number at the bottom of the column and shows the number of times that each joint can be clicked while your ship travels at that speed.
The rows on your ship’s speed chart correspond to the joints on the maneuver tool. The row directly above the speed number relates to the first joint, the second row relates to the second joint, and so forth. An “I” indicates that the joint can be clicked once in either direction, while an “II” means it can be clicked twice. Meanwhile, a “–” means the maneuver tool must remain straight at that joint. Of course, if you have revealed a navigate command, you can choose to adjust one of the maneuver joints by an additional click.
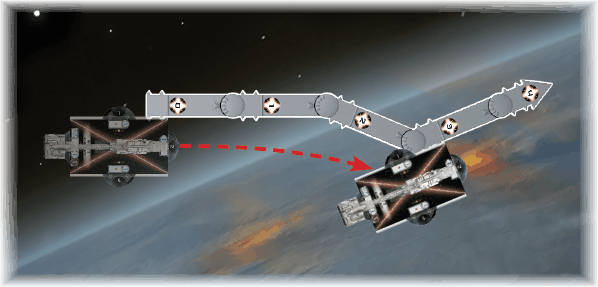
A Rebel player plots a “3” speed maneuver for his Nebulon-B escort frigate, adjusting the second joint one click to the right and adjusting the third joint two clicks to the left.
When you set your ship’s course, you are allowed to use the maneuver tool to measure your ship’s possible positions before you commit to the move.
Flying Through Obstacles
“Asteroids do not concern me, Admiral. I want that ship, not excuses.”
–Darth Vader
There may be times that your relentless pursuit of your foes may lead you into obstacles, and there may be times that your opponent’s superior firepower may prompt you to seek cover. In either case, it’s handy to understand how Armada deals with obstacles and collisions.
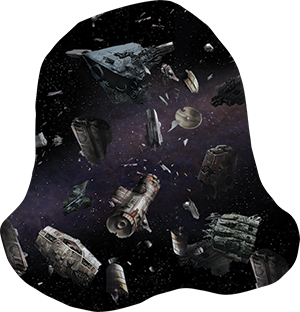
There are three types of obstacles in the Armada Core Set: asteroid fields, debris fields, and space stations. Each interacts with your capital ships and squadrons in a different fashion.
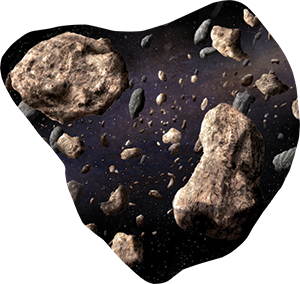 |
Asteroid FieldA ship that moves overlaps this obstacle receives one faceup damage card. Squadrons are unaffected. |
 |
Debris FieldA ship that overlaps this obstacle suffers two damage on any hull zone. Squadrons are unaffected. |
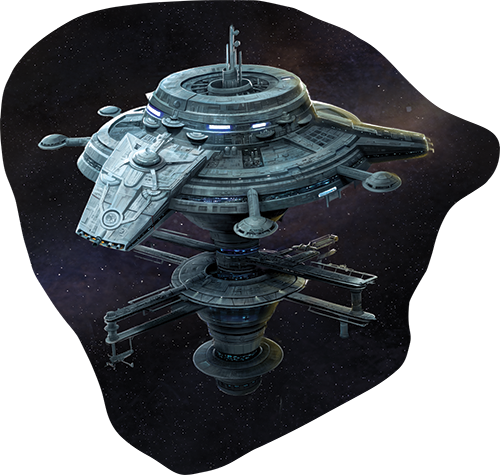 |
StationAt the end of a ship’s movement, if it overlaps a station, it may discard one of its faceup or facedown damage cards. At the end of a squadron’s movement, if it overlaps the station, it may recover one hull point. |
Additionally, obstacles can obstruct attacks, as can capital ships.
In our last preview, we showed how you build a pool of dice for each your ship’s attacks based on the hull zone from which it’s firing, the range at which it’s firing, and whether or not you have revealed the concentrate fire command to add a die. However, obstacles and capital ships that fly between your ship and its target can also impact your dice pool.
Not only must your target be within the range and firing arc of the hull zone from which you choose to launch your attack, you must have line of sight to the hull zone you want to target. To determine whether or not you have line of sight, you trace a straight line from your hull zone’s yellow targeting point to the targeting point of the defending hull zone. If this line is traced through any hull zone on the defending ship other than the defending hull zone, you do not have line of sight to that hull zone and must declare another target. If you do not have another valid target, you lose the opportunity to perform the attack.

From the Star Destroyer’s front hull zone, the Imperial player has clear line of sight to the Rebel player’s X-wing squadron, as well as the CR90’s front and left hull zones. However, the Star Destroyer does not have a valid shot at the CR90’s rear hull zone since the line of sight first passes through the CR90’s left hull zone.
If you have line of sight, but that line traces across another ship or an obstacle, your attack is obstructed. Whenever your ship is obstructed, you roll one less die of your choice.
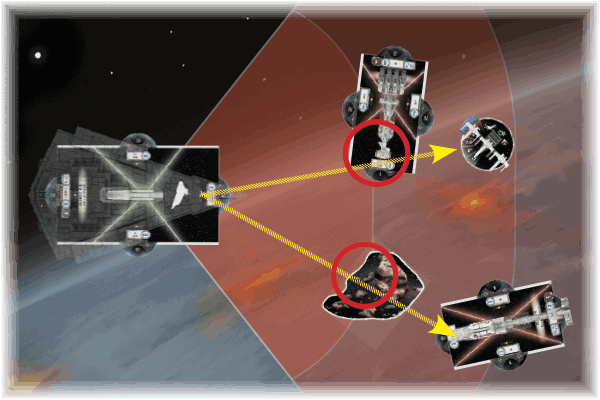
The Star Destroyer’s attacks are obstructed against the X-wing squadron and the lower CR90.
Naturally, this presents keen admirals a wide range of tactical options. As they try to take flanking positions, weaker Rebel ships may race around obstacles so that the more powerful Imperial Star Destroyers cannot find unobstructed attacks. Alternatively, an Imperial player, knowing that his opponent will want to focus fire on a damaged Star Destroyer, may commit other Star Destroyers to position between the Rebel fleet and their intended target. In this way, even though the Imperial player loses a die from his damaged Star Destroyer’s attack, that loss might just be one of six dice, whereas the Rebel player is likely to have each of its attacks cut by a third.
Collisions
While you follow one set of rules whenever your ship overlaps an obstacle, you follow another set of rules whenever your ship would collide with another ship or one or more starfighter squadrons.
First of all, it’s worth remembering that you always have the opportunity to measure your movement before you move. Thus, if your initial course would force your ship to overlap another ship or squadron, you can adjust your course. However, in some circumstances, you may still find it impossible to avoid a collision, or you may find it advantageous to ram into your opponent’s ship.

When the Rebel player sees that the course he wanted to set for his CR90 corvette would cause it to overlap the Imperial player’s Star Destroyer, he can either adjust the maneuver tool at its first two joints or suffer the consequences of the collision.
Whenever your ship’s final position would overlap another ship, it cannot finish its movement normally. Instead, you temporarily reduce its speed by one increment and attempt to execute your ship’s movement at the reduced speed. If reducing your ship’s speed by one still wouldn’t permit a legal movement, you continue to decrease your speed by one increment and attempt to move until your ship can legally finish its movement or until its speed is temporarily reduced to “0,” in which case it does not move.
After resolving this movement, your ship and the closest ship that it overlapped both receive one facedown damage card.
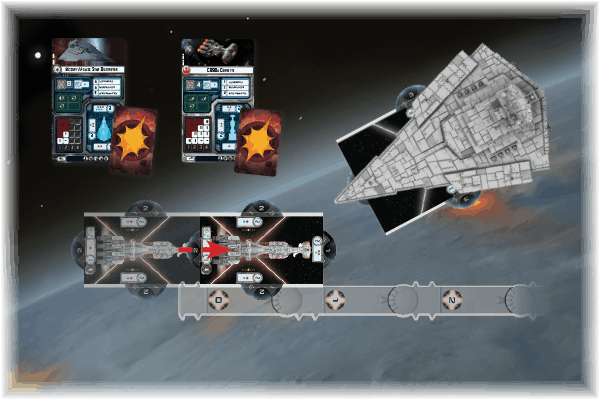
The Rebel player decides to have his CR90 corvette collide with the Imperial player’s Star Destroyer. He reduces the corvette’s speed by one so that both ships have clear shots at each other from their front hull zones, and then both ships suffer one facedown damage.
On the other hand, if your ship’s final position would cause it to overlap one or more squadrons, you complete your ship’s movement normally and move any overlapped squadrons out of the way. Then, your opponent places all of the overlapped squadrons next to your ship so that their bases are touching its base.
Move to Attack Position
“They’re moving to attack position!”
–Captain Needa
Movement in Armada isn’t just a matter of picking a part of the battlefield and flying to it. It’s all a part of the flow of battle. You have tactical options at every turn, and it’s up to you, fleet admiral, to make the most of them, turning the battle in your favor.
Next: We look at the rules for squadrons and the role they play in your fleet!