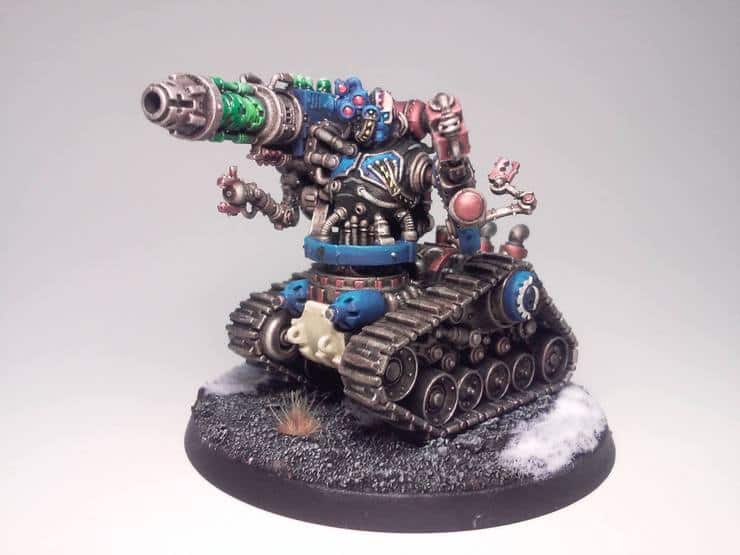
Hello Everyone today I am going to discuss how to paint AdMech Kataphrons, come see!
For this tutorial I will be explaining the paints I used for each step as I go. There were just to many to list at the begining of the article.
The paints you will need for the first step are as follows.
1. Leadbelcher
2. Nuln Oil
3. Ironbreaker
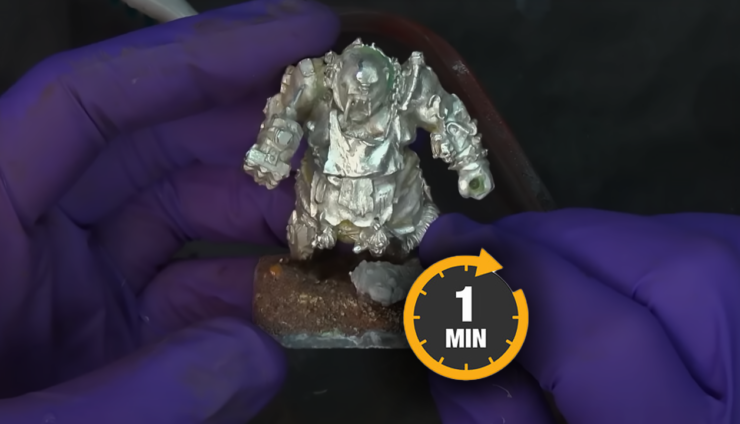
This first step is just getting the whole model painted up in metal. Start by priming the model black, usually I say prime coat doesnt matter but in this case it does. After priming the model black, drybrush the whole model in leadbelcher. Once the leadbelcher is dry wash the model in nuln oil. Then you will just need to drybrush model ironbreaker.

For the next step the paints you will need are as follows.
1. Brass Scorpion
2. Agrax Earthshade
3. Runefang Steel
Now in this next step you are finishing the metal. Take the brass scorpion color and go around to all the areas you want to be bronze. This is personal preferance just pick out any areas you think need to be defined in brass. After you have all the brass layed down wash the whole model in agrax earthshade. Once the agrax earthshade is dry carefull drybrush the model runefang steel.

The paints needed for the next step are
1. Macragge Blue
2. Teclis Blue
3. Baharroth Blue
Now that all your metal is layed down you will want to start on the armor itself. I started this by putting down a layer of Macragge blue over all the areas of the armor that I want to be colored. you can use any colors you like, I am going for a icy theme. Once your base layer is down you will want to use a method known as wet blending and start layering up to teclis. You can find multiple videos on how to accomplish this method. After you have worked the model up to the teclis layer add in just a touch of baharroth to the final layer and edges to give it that real reflective look.

The last colors you will need
1. Warpstone Glow
2. Warboss green
3. Moot green
For this last step Im not going to go over everything I did as alot of it was covered in my previous articles, painting flesh faces, and painting gemstones and lenses. But I will go over the glow on the gun. For the glow on the gun you will want to drybrush a nice basecoat of warpstone green over the whole area. Now take the warboss green and drybrush just where you want the charge of the energy to be focused. Then just drybrush moot green into the very center where the energy is the hottest.
Well thats all for now. As always dont forget to have fun!!
If you buy something from
a link on our site, we may earn a commision. See our ethics statement.

About the Author: Joshua Dunkerly
I have been a hobbyist/player for 15 plus years. I like a multitude of tabletop games but mostly enjoy the ones where I get to build or paint something! Don't get me wrong, the game part is fun but there is nothing like putting a model you are truly proud of on a table.