Painting an army’s worth of bases can be a daunting task. This method is so simple a blind monkey could do it and wow the crowds, in just 8 steps.
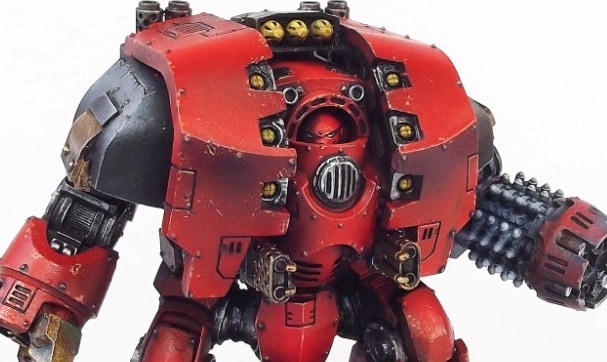
This is the second part of the 3-parter How to paint an Ultramarine Army series. You can catch Part 1 here, where we paint 40 models in a little over a day. This one is all about basing.
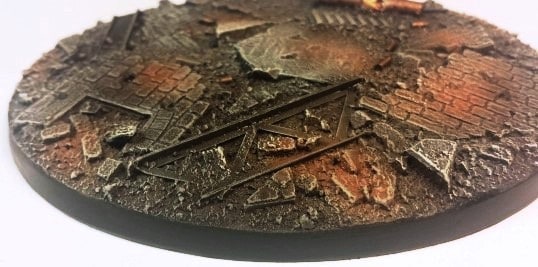
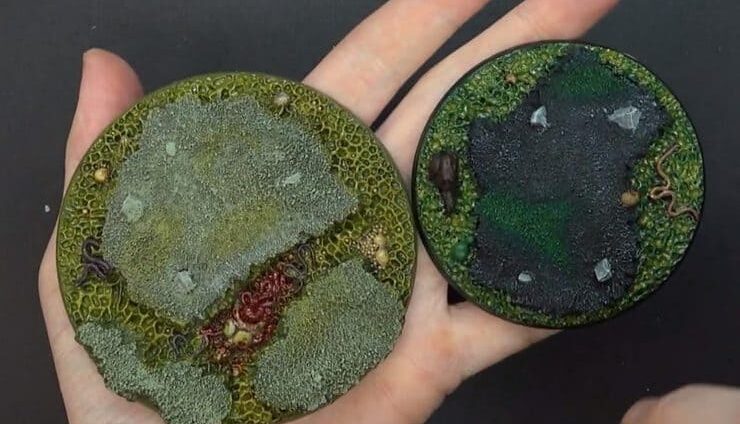
World’s Most Efficient Urban Basing
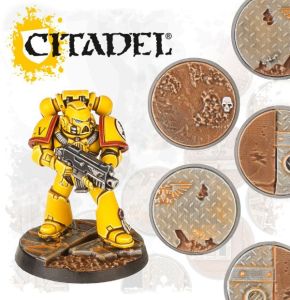
Using detailed bases is a great time saver. This project I used the Citadel Sector Imperialis set because I had it around, but you can get almost any kind of textured bases from Secret Weapon Miniatures or Dragon Forge ( and a gazillion others ). We are going with a brownish-grey look similar to what you can find in this dollar e-book
Again, in an effort to save time, all bases are done in a single sitting, with some extras in case you want to add models to the list.
To best trick in this whole article is here: Leave the bases on the sprues to paint them. In the case of resin bases that don’t come on sprues, glue them with hot glue on a couple of thick cardboard pieces.
All the techniques used for the bases are broad and straightforward, and suited for volume. There’s no point in handling every single base on it’s own. It’s not prettier, it just takes a lot more time.
If you are following along, you can do all the bases after step 8 of part 1. Besides bases and display board, between step 8 and 9, all you can do on the models is literally watch paint dry. So make that time count instead!
Step 1
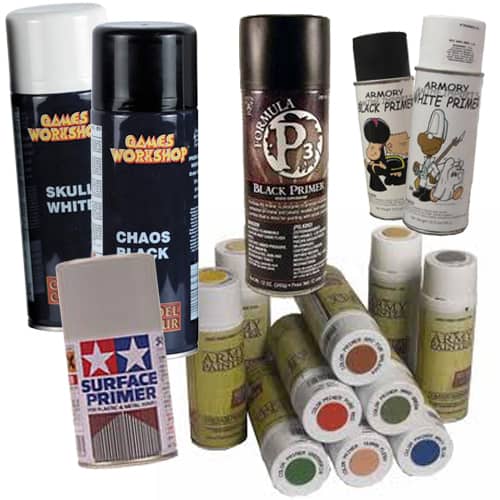
Using your favorite kind of black primer, spray away on all the bases. I like shaker cans a lot more than airbrush primer for this, as I want maximum coverage. You can do 2 thin coats, or a heavier one and touch up with a large brush and thinned down black paint, but you really want bases covered all in black.
Step 2
Light grey spray. When we say light, we don’t mean the grey, we mean the spray. Again, I much prefer a shaker can for this as it’s a lot faster and the result doesn’t really need to be silky smooth.

I used The Army Painter’s Matte Black and Uniform Grey on the army.
Super fine spray on the bases, leaving black showing through. Done right, it will look a lot like dusting or speckles of grey on a black base.
Step 3
Using a dark brown like Citadel Rhinox Hide, apply batches in random areas, focussing mostly in recesses. I like to use my airbrush for this, but I did it for years with thinned paint and a large brush and the results are exactly the same.
Again, you don’t really need to blend that in with anything, we’re just looking for patches of brown.

Step 4
Much like step 3, but with a lighter brown, like Citadel Skrag Brown. It’s pretty much the exact same as the Rhinox, apply it here and there, it can overlap the Rhinox or be in different parts.
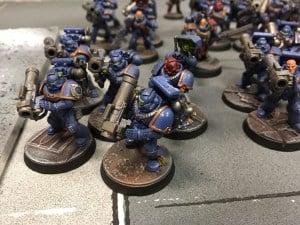
After step 4, your bases should look like a chaotic splash of colors, with 40-70% in tones of brown and the rest still showing the black/grey primer.
Step 5
Using a large brush, we’re going to blend in all the colors using a light grey. And this time we mean light grey as in the color. Citadel Celestra Grey is my weapon of choice for this.
Drybrush the entire base with grey, building up the color in 1 or 2 light coats. The chalky look of drybrush will make your concrete lifelike and blend in the various tones under. Don’t over do it, you still want your 4 previous steps to show.
Step 6
Same brush, same technique, this time using Ulthuan Grey and going really lightly over some raised areas only.
Step 7 ( Optional)
Not really optional, but situational. If there are additional details on the bases, like shell casings, skulls and cadavers, now is a the time to give them some love. Unless you know what you’re doing and which model is going on top of a specific base, don’t over do it on these details or make them pop too much, you want to bases to complement the model, not the other way around.
Step 8
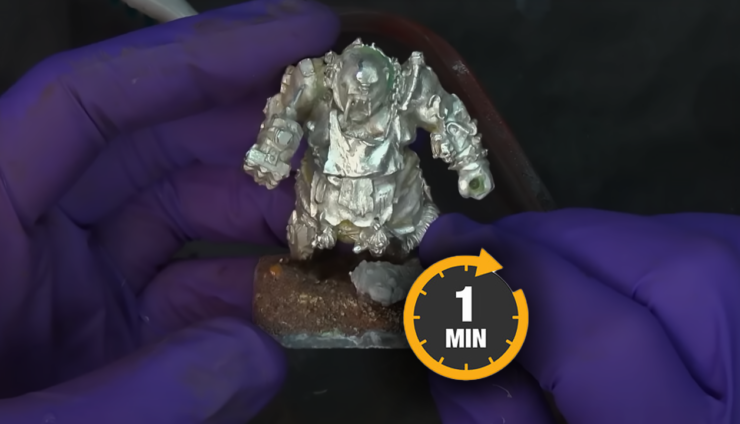
Clip the bases from the sprues ( or unglue them from your cardboard ), glue models on them, and paint the edges with black.
 If you want to go further into the techniques for these bases and support a brother out, be sure to get the dollar e-book with these techniques. Don’t miss the next part on the building of a tournament display board!
 No excuses, hobby like a champion!