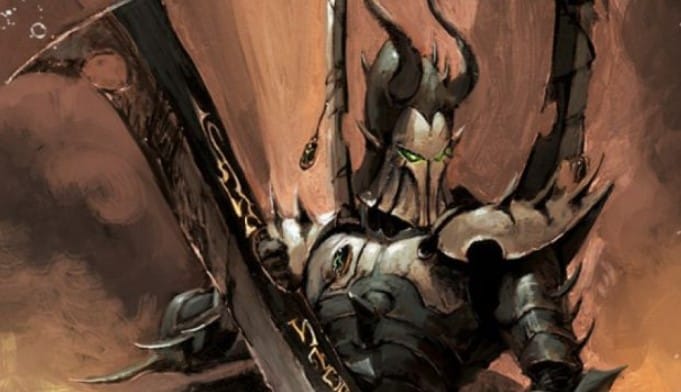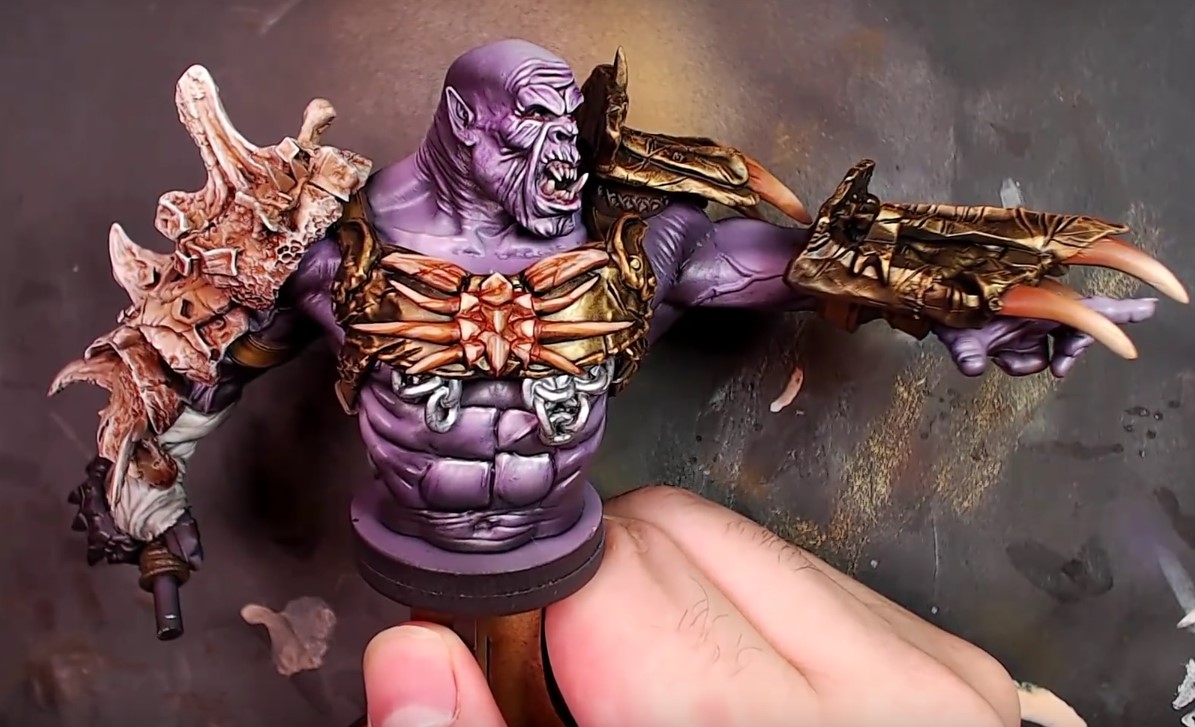
The Orc Warlord’s antiqued gold and aged bone armor effects are easy to achieve with an airbrush and a few simple steps. Painting these pieces in subassemblies with an airbrush is even easier.
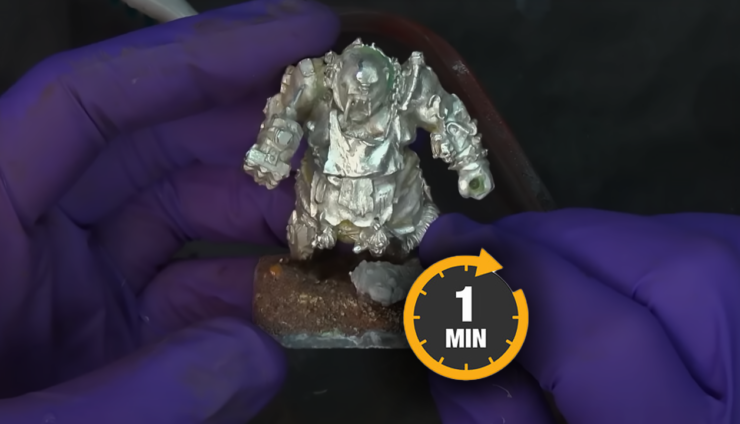
Getting armor for the amazing Orc Warlord from 3DArtDigital is super easy with an airbrush… and subassemblies! Keeping the model pieces off the model allows you to do the skin tone nicely underneath the armor and creates a more pleasing view of the model itself. When it’s all put together, the model will look even better than if done all together.
Take a look at how easy the process is, then be sure to watch the video below!
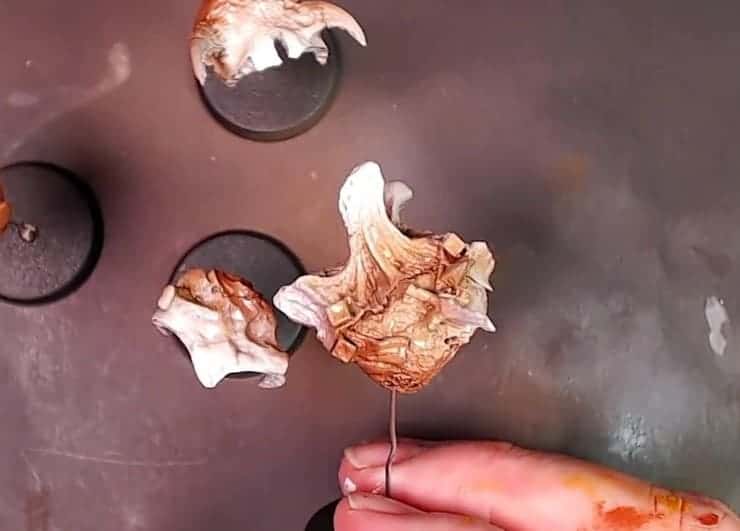
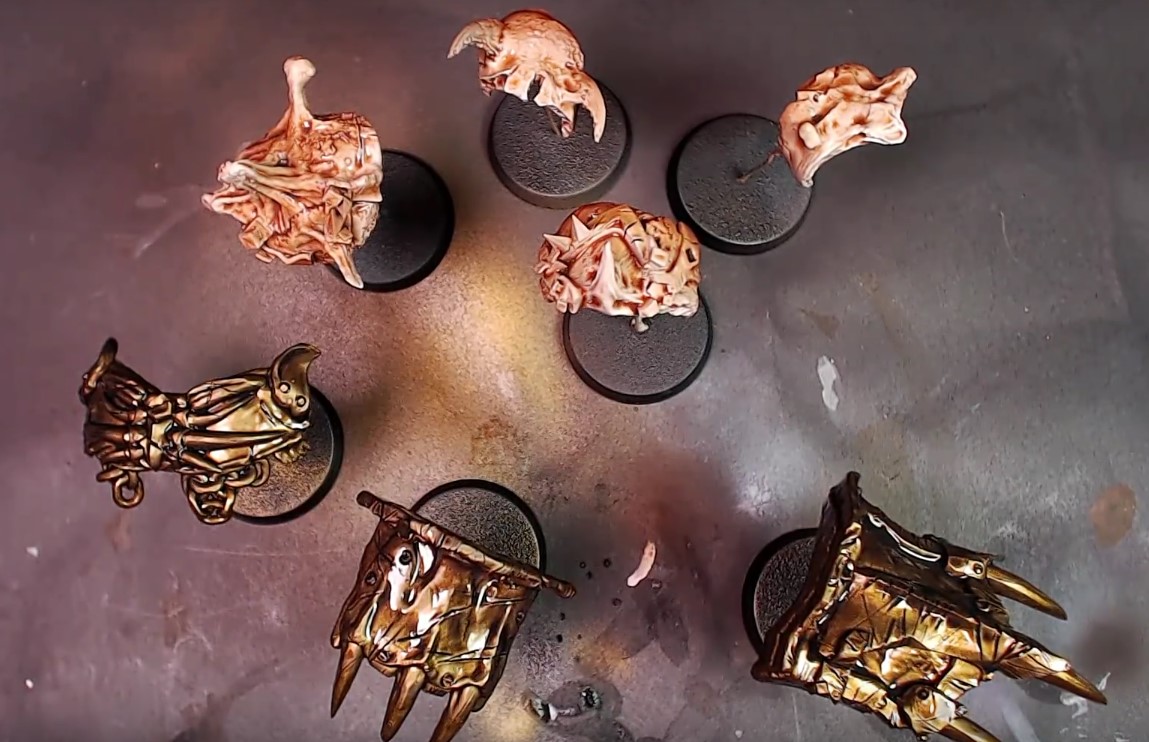
To start, spray P3 Bloodstone over the bone armor for a good base. Mix P3 Bogrin Brown with the Bloodstone and spray it on top to start a soft transition. Finally, spray pure Bogrin Brown over that to build up even more of a transition and create the base for aged bone.
Add in Meady Ochre by P3 and lightly glaze that up, keeping the browns toward the base and building toward a cream-colored tip. Then spray Weathered Wood by Secret Weapon Miniatures over the top portions to bring the colors up even higher. Spray a little white onto the tips.
To stay busy while those are dry, move on to the metal armor. Spray Scale75 Decayed Metal over the surface to give a great base. Then spray Black Gold by Scale75 over parts to work up an antique looking finish.
Once dry, coat all of the pieces in gloss.
When the gloss coat is dry, mix Army Painter Flesh Wash and Quickshade Mixing Medium together and dabb them onto the bone armor pieces. Be careful of pooling and get the wash into all the crevices. The gloss coat will help prevent staining. Brush Dark Tone and Quickshade Mixing Medium onto the metal armor in addition to the Flesh Wash. This will help the antiqued appearance of the armor even more. All the pieces must dry completely before you move on to the next step.

When dry, drybrush Weathered Wood from Secret Weapon Miniatures over the bone armor to bring out the highlights. Work the brush in the same direction and move against the grain to create a bleached bone appearance and prevent streaking. With the metal, drybrush Victorian Gold over the edges and tip to really bring out the highlight edges and maintain that aged, antique look of the metal. For the bones on the armor, use the exact same workup by applying the base with a paintbrush and work up the transition with your airbrush.
There you have it, a super easy way to get armor ready to go! For more information about this model, as well as other amazing models, check out 3DArtDigital. Be sure to press play on the video below to see the entire tutorial!