 Kenny from Next Level Painting is giving us another painting-made-easy tutorial. This time he’s focusing on a base from Elrik’s Hobbies.
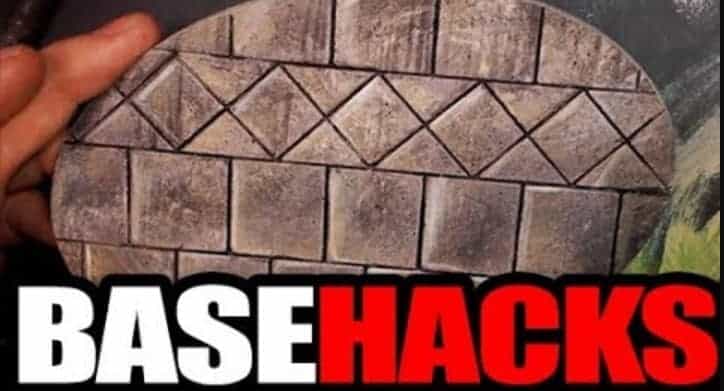
Kenny has been at the paint grindstone for quite some time and he’s picked up a few tricks along the way. Today he’s gonna help us get a base done quick and easy with these shortcuts he uses regularly.

First things first, we have to get our tan-white primed base looking filthy! There’s no science here, Kenny uses a dryer sheet and spraypaints over it to create a dirt or speckled look. Then he uses his latex glove to mush paint into the crevices until it looks roughly like above.
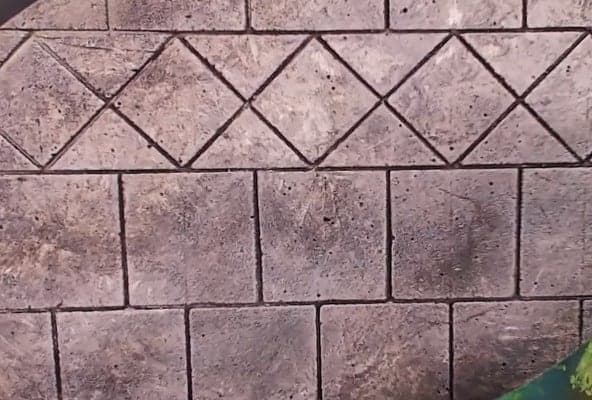
Next up, we dry brush some Ivory all over the base and follow up with a pure white. This time it’ll be drier so push harder and try to keep it irregular to get some good color differences.
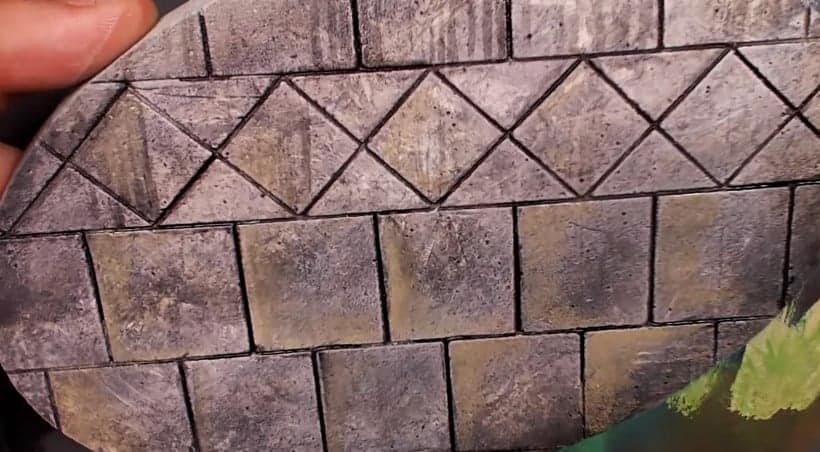
After that, he jumps into some washes. Kenny has really been enjoying Multi black from Mr.Hobby but any wash is fine, just be sure to work it into the crevices and maybe even do some streaks on tiles to give it character on one half. Next, he uses a sand oil color on the other half, but once again you can use normal paint and just glaze it on if you feel more comfortable with that.

Lastly, he takes a Whitewash and just highlights the sandy parts that he just completed to finish the base! If you want more details, be sure to watch the full video below!
You can support Kenny on his Patreon page, and stock up on all the great Chaos gear over on his Heretic Swag store.
This post contains affiliate links, as an Amazon Associate Spikey Bits earn from qualifying purchases.