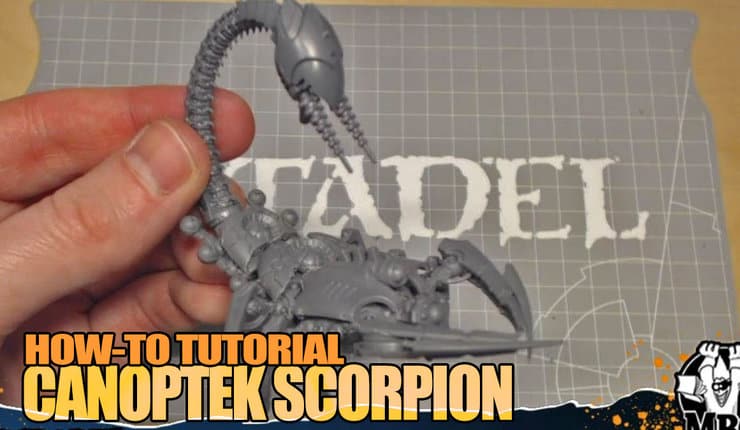
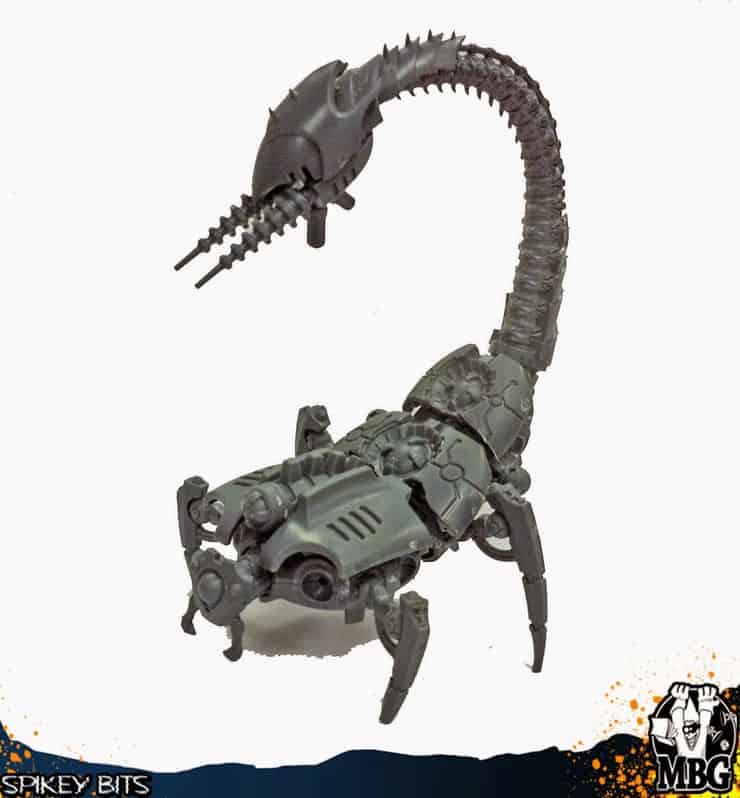
 In light of all the Necron hotness in 9th Edition, we’ve decided to blow the dust off of this Canoptek Scorpion conversion. Check out how to make your own!
A few years ago, when the plastic Wraith models first came out, Rob fooled around with some spare bits on-hand. Given some hobby time, the Canoptek Scorpion was birthed! Here’s a step-by-step process of how to make your own.
If you want more details on how to make this conversion, we’ve got an old how-to tutorial for you.
Converting a Necron Canoptek Scorpion Tutorial
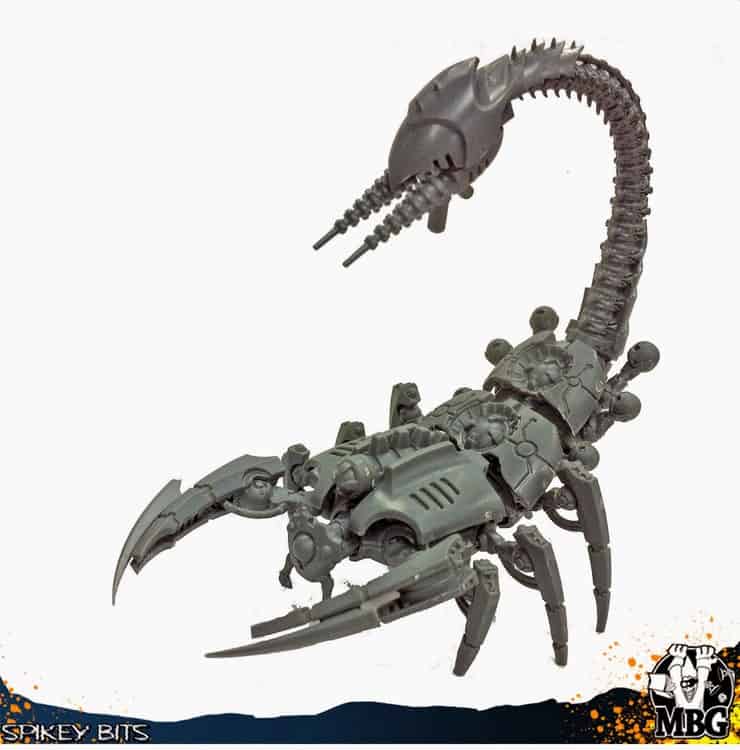 Of course, there’s no real Canoptek Scorpion with stats, so the closest unit you can use them for is the Canoptek Spyder. or perhaps the new Destroyers! Don’t worry though, you can always just use them for whatever really.
However, its footprint is just a little too big to be mounted on a 40mm base for use as a Wraith.
Canoptek Scorpion Parts List

- Dark Eldar Talos Tail
- One Necron Canoptek Wraith Sprue
- Optional- Necron Spyder Head
Building the Carapace
 This conversion is deceptively simple. Basically, you just reverse the curve of the Wraith model and make their “belly” the top of the model. You can also make some baby Scorpion models to use as Scarabs out of some spare Necron parts lying around to go with the whole Spyder counts-as theme.
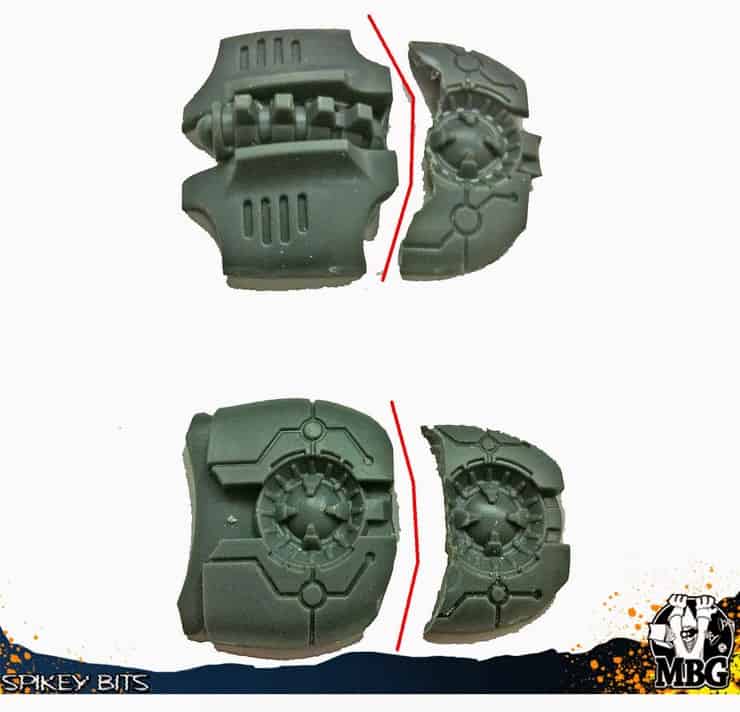 First off, you need to cut down the two armor plates that normally go on the top of the model, as shown. They need these cuts to be able to reverse their angle and go from curving around the back to curving around the front of the model.
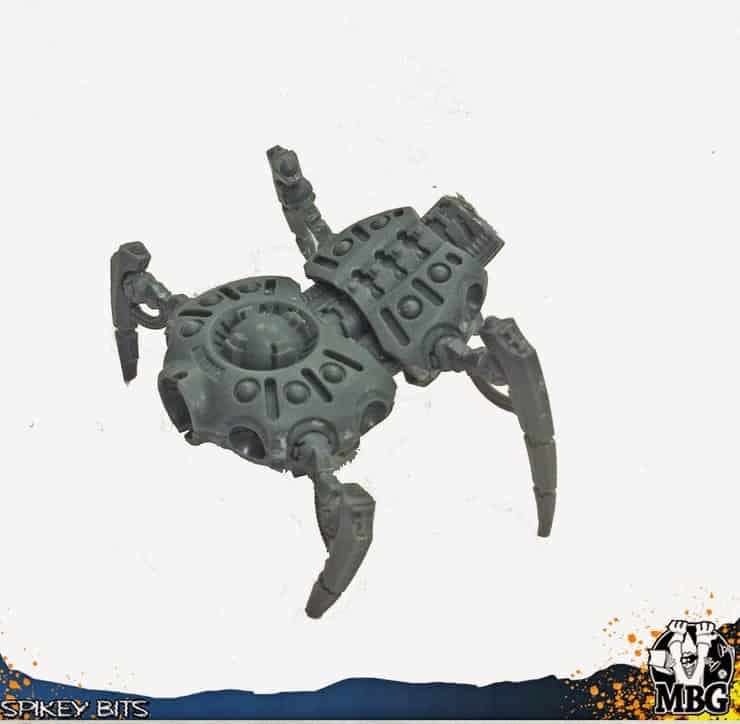 Then, you just start building the Wraith as normal, attaching the sections of its torso together. As you can see, what is normally the “belly” of the Wraith is now the “top”.
You’ll also want to start adding sets of legs at this point so the assembly will hold itself together as it gets built up. This also helps to counterweight the tail as you attach it.
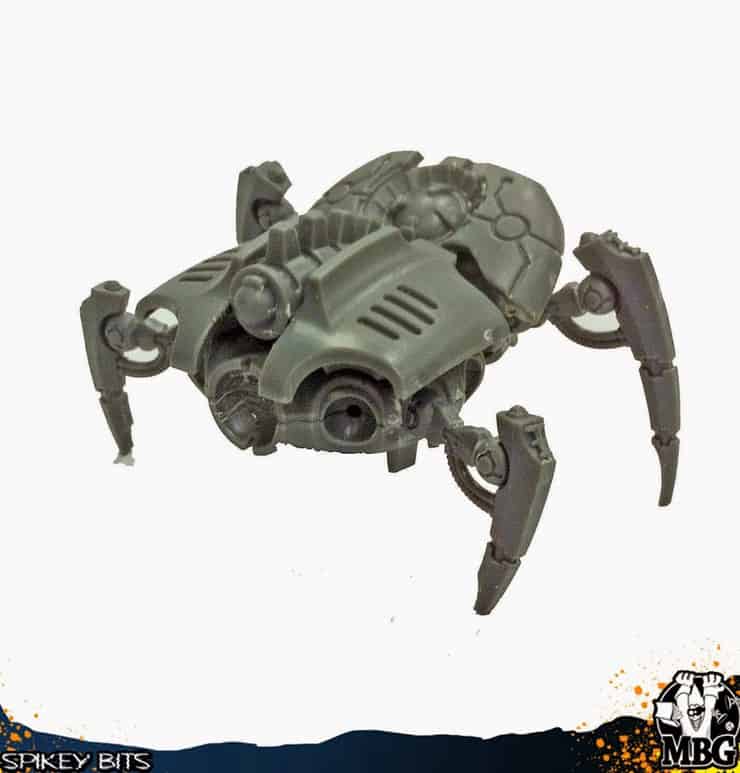 Next, you can add the armor plates to the top of the model. Remember, the top is normally the belly of the model so you may have to play with the armor plates a bit to get them to sit just right.
 Just keep building up the back of the model adding sections and armor plates.
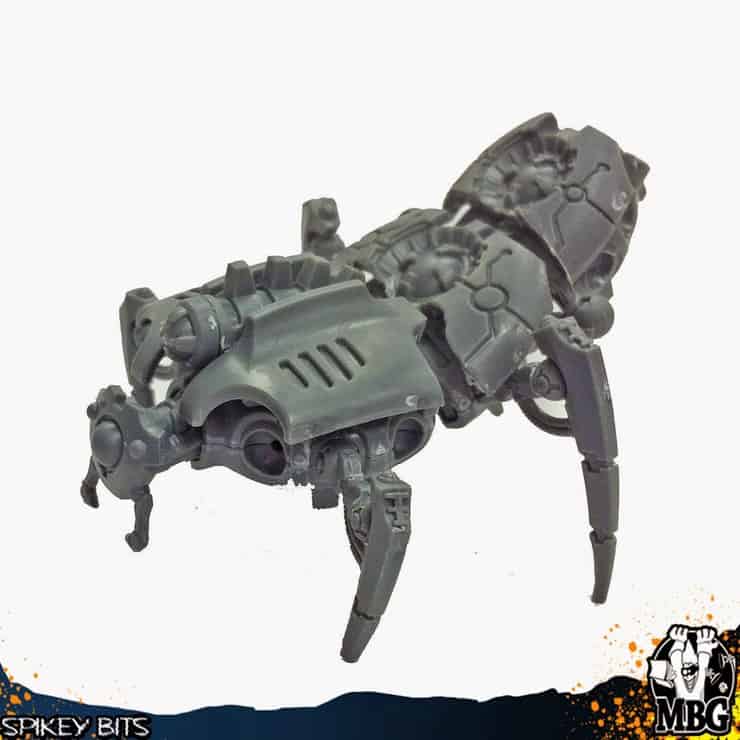
Attaching the Tail
 Next, just clip the little nub off the Talos tail and glue it flush to the socket where the Wraith tail would normally go. By now the glue from the legs should be dry and the model should be able to hold the weight of the tail.
 Finally, you can plug and play the rest of the parts into the correct sockets as pictured above. Don’t forget to add the middle set of legs! As you build the model, make sure you play around with the angle of everything to simulate motion and such. If you’re making more than one of these, it’ll help make your collection more dynamic.
If you want more details on how to make this conversion, be sure to check out the old how-to tutorial on our YouTube channel.
With all of the new Necron units like the Canoptek Reanimator and Skorpekh Destroyers, a Canoptek Scorpion Conversion will fit seamlessly into your Necron collection.
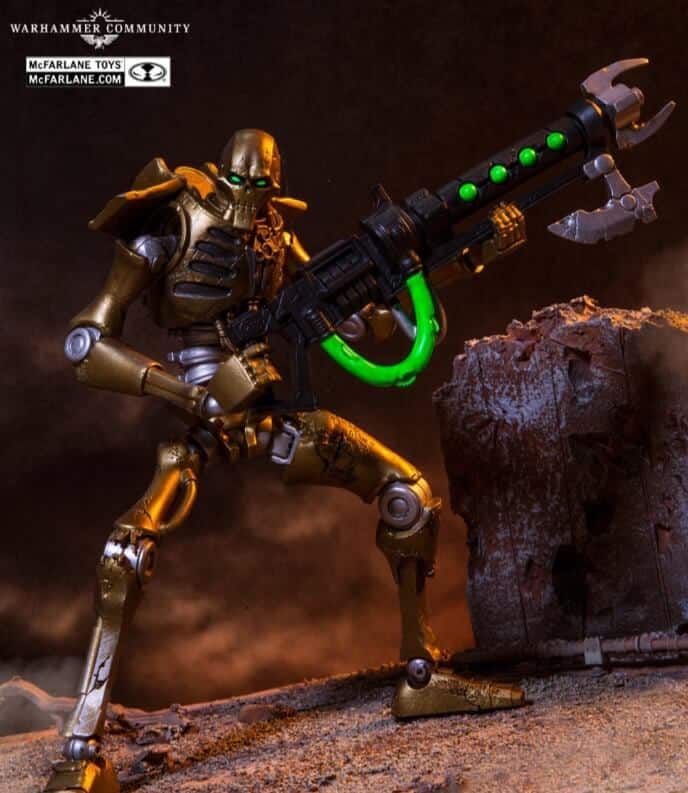
Order The Necron Warrior Action Figure
This Scorpion was made as a conversion to a Canoptek Spyder, but now that we’ve seen an entirely new line of Necron models, are there some other solid options for this conversion to stand in as?
Let us know in the comments of our Facebook Hobby Group, and make sure you enter the latest monthly giveaway for FREE today!