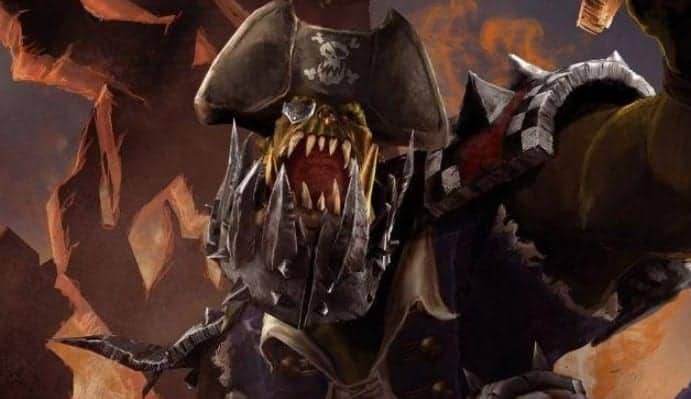
What’s cooler that some big, bad Orruks? Orruk Pirates of course! Take a look at one way to make your own Orruk Pirates for Shadespire!
Shadespire is the hot new IP from Games Workshop. With cheap entry cost, low model count, an easy to learn rules set with a high skill ceiling, this skirmish game is becoming the must-have game for the beer and pretzel crowd, and the competitive scene.

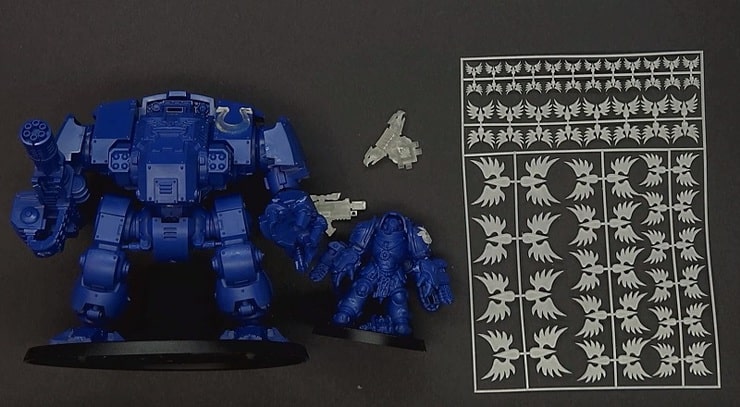
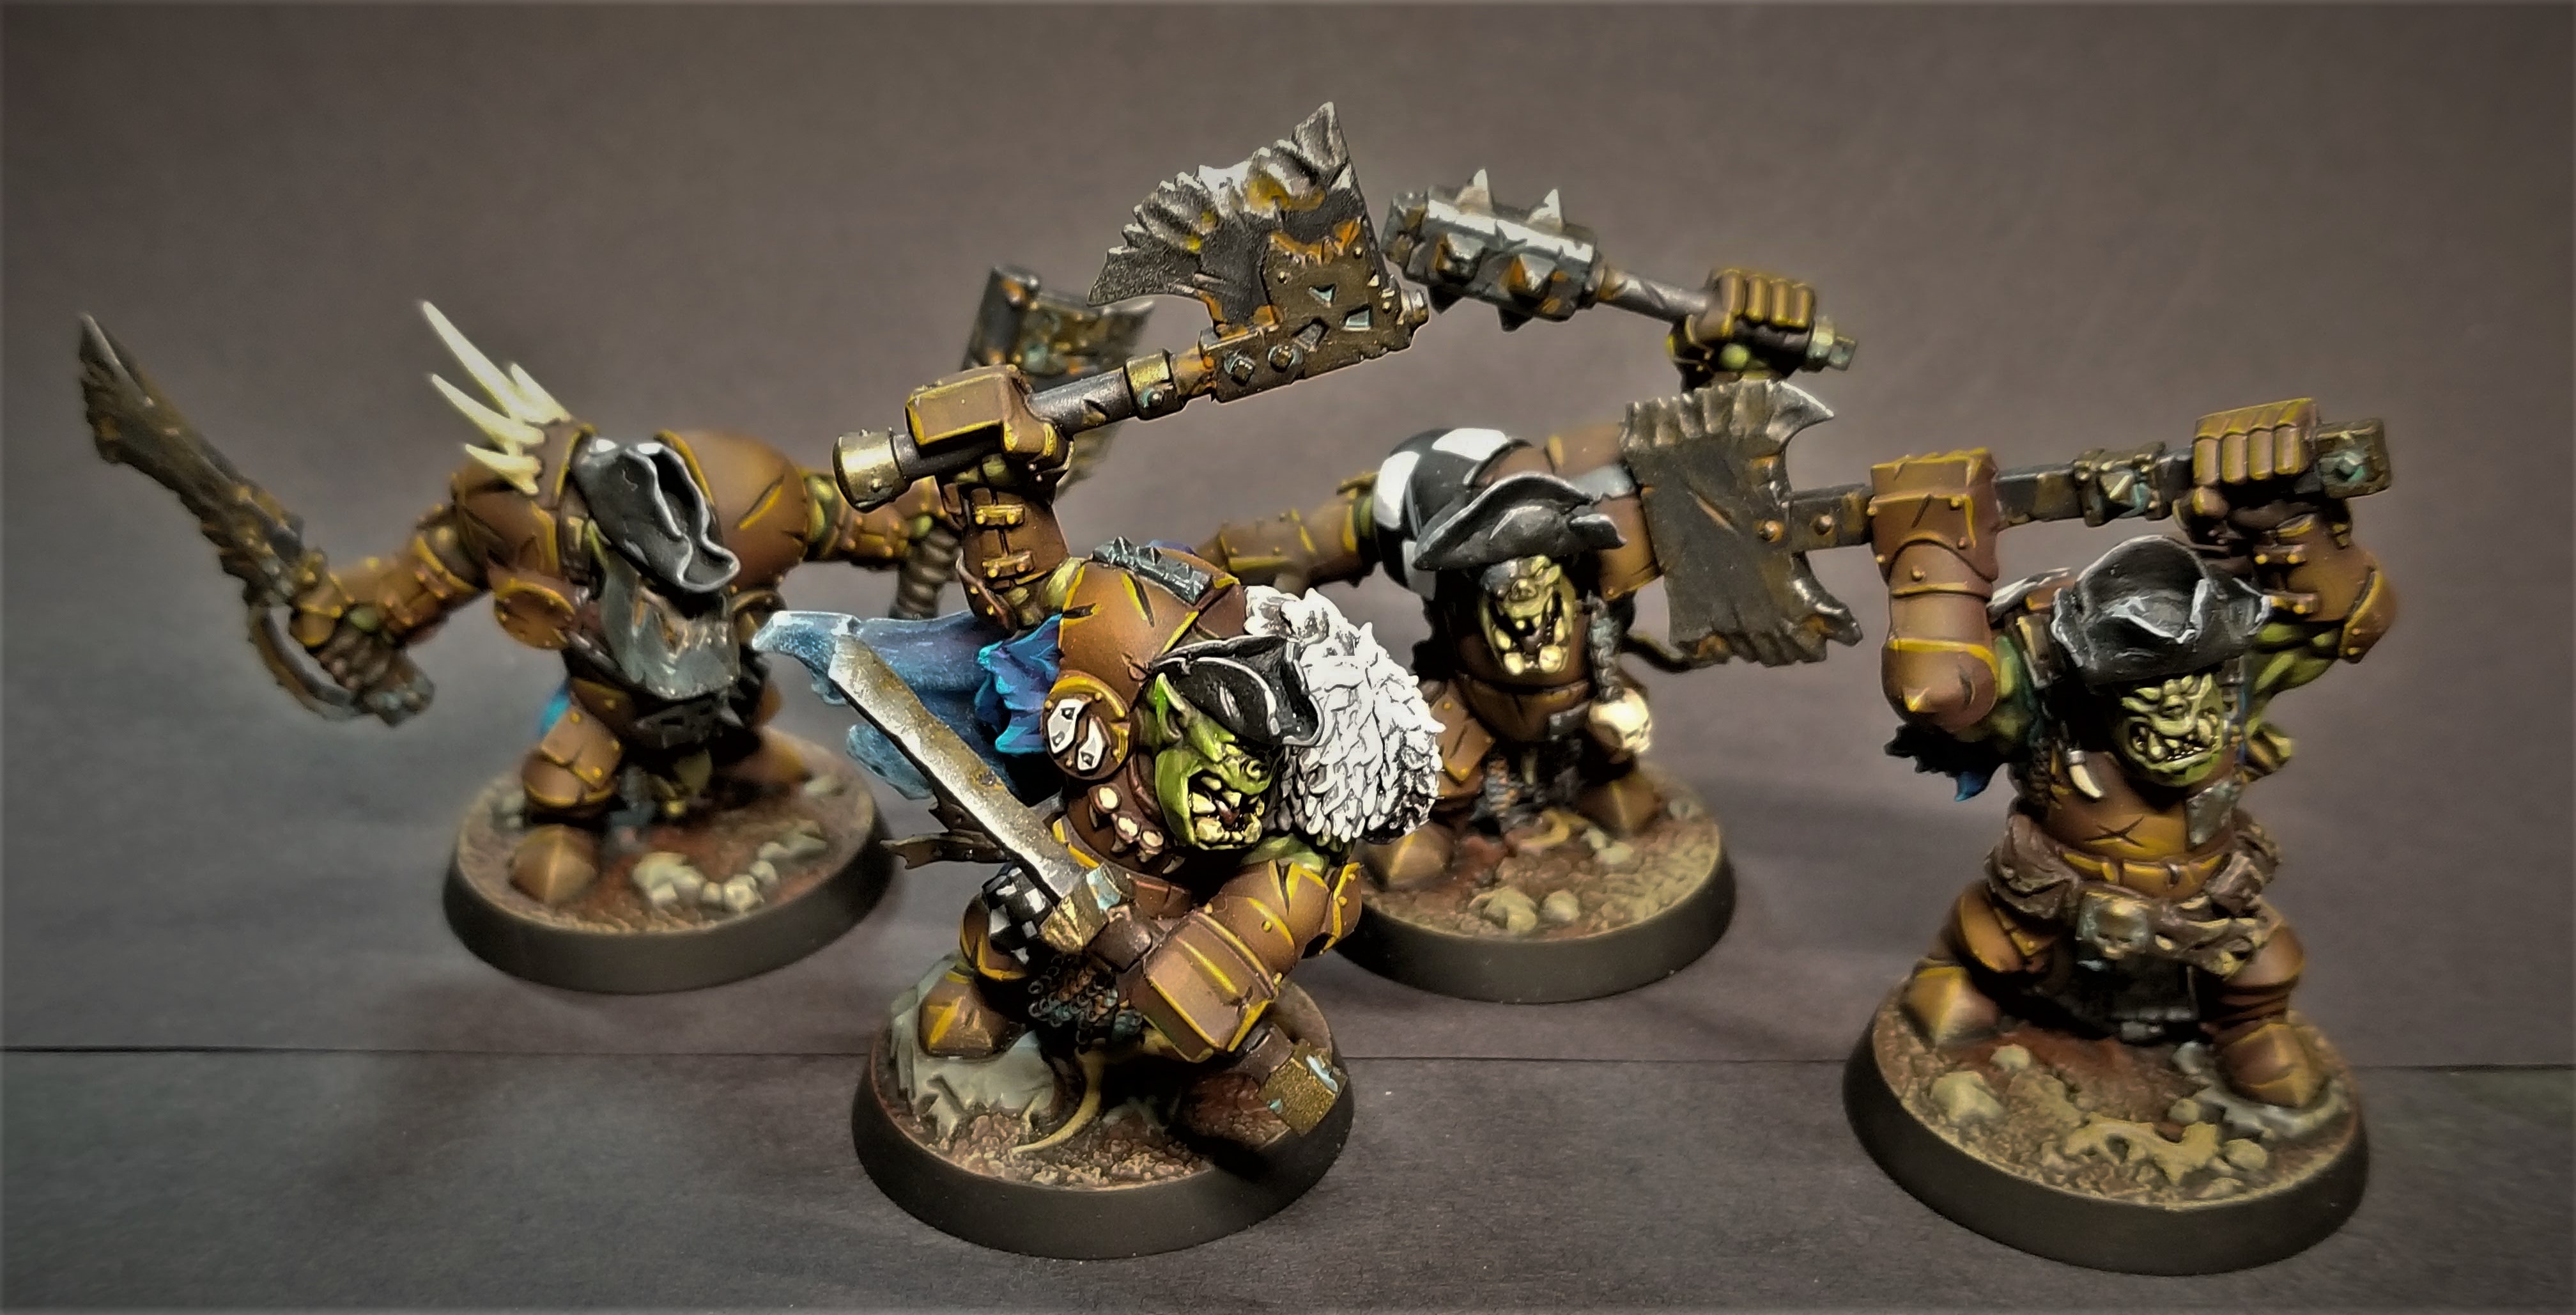
These big bruisers are some of the best looking Orruk/Ork minis to come out of GW in years, and man, are they fun to paint. With simple assembly, peg in socket, these are great minis to paint in subassemblies. The sculpts do a great job of hiding the seams, so don’t worry about gaps when putting together the painted pieces. While there are some areas where you can see the tell-tale stretched bits that are common on GW’s easy to build minis, they are usually hidden in areas you won’t see after putting the models on their bases.
For this project I wanted the Orruks to be a bit more unique. Since the Orruks are a popular squad, I wanted mine to be a bit different than any Orruk opponents I would have.
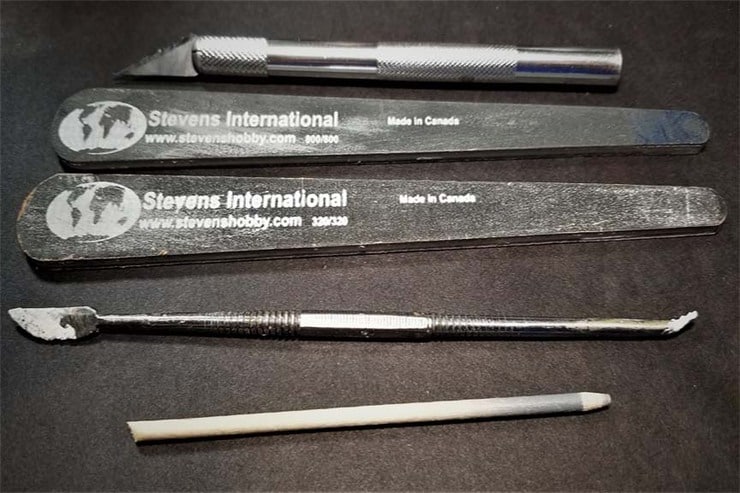
With Freebooters being my favorite faction of Orks, I thought some spiffy pirate hats could bring that flair to the Sigmar side of things. Sculpting might be a bit of a tall hurdle to get over for some, but let me assure you, these chapeaux are fairly easy to make. The only tools needed should be Hobby Knife, Rough and Fine grit sanding sticks or paper, and a few sculpting tools.
 First, you want to get enough greenstuff mixed to make a small disc, about the size of a dime. I accomplished this by pressing a ball into a disc and adding, or subtracting mass until I got the right size.
Second, we want to wait about ten to fifteen minutes for the green stuff to set up a bit. Then, press the disc right onto the crown of the mini’s head, using a soft tool to press around the head to create the dome of the hat.
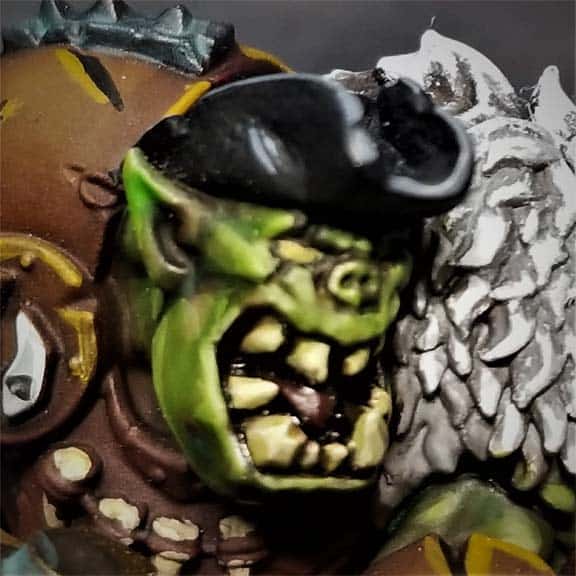
 Last, we want to carefully use a tool or hobby knife to “fold” up the edges of the hat into the desired shape. After the green stuff sets a bit more, usually another ten minutes or so, you can make the folds crisper, and smooth out the flat areas, or add some detail like nicks or cuts in the hats. Then let them set up overnight before painting.
 There ya go! Some right proper gitz ready to scourge the seas for flashy bits and lootz!
I went with a rusty orange for their armor here. Basing with Vallejo Beasty Brown, followed by Army Painter Dark Rust, and Finally P3 Meaty Ochre. Metallics were Scale Color Black Metal and Necro Gold. Blues were Dark Prussian and Prussian Blue from Vallejo. For the “salty” look just lightly dry brush some light grey and an off-white in different layers till the cloth looks “crusty”.
If you like these boyz, make sure to check out my live stream over on Twitch. Jack of Clubs Painting