 Today I want to show you guys a fool-proof method for getting great looking camo results with minimal effort (provided you have an airbrush).
 You will also need blu-tac for this project.

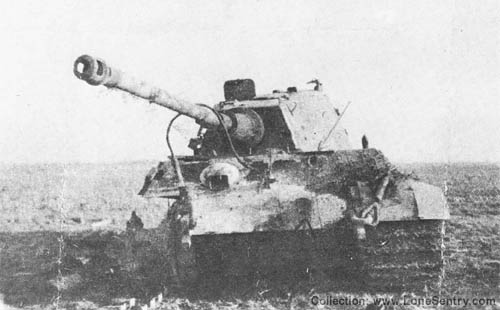
I eventually realized that I still wasn’t enthused with the German lists, but the pictures of the big cats thundering down the battlefield sparked my imagination. I love Battlefront’s King Tiger and Panther models, and mine don’t see the table as often as I wish they would. So I decided that they would be next on my re-painting queue.
I hadn’t laid eyes on these King Tigers in over a year, and I had assembled them about 3 years ago! My Panthers were not much better.
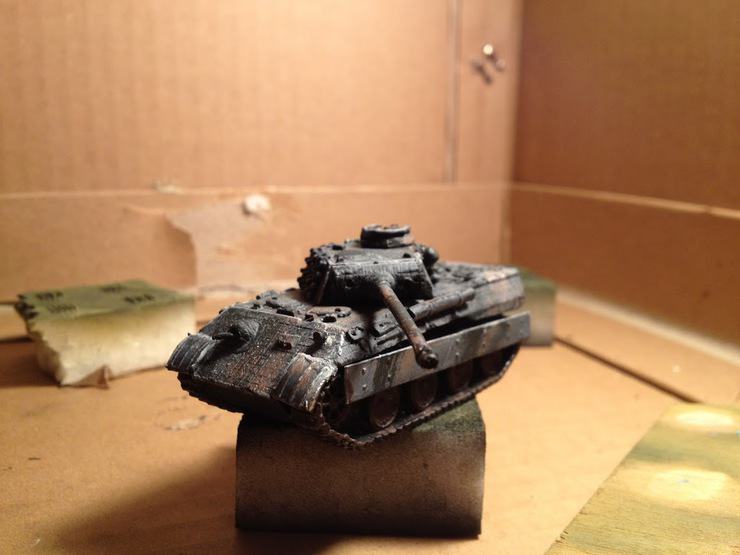
My painting/modelling skills have come a long way since then (though I still consider myself a beginner, especially with an airbrush). I started by airbrushing the basecoat (Vallejo Air Dark Yellow) over the existing paint scheme.
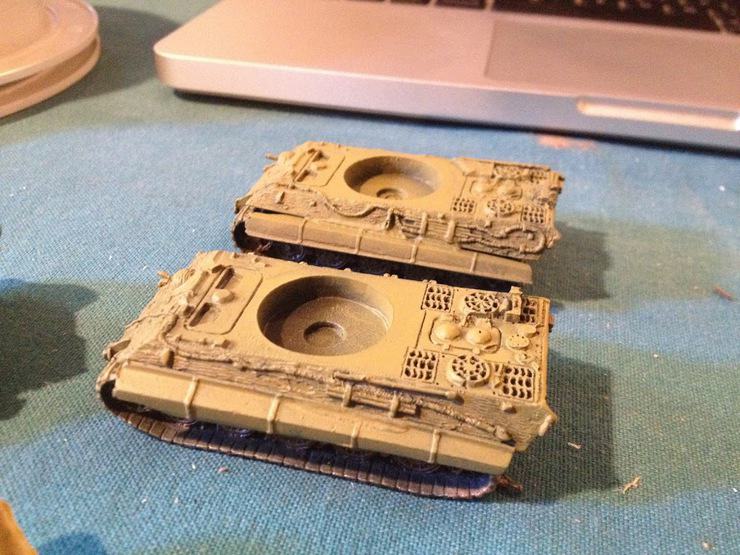

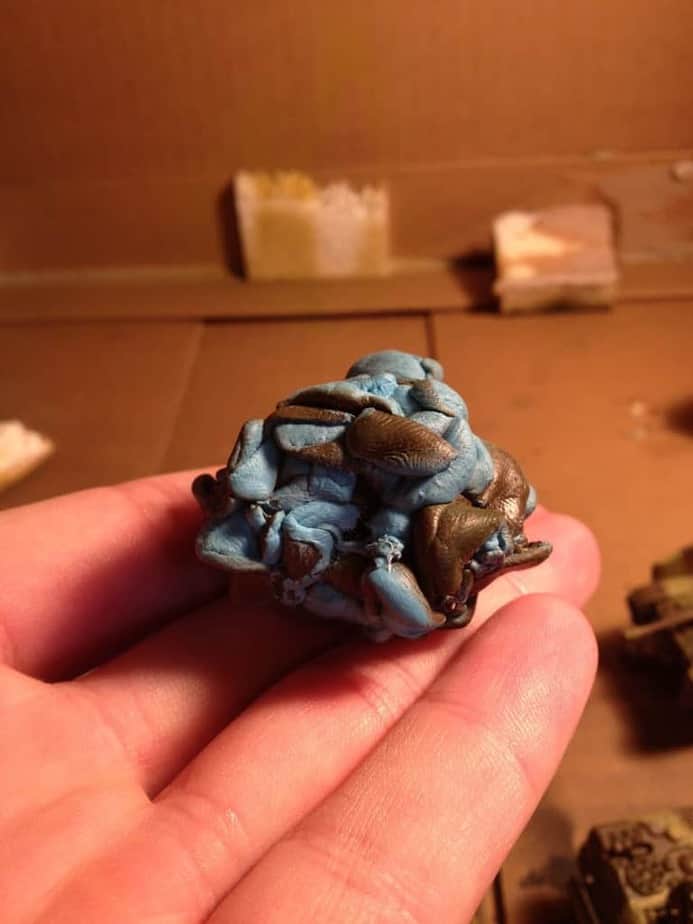
Once the basecoat was completely dry I applied the blue-tac in the general camo patterns that I felt would be interesting. I also use the blue-tac to hold the turrets to the pieces of wood while I’m painting them. Just don’t press the blu-tac down too hard, especially in areas with recesses.


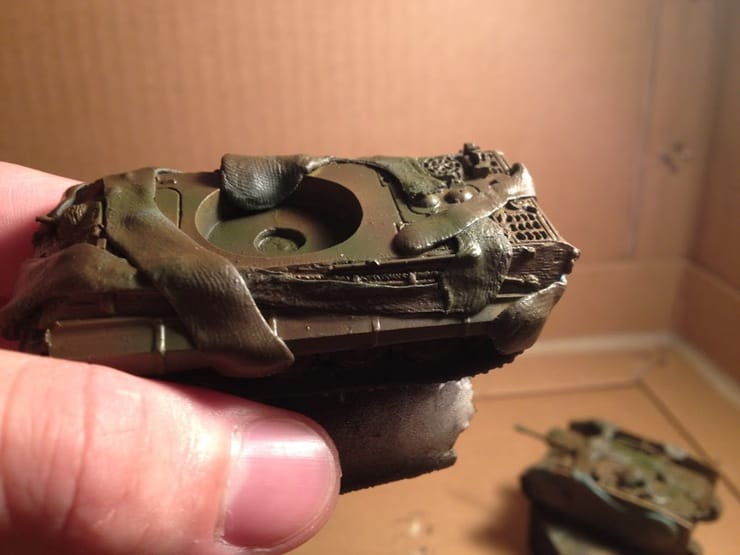
Now the fun part: peel away the blu-tac! Gently…
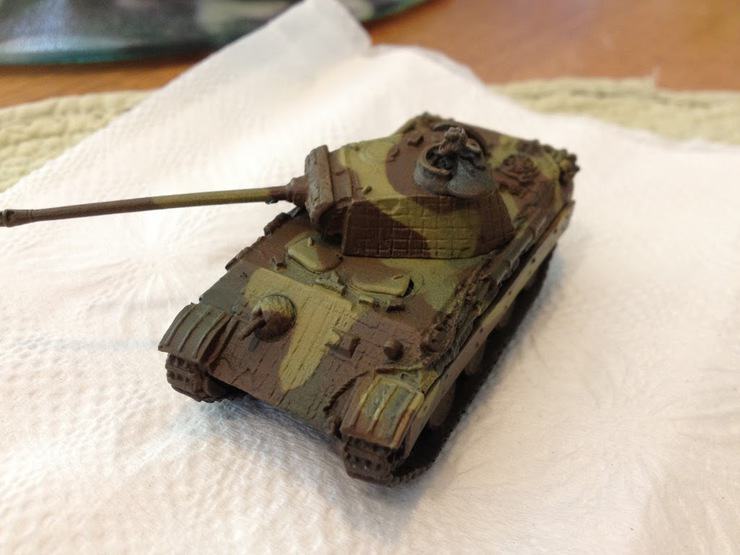
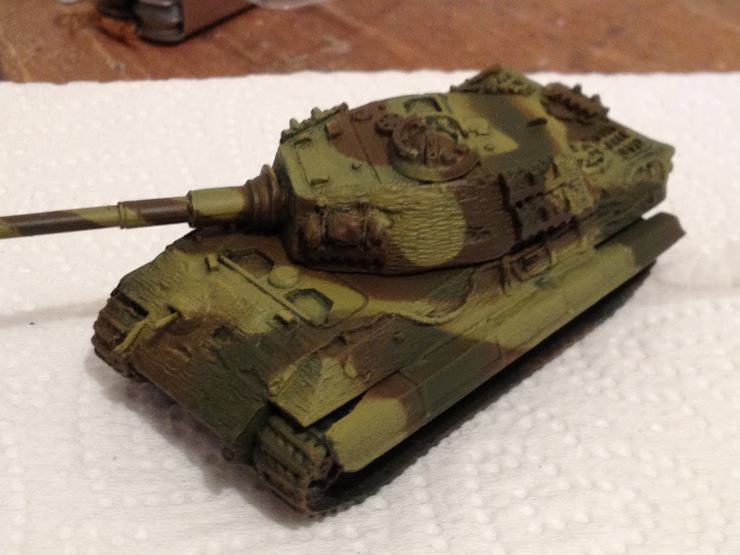
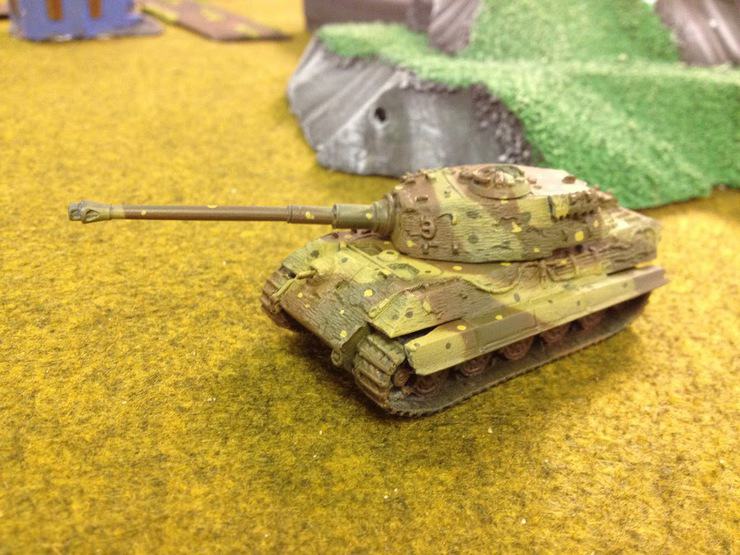
Next I added the “dots”. I used the same yellow and green airbrush paints for the dots as I did for the camo. I applied the dots using a sewing pin, using yellow for the brown and green areas, and green for the yellow areas.
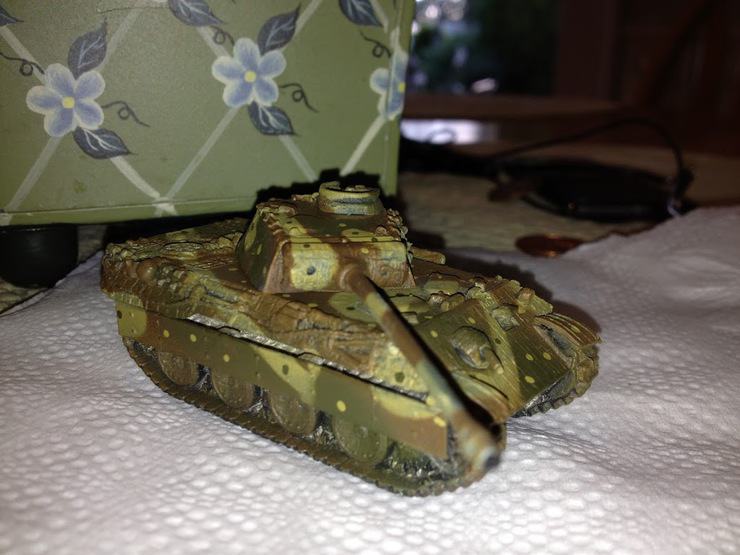
True, the dots look a little large for historical accuracy, but I like how they look for the tabletop. It is up to you how many dots you want to apply for your tanks. I feel that less is more, but that’s just my preference.
With the camo completed for these bad boys I just need to finish the tracks, details, etc. Hope you enjoyed!
Just FYI I’ve started a fledgling twitter account @piflamesofwar, it won’t hurt too much to follow, would it?
Be sure to checkout Parker’s great FoW Hobby blog over at D Minus One -MBG