 Welcome back hobby fans, today Kenny from Next Level Painting is going to show us how to get tabletop quality Sylvaneth in just 5 easy steps!
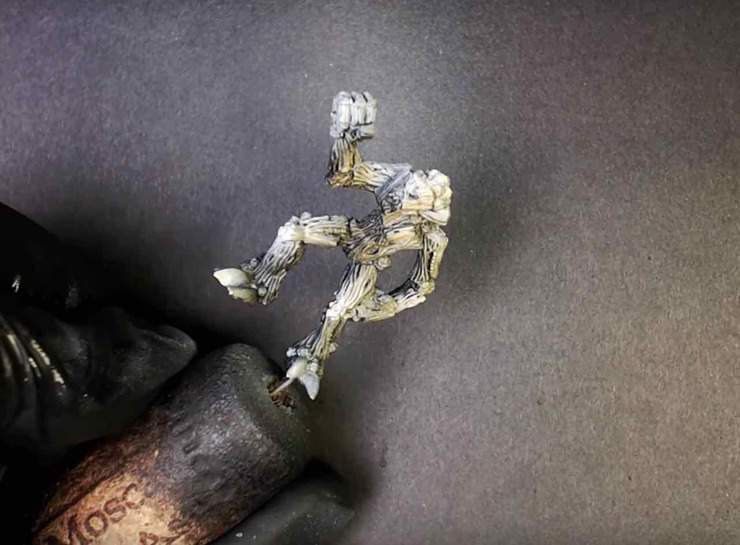
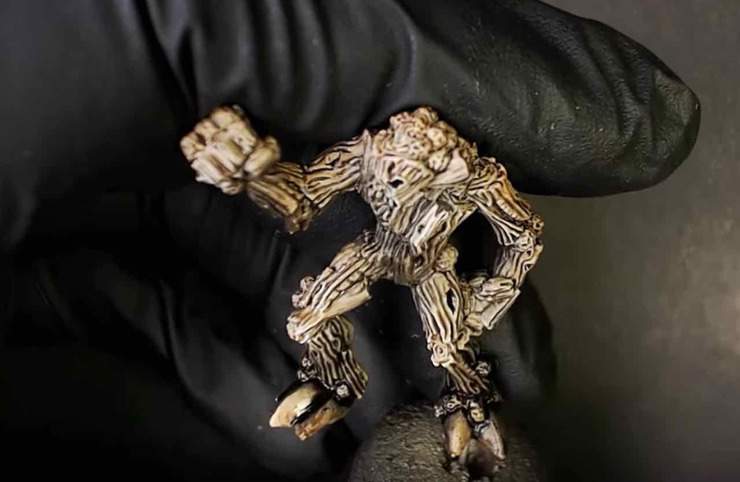
To start his fast tabletop quality painting process Kenny beings with some sneaky airbrushing tricks that are super simple and easy to master! Kenny begins by priming the model black, then applying an extreme highlight with an off-white color. This extreme highlight looks very strange, creating a washed out monochromatic look, but once you finish this step its payout is obvious!
Once the highlight is dry its time to hit the entire model with a light spray of a mid-range base color. In this case Kenny chose an earth color to base the wood colors on in our autumn color scheme.
Next up is a heavy wash to pick out the details and add some depth to the model.
 Once the wash is dry, its time to being the process of separating each component of the model using differing colors. Here Kenny chose to use a Green glaze to pick out the hands, head and feet of this tree-kin. Once that glaze was finished Kenny picked out the root/acorn/fleshy parts with an orange glaze.

Once the glazes are dry its time to pick out some details. Here Kenny chose to augment the eyes, acorns and talons by applying some new colors to the palette. Once these colors have had a chance to dry, Kenny applies another coat of each glaze to meld each color into the model.
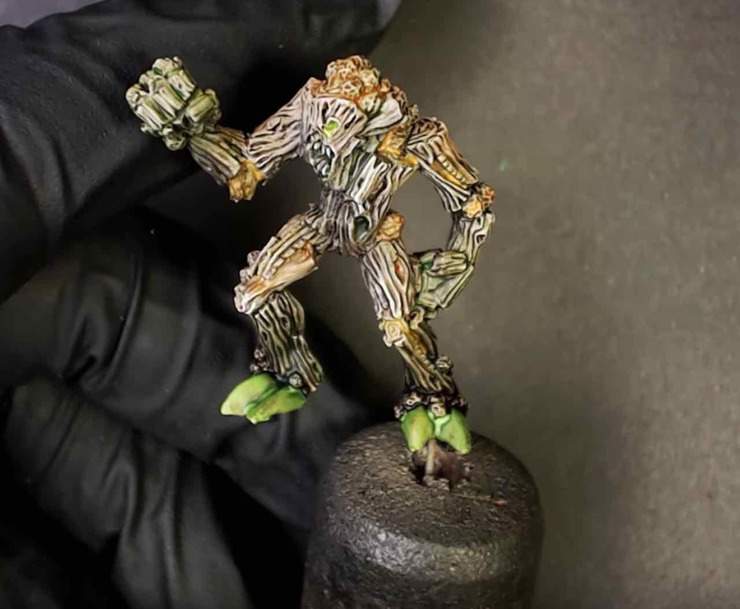
Once final step involved blending a a light and dark shade of green onto the talons and feet, resulting a smooth transition and a strong popping color patch on the model!
Check out the whole video in the link below for more details!