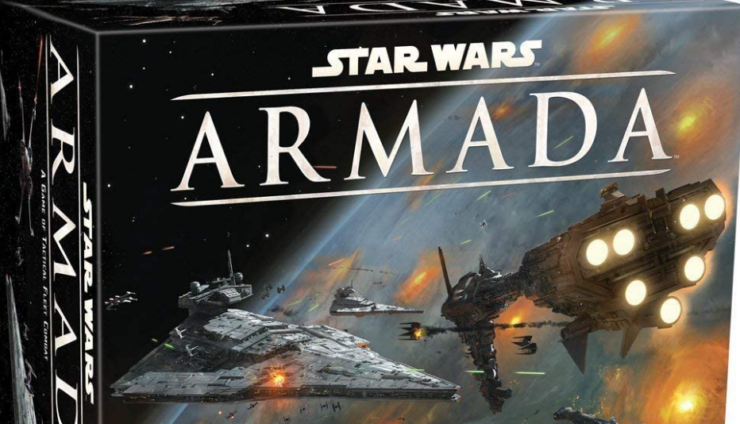
The Rebels all work together to achieve victory in Star Wars Armada. Do you have what it takes to coordinate with your team?

Scramble Your Squadrons Better In Armada
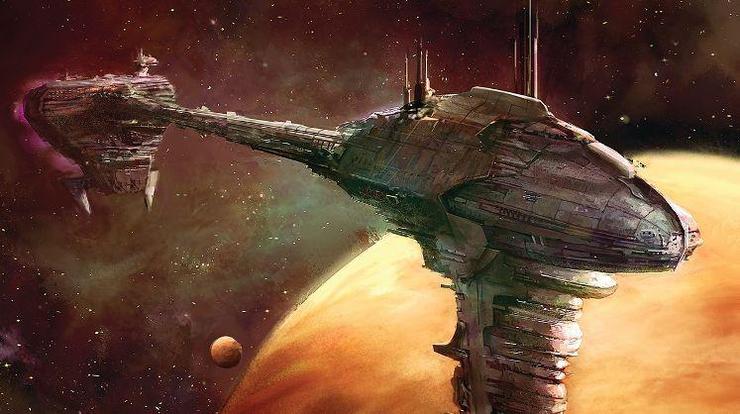
The Pelta Command Ship can be a formidable squadron carrier with the right tools. By itself, the Pelta cannot take on Imperial threats with only 2 red and 2 blue dice in its forward battery, so it must rely on its allies to defeat Imperial ships.
With a squadron value of 3, the Pelta can push B-wings into place for maximum effect. This small ship can also pack a big punch with its fleet, officer, and support options. 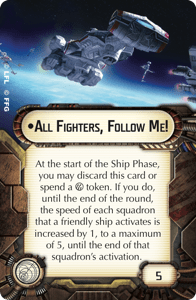
To start off, All Fighters Follow Me is a fantastic fleet command that can boost your squadrons into position quickly.
At the start of the Ship Phase, you may spend 1 squadron token or this card to increase the speed of each activated squadron by 1 for the duration of its activation. What this does is allows your squadrons to get into bombing position early or can increase the slow speed of your B-Wings! 
Fighter Coordination Team can also be used to great effect on the Pelta carrier. After you execute a maneuver, you may select a number of unengaged squadrons up to your squadron value at close-medium range and move them up to distance 1.
This can help those sluggish B-Wings get into position even faster and can set them up for bombing runs. 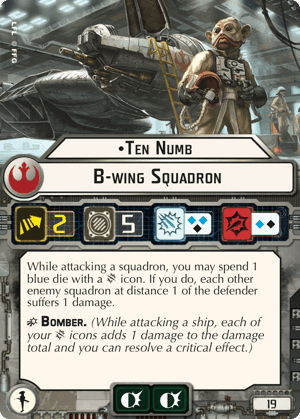
Ten Numb is a valuable B-Wing to add to your squadron team. Ten can pull double duty and make enemy ships and squadrons both feel the pain. With an upgraded armament of 2 blue and 1 black anti-squadron dice, Ten can dish out some serious hurt.
Even better, Ten has the ability to spend 1 blue crit to force each other enemy squadron at distance 1 of the defender to suffer 1 damage. This splash damage can whittle down those pesky 3 hull TIE fighters in no time. 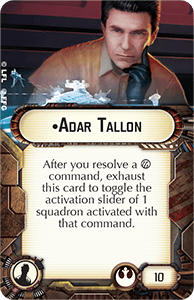
As an official member of the Pelta, Adar Tallon can make your squadrons get double their mileage. After you resolve a squadron command, you may toggle the activation slider of 1 squadron activated with that command.
This could work wonders for Ten Numb, who can dish out some splash damage with his blue crit ability, and then Adar Tallon can tap him back to the unactivated side to be ready to blast more squadrons!
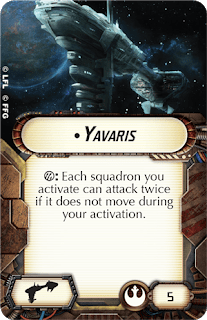
Once you’ve activated your squadrons with the Pelta, follow up with a Nebulon Yavaris. Yavaris is well known as the most powerful Rebel Nebulon, and it can allow Ten Numb to fire twice, even after the Pelta had activated him, thanks to Adar Tallon!
No Imperial squadron could survive that mountain of dice and damage, but it all takes a team effort for the Rebels to achieve victory in Star Wars Armada.