Painting Yellow, as they say, can be the devil. Check out these easy hobby hacks to painting yellow- from stripes to whole models you can do this!
Over 15 years ago, I spent nearly a month painting my Iron Warriors army and honestly it was mostly time spent just painting yellow.
Fast forward to today, there are so many painting aids that it can take just a weekend to paint a 1850 or 2000 point army if you’re properly motivated. Big thank you to Army Painter sprays and color match paint pots.
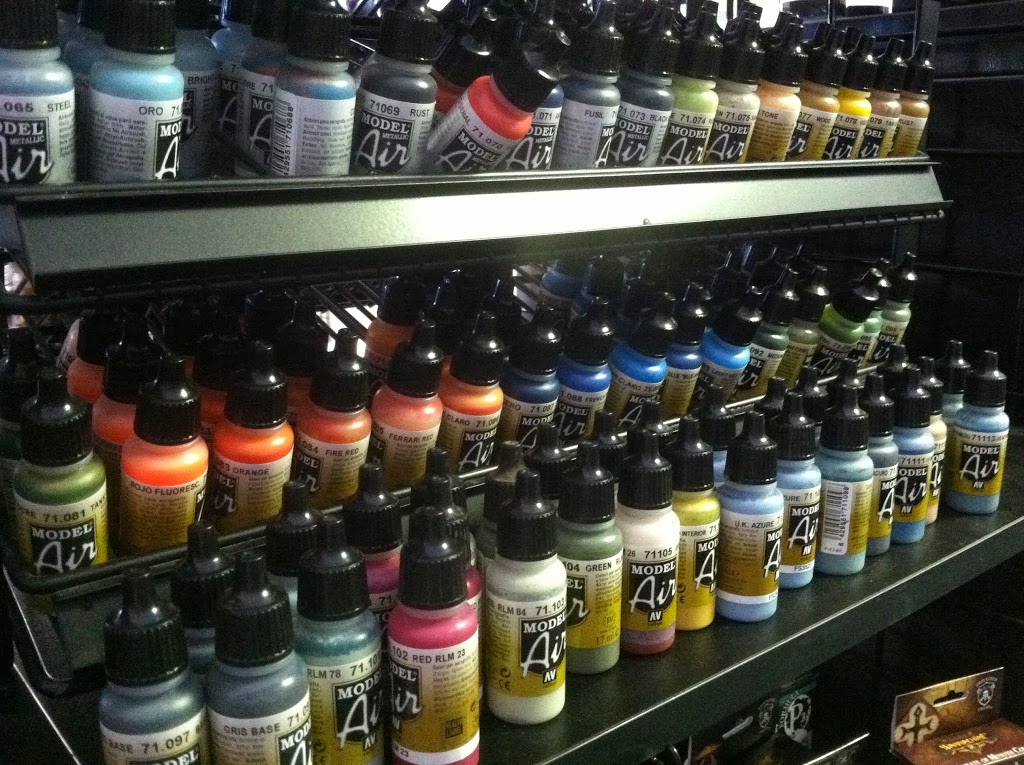
Airbrushing is even more mainstream now. Full lines of Airbrush paints from Vallejo and GW make it even easier to master that technique as well!
From hazard striping Titans to just painting marines, here is my easy method to painting yellows that you can pretty much use for anything.
Paints Used
- Army Painter Black Primer (with accompanying paint pot color for touch-ups)
- Reaper Master Series Orange Brown
- Reaper Master Series Harvest Brown
- Citadel Flash Gitz Yellow
- Vallejo Air Color White
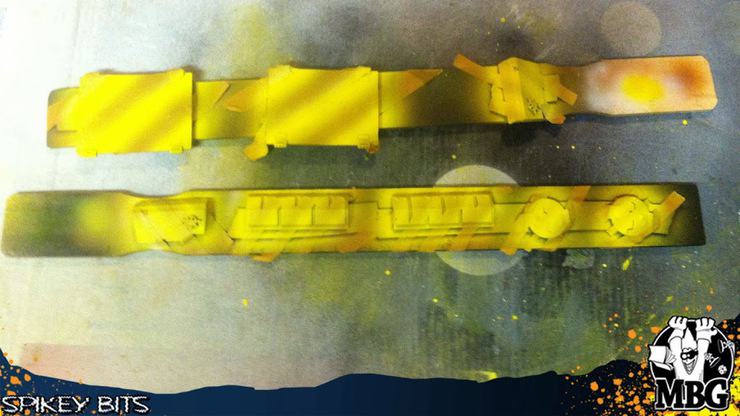
Applying the PaintTo help hold the parts while I airbrushed them I used double stick tape to secure all the parts to wooden paint stirrers (the kind you get when you buy gallons of latex paint at Home Depot etc…)
First, I primed all the parts with Army Painter black primer. This ensured any touch ups I would have to do with a brush would match the black from the primer and not be a slightly different shade.
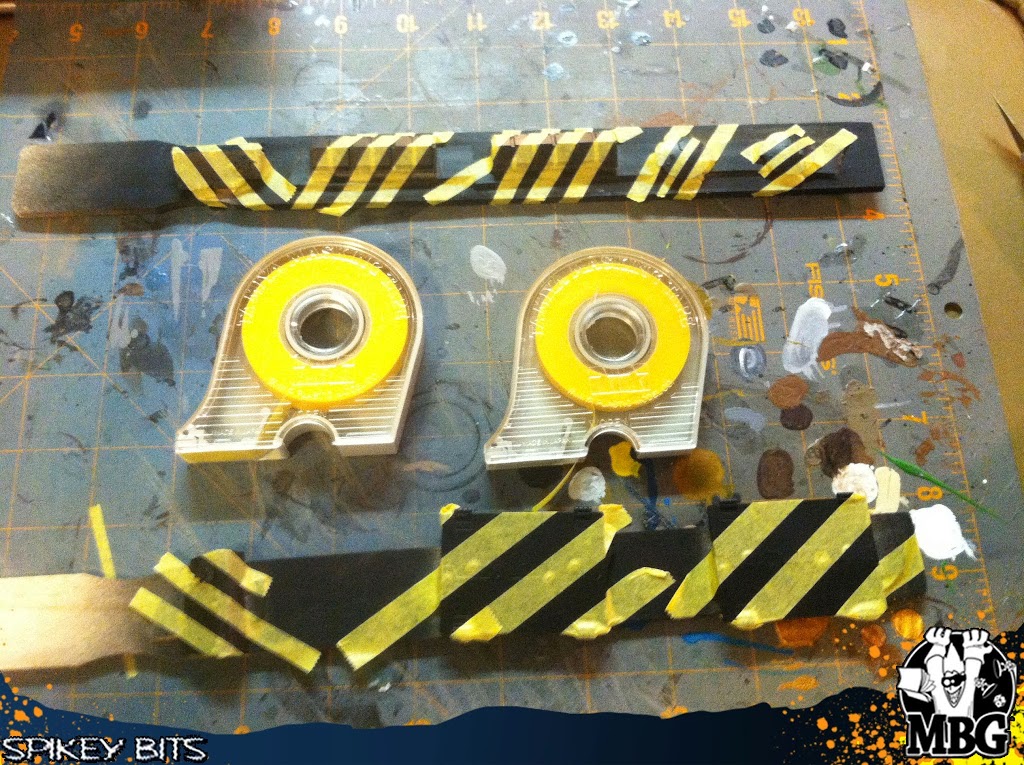
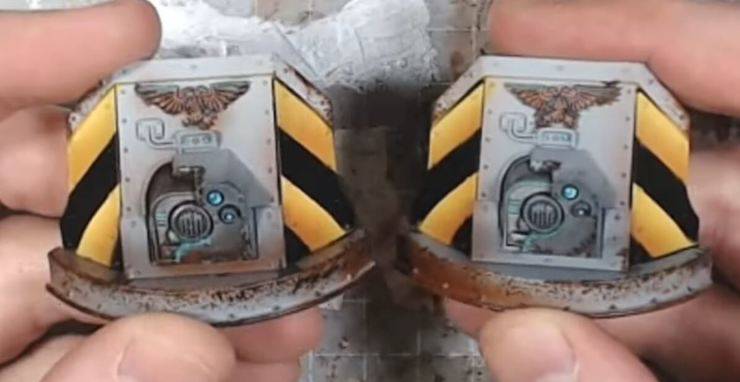
Then I deftly taped off sections to remain black while exposing areas to apply yellow to. Since I was going from black to yellow, I knew I would have to use a few browns to help me “get there” from such a dark color.
While this method is challenging, it seemed to be the least risky. I’d rather not mess up painting black over yellow and have to repeat any work I already did or accidentally pull up any of my yellow color when I removed the masking tape.
Speaking of masking tape, I used some Tamiya pin striping tape to section off each piece because it’s cut to smaller widths, comes in a convenient dispenser, and has a low tackiness for easier removal over existing work.
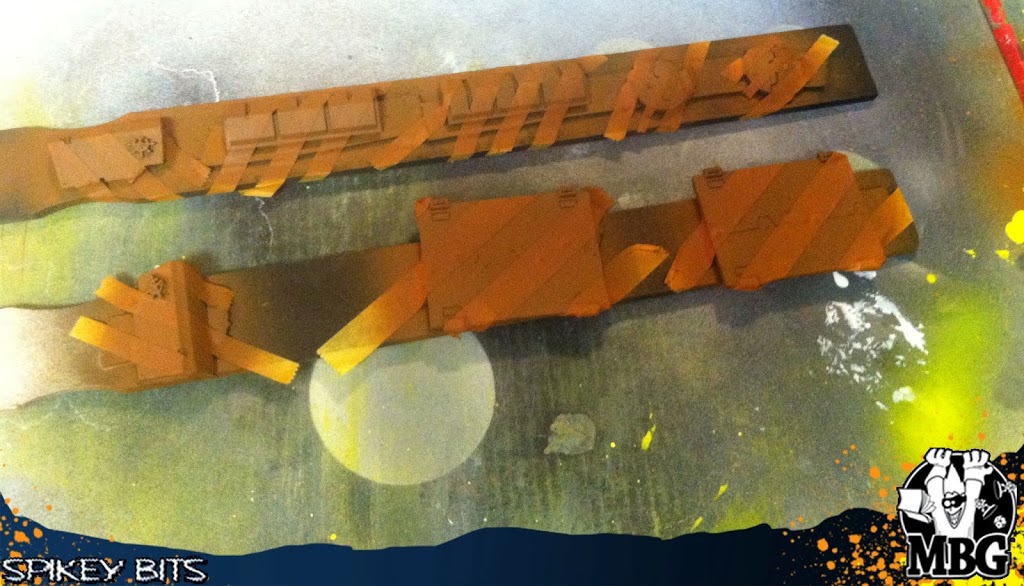
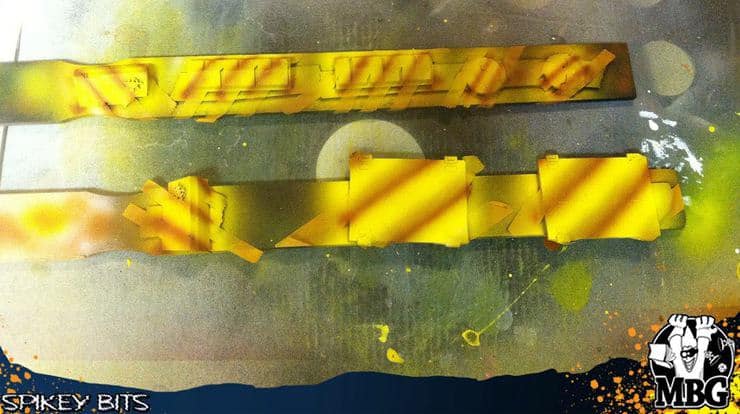
Then I coated all exposed areas with Reaper Orange Brown
Next, I coated everything with Reaper Harvest Brown. I left just a little bit towards the bottom the of each piece the first color.

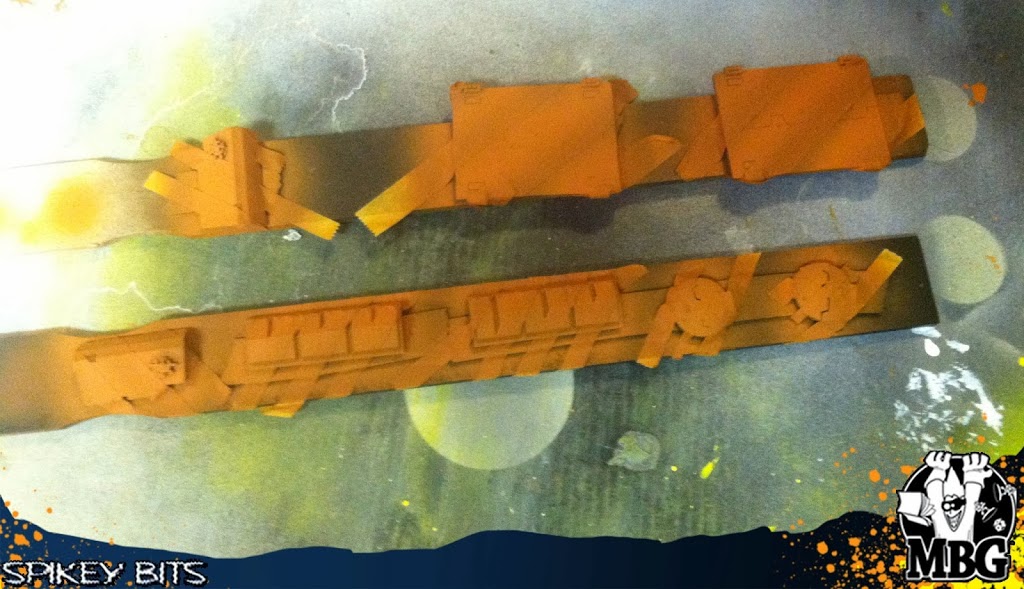
Then I faded in some Flash Gitz Yellow (which looked very subdued over the browns) again with the fade toward the tops of the pieces.
After that, I started shading toward the top of each part with some of the Vallejo Air White. I took care to fade over the existing yellow browns for the last step. This is because I would just be going back over this with the same yellow in an attempt to bring out that brightness.
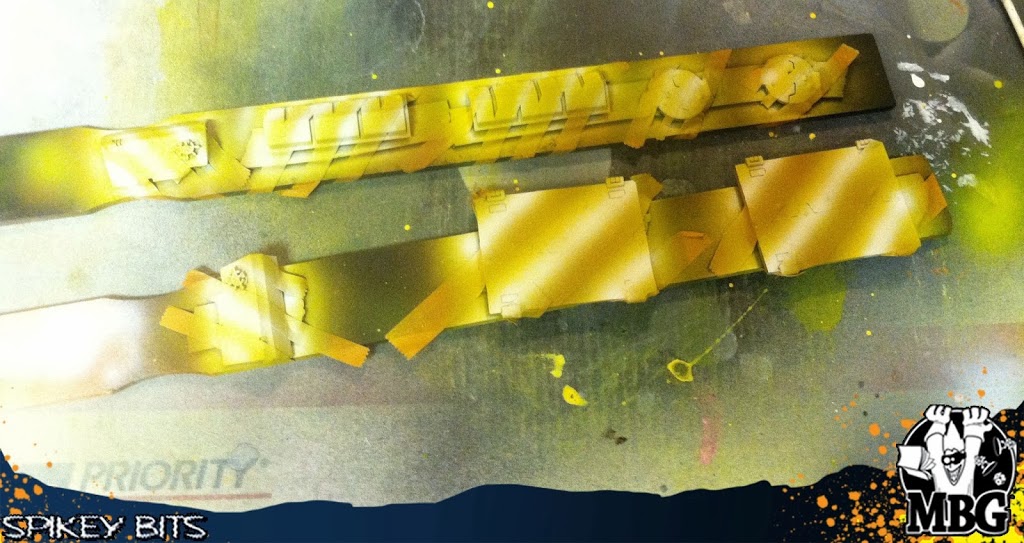
I applied Flash Gitz yellow again, but only over the parts I just sprayed white!
When it was time to shade the parts after taking them as high as I thought I could go with the color, I started by fading the darker brown (Harvest) back toward the bottom of each piece.
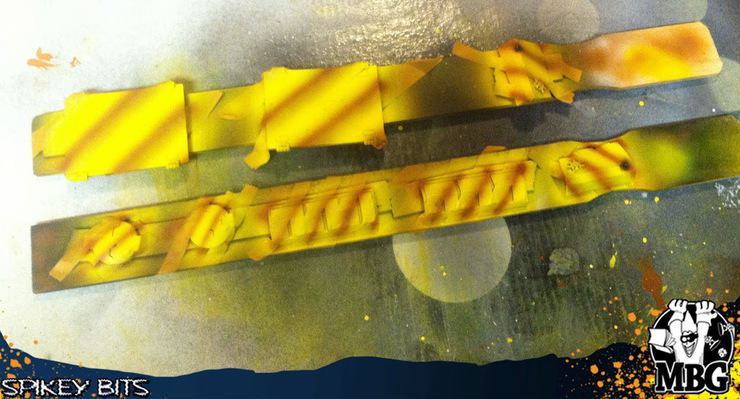
Lastly, I blended the Flash Gitz back between the new darker brown, and existing brown yellows to clean up the fades.
When I’m done with any airbrush work I always spray on some gloss varnish through the airbrush to help protect the thin layers of paint. I do it from about 8-9 inches away to avoid any super shiny build-up. I also always apply some matte coat to the pieces upon completion of the project to protect the brush work and dull down any gloss that does get though.
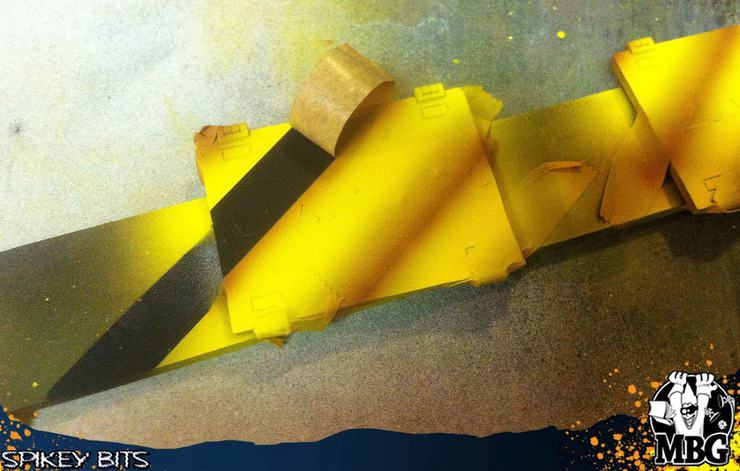
When the varnish dried, I carefully peeled back all the tape to reveal my work and I was pretty happy with the results!
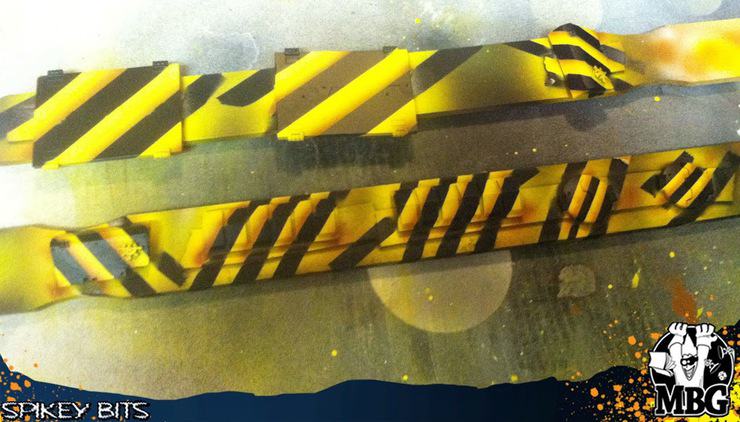
So that’s pretty much it, Hazard Stripes can be pretty easy to airbrush with a little patience and the right set up!