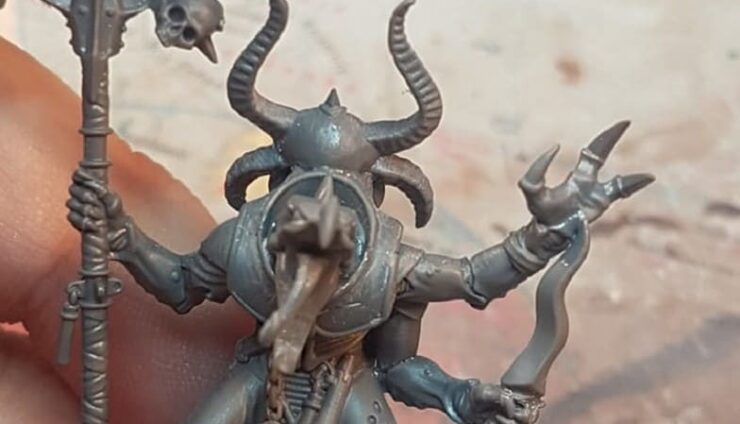
 This week Kenny from Next Level Painting is going to show us how to pin or metal miniatures to help smooth out the assembly process.
Kenny usually does painting tutorials, but in order to paint you also need to assemble models! This week he tackles just that, showing us every step along the way.
This is How To Pin Metal Miniatures (the right way)
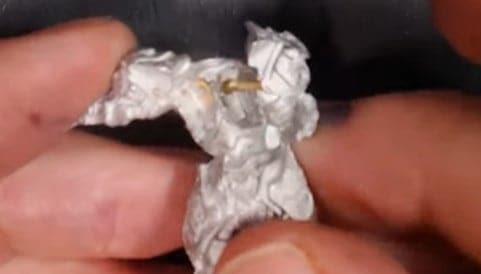
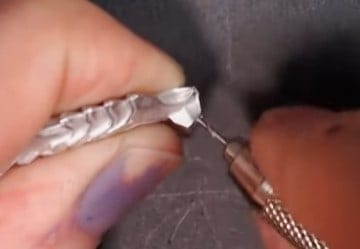 After getting your model laid out dry fit every to check out it fits. After that, you can drill a small hole followed by a larger hole that should be around the diameter of a paper clip. Be careful and make sure you drill perpendicular to the surface and be sure to be cautious about not drilling all the way through.
 Next up lather up the hole with any thick paint. getting it on and around the hole to form a donut.
 Next, you need to push that surface against the spot it will go into to transfer your donut and show you where you need to place your pin. With this done you can drill your next hole the exact same way as before.
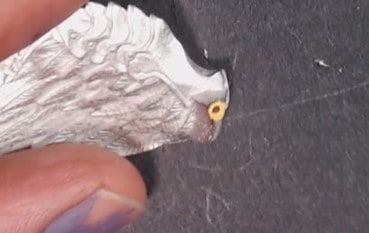
 With that hole drilled you can place a paper clip (or brass pin) inside and clip it to the correct length, super gluing it in place and allowing it to dry. While it dries you can move onto any other holes you may need to drill and get ready to pin if need be.
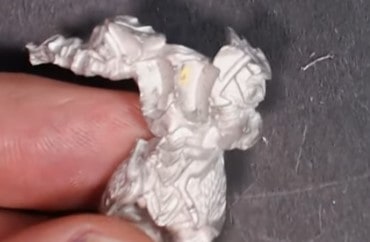
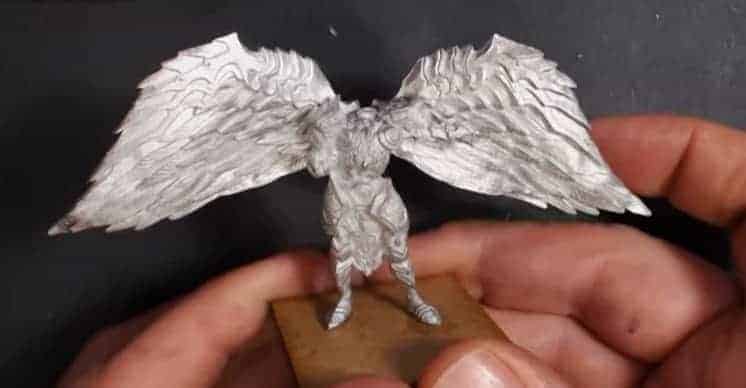 With the pins in place they should line up perfectly and we can glue the pins into the other sides finishing the process. It’s okay if you have to bend the pin slightly, but be careful not to break it. Another important note is you can use the superglue and gap filler for any small gaps there may be, they are pretty common in metal minis after all.
With that our model is looking perfect and you can freely start painting!
You can support Kenny on his Patreon page, and stock up on all the great Chaos gear over on his Heretic Swag store.