Brown is back with some more great tips that many of us can use in our next game. Come take a look at one tactic to avoid getting shot in 40k!
Hello ladies and gentlemen, today I’m going to cover a very common tactic I employed almost every game at Adepticon. The army I was using lent itself to using it very naturally, but really it can be applied to any characters under 10 wounds that want to be in combat but don’t like being shot. I don’t really have a name for the tactic yet, so I’m all ears about what to call it if you guys have suggestions.

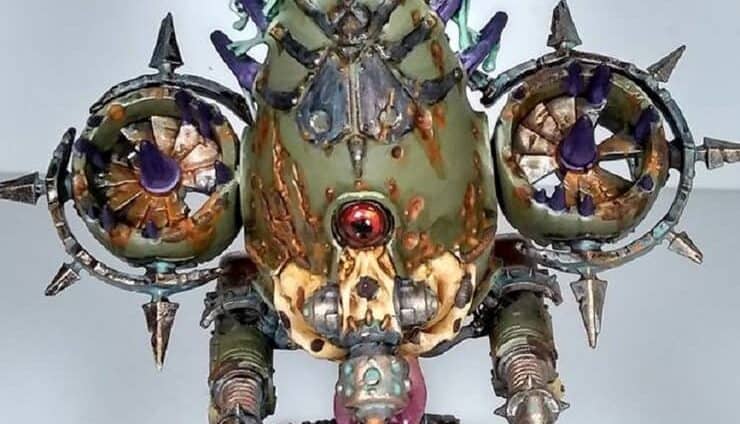
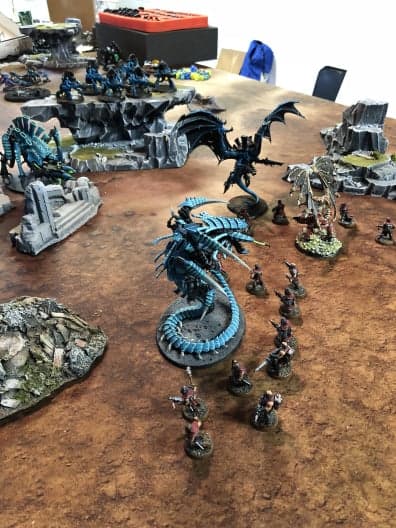
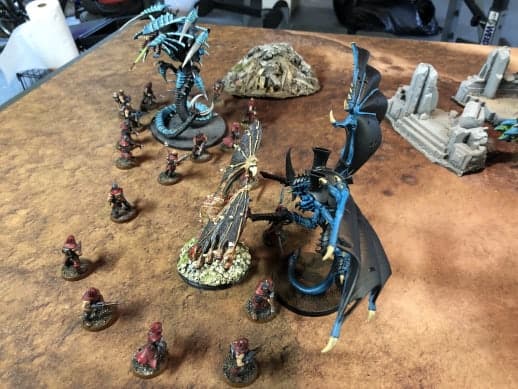
Let’s take the scenario above. We have the humble Daemon Prince leading a lovely band of Cultists into a Tyranid invasion. I know the picture quality leaves a bit to be desired, but that’s a full squad of hive guard on the hill, a Tyranofex next to them, a Flyrant and a Mawloc. AKA a ton of guns… Today I’m going to show you how to approach this horribly uneven scenario tactically, to give you a fighting chance.
The first thing you need to do is dissect the situation and set realistic and helpful goals for the turn. In this instance, it’s clear that the Chaos player can’t deal with all the threats in front of him at once. That means he needs to break it down into more manageable chunks, by handling some portion of the issue, whilst simultaneously mitigating the return offense of the Tyranids, and setting himself up for success in future turns.
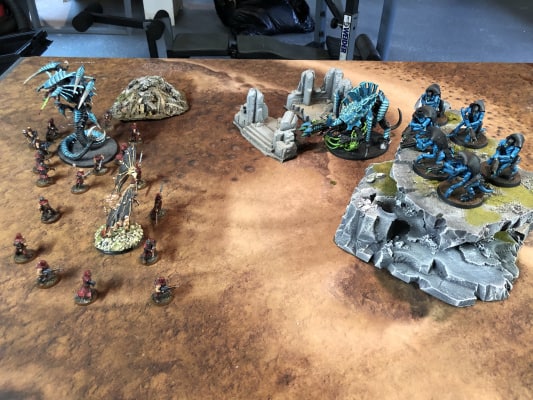
Here you can see the Chaos player moving up ready to assault. Not much to really say about this step, but the Chaos player has set himself up to employ multiple tactics here. When positioning large units like Cultists, Gants, Guardians, Orks, etc… it’s easy to just move models forward and around in clumps, but it’s important to be methodical about their placement. The shenanigans you can achieve by mastering the movement and assault phase are really going to be what separates you as a player from the rest. Also, large units lend themselves to a lot of movement shenanigans.
Speaking of the Assualt phase!

Here you can see what my cultists looked like after their charge. You’ll notice I’ve surrounded the Mawloc, preventing it from falling back, and engaged the Flyrant. It’s extra important to understand how I engaged the Flyrant though. I’ve left a 2″ gap for my Prince to get in, but also put some models forward and behind where I expect the Prince to finish the turn.
After the Prince charged in you can see that the twoCultists are still a little further up than him, which will be imperative to the success of this tactic.
And here are some precise measurements for you sticklers out there who care about the nitty-gritty details.
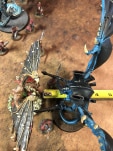

As you can see, the Prince has engaged the Flyrant because he is within 1″, and the Cultists are in cohesion, and slightly ahead of the Prince. This ensures they are the closest unit to the Hive Guard and Tyranofex which the Prince would rather not deal with.
After the turn finishes up, you can see the Prince has killed the Flyrant, whilst still being behind the Cultists. I’ve even surrounded the back of the Prince with Cultists out of habit to protect against any deep strikers coming in behind me, or to ensure I haven’t missed any strange angles. The Cultists have also locked the Mawloc in place, preventing him from falling back. Ultimately, this ensures that my Cultists can’t be shot because they’re locked in combat, and my Prince can’t be shot because he is a character with 8 wounds, and is not the closest model to the enemy. I’ve also set myself up for a devastating turn 2, where my Prince can launch forward and charge into the Hiveguard.
This tactic is not specific to Cultists and Princes, nor is it dependent on the enemy being Tyranids. This is applicable to basically any character, just so long as there’s enough stuff floating around to help screen them off. I used this exact tactic in the quarterfinals of Adepticon against a Shadowsword. For you Imperial players, Custodes Bike Captains with some Guard allies or Seraphim could just as easily pull this off as well. Not to mention, Sean Nayden’s unorthodox LVO list is fundamentally based around this tactic. A little creativity in game can go much further than simply making a broken list.
I know I’ve said this before, so I apologize for beating the proverbial dead horse, but it’s imperative to understand the nuances of movement and assault to be successful at 40k. Understanding these phases intimately and recognizing/utilizing little tricks like this can turn appearing unwinnable scenarios into favorable ones.
Well, that’s all for today my friends, stay tuned for Thursday’s weekly article!