 I got a ton of response lately about the Looted Guard. Everyone seems to want to know how I did the chipped paint.
Guess I’ve procrastinated long enough right? Time to get an article together on it.
So without any further fuss, here’s your how to article on the Chipped Paint Effect!
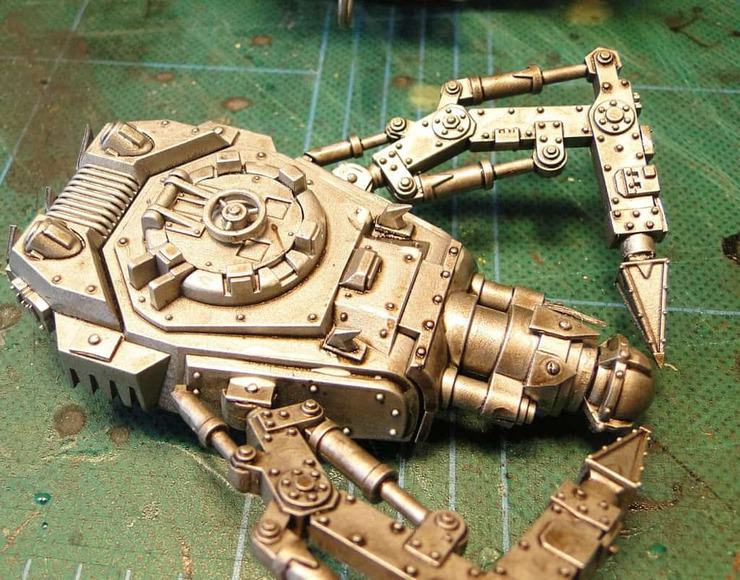
To start out I just painted my tank silver and gave it a watered down wash of Devil Mud. This forms the base for the paint to go over, and get “chipped off”. The actual chipped effect itself is actually two different techniques used together; stippled paint, and masking fluid.
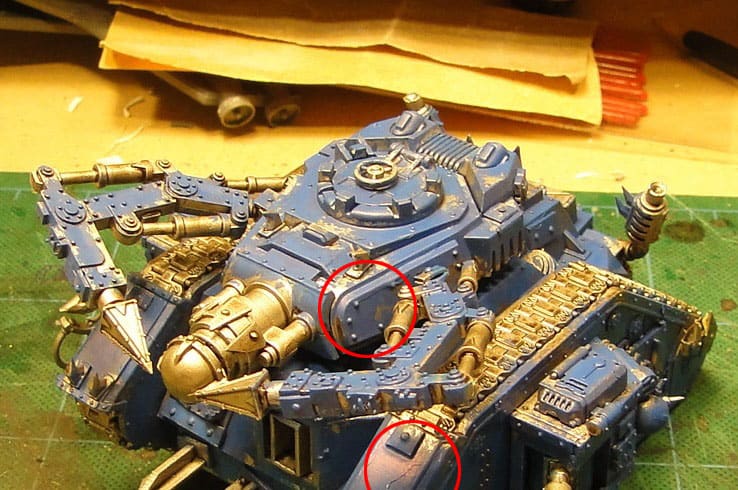
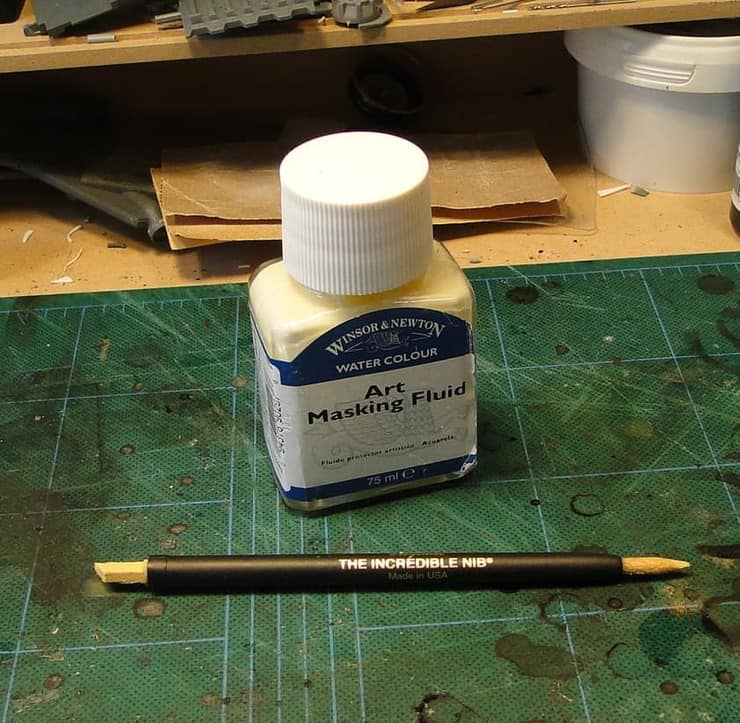
First off I just used the “Incredible Nib” to apply the masking fluid to areas that would naturally see high wear, either from the elements or from the crew (see “splotchy paint” areas in red above, those actually have masking fluid underneath)
I applied it in both long jagged lines along armor plates, and in random spikey blobs on the body as well, as shown in red. The important thing here is that it should look jagged and rough, not rounded or in a predictable “man-made” pattern.
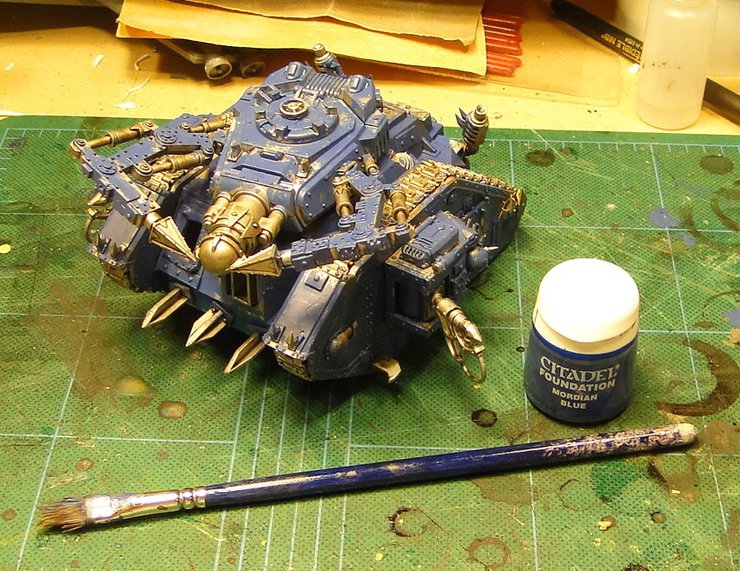
After that dried I began to stipple GW Mordian Blue over the tank, making sure to not get into recessed details like cracks and such. It’s good to leave a decent amount of metal showing in random areas as well that you didn’t mask because it helps break up the colors a bit. As you can see I used a tore up large flat drybrush for this, and it worked great helping to add to the messy look as well.
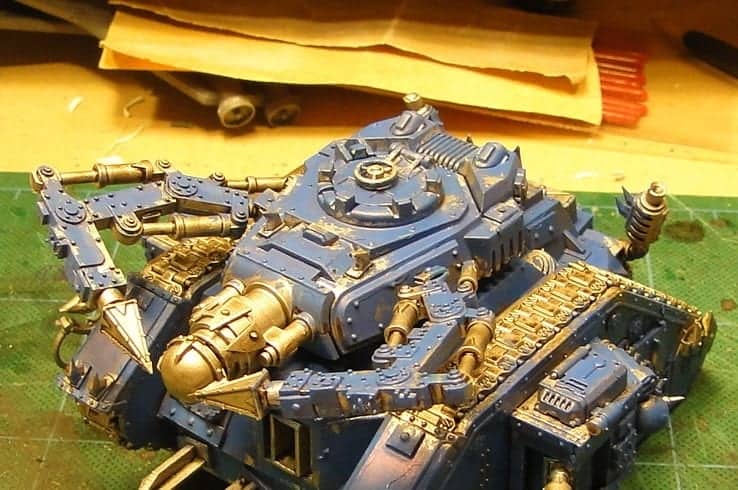
Next I highlighted the Mordian blue with enchanted blue, making sure to only hit the higher raised areas of the tank that would be lighter whatever imaginary source of light there would happen to be. I used a smaller tore up flat drybrush for this as well, taking care not to cover any metal I left exposed from the base stipple.
After that I hit just the very tops of the last highlight with a mix of Enchanted and Lightning blue, to bring it on home. I kept this mix a little heavy on the Lightning Blue as I figured the darker blues underneath would soak it up a bit.
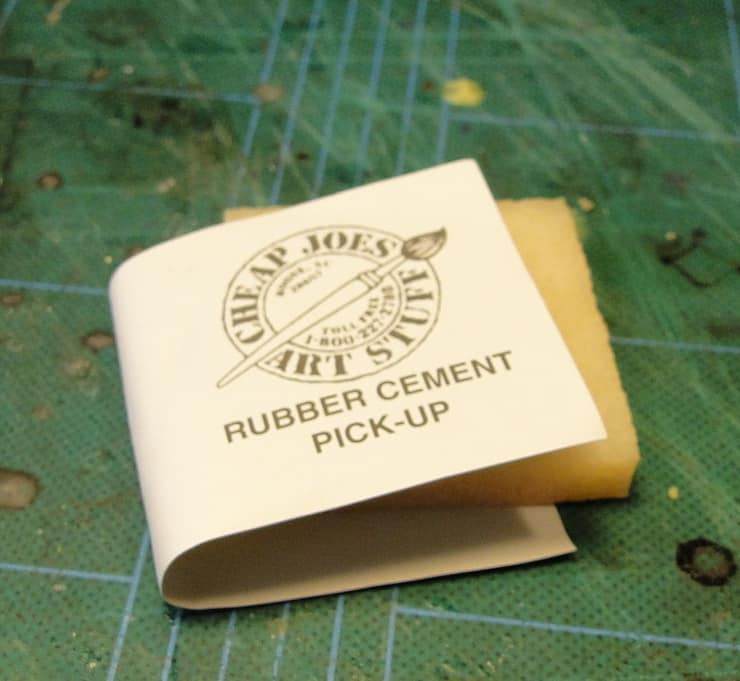
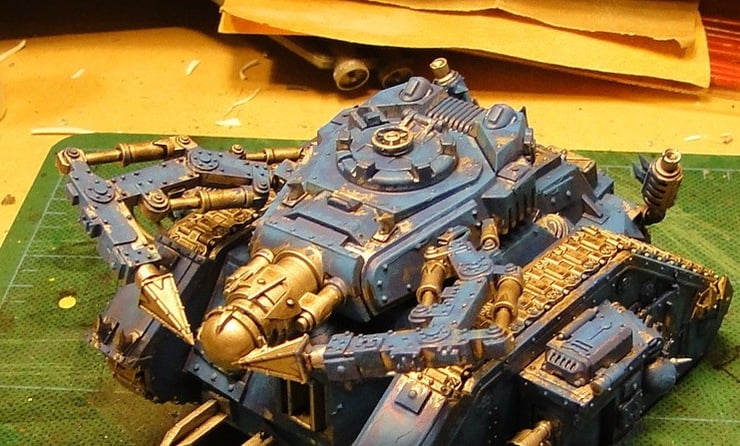
Okay so after all the coats of blue are dry, it’s time to have some fun. I grabbed my trusty pickup eraser, and went to town cleaning off the slightly gummy masking fluid from the tank.
Once that comes up, the “bare metal” underneath is revealed leaving a chipped look to the blue paint around it.

As you can see it accents the stippled paint as well, seamlessly blending together to look worn.

So that’s pretty much it. From here you can detail out the tank, or if you need to add Orky Style Warpaint to complete the “looted” look.
Hope this helps! Email or comment if you have any questions! –MBG
Obligatory shameless plug time- We’re having a huge bits sale over at the Spikey Bits Online Store. All bits items are 20% OFF (yep 20% OFF). Just type the code Bits20OFF in the promotion code field when you check out and BAM! bits on the cheap!
Taking a cue from Tosh.O, you can also follow along with my hobby shenanigans by Joining Me, liking our Facebook, or catching my tweets live from major events!


About the Author: Rob Baer
Virginia Restless, Miniature Painter & Cat Dad.
I blame LEGOs. There was something about those little-colored blocks that started it all… Twitter @catdaddymbg