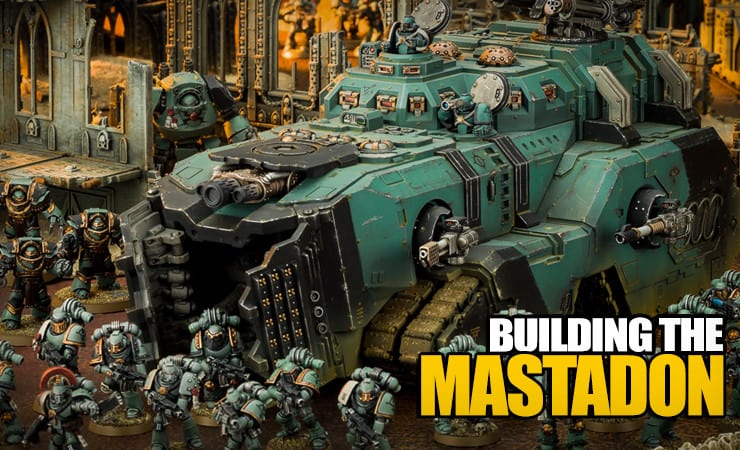
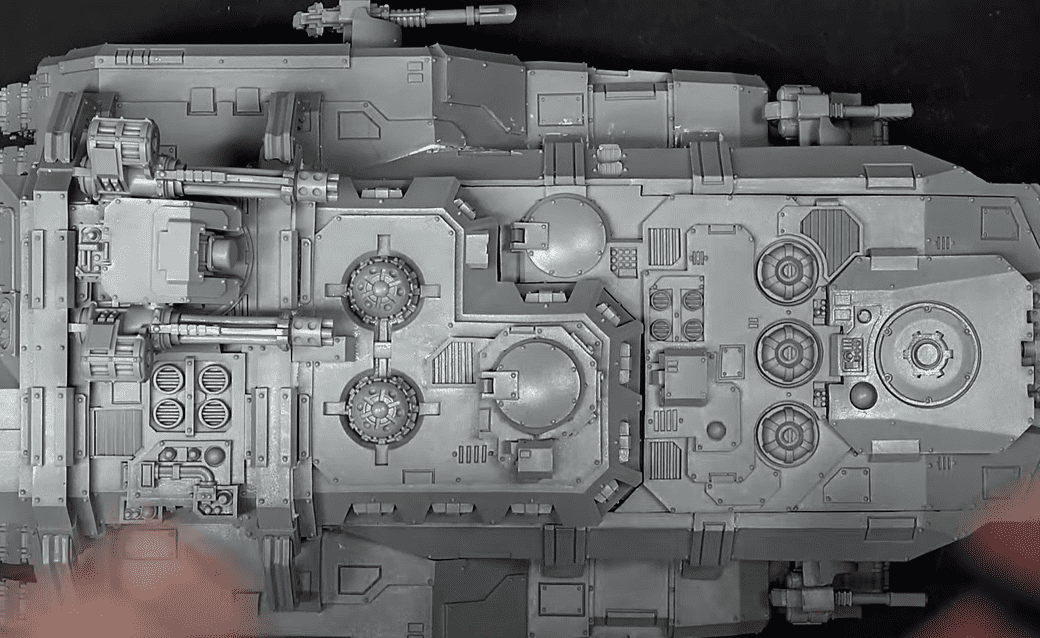
 Assembling the 40k and Horus Heresy Mastodon Tank from Forge World is quite the project- here’s what can go wrong when building it.
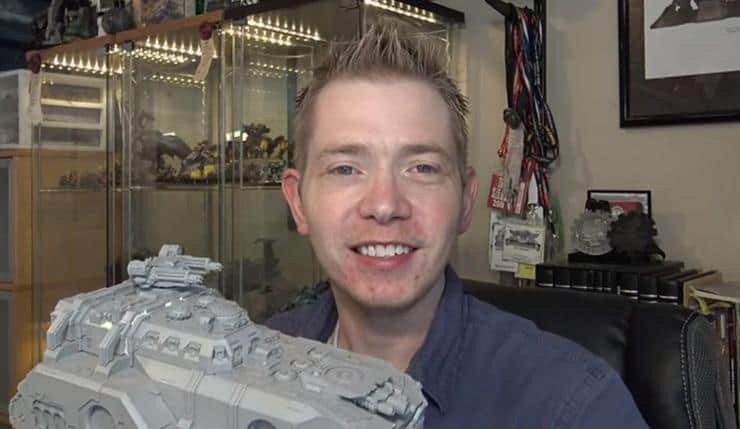
In this video, Rob walks us through how to build this insanely large tank. While this video is a few years old, with the arrival of the new edition of Horus Heresy, we wanted to take a look at this again for everyone interested in going BIGGER with thier vehicles.
If you are thinking about buying and assembling Mastodon Tank, it can be a doozy to build so having some help is always nice!
Building & Assembling the Forge World Mastodon Tank
 If you want to check out the unboxing of this behemoth, you can check that out here. This is all about assembly. Luckily for this, you really only need like 6 magnets. However, Rob got a little discouraged on this build because a lot of the components were actually too small. So it added about 10 extra hours to get things working.
Basically, there was shrinkage on the parts and it became an issue. But, Forge World did offer to send another one, which is cool. Anyway, Rob got it done, just note, that there could be some issues with the resin.
Having said all that, it is a really cool kit overall, and dry fit everything as best you can before gluing anything down!
Starting the Assembly
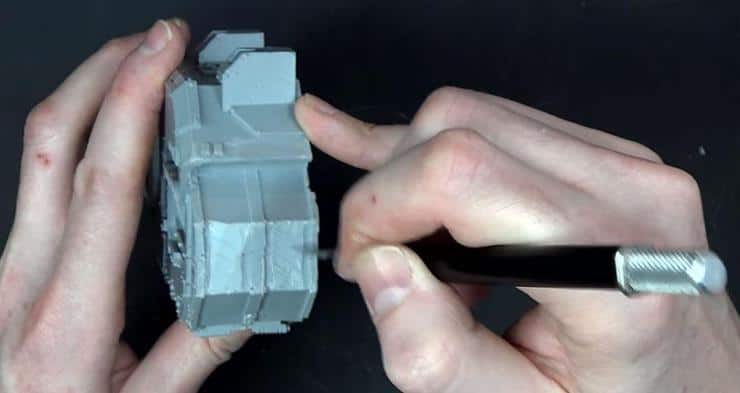 Just as a quick tip before we go any further, scoring your parts allows glue to stick to larger flat areas better!
 As you can see, be sure to dry-fit everything, and on Rob’s hull, there was some serious gapping to start. So be sure to check yours before you apply any glue.
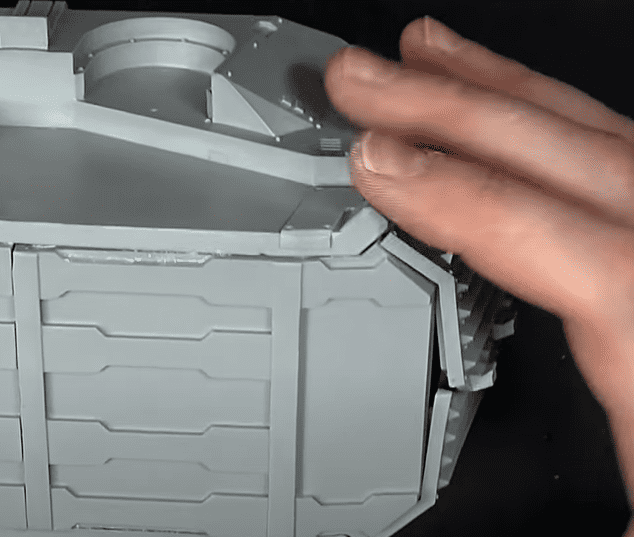
 The next step is pretty easy as you can just clip the ramp in, however, just don’t glue the piston down as there will be movement.
 While we said it would be easy, Rob’s parts didn’t fit perfectly, so he actually had to heat up the little bolt piece to bend it in.
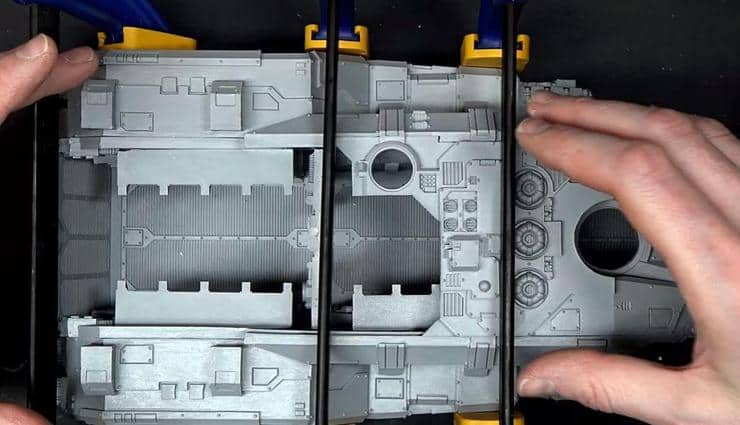
Getting the Floor Boards in
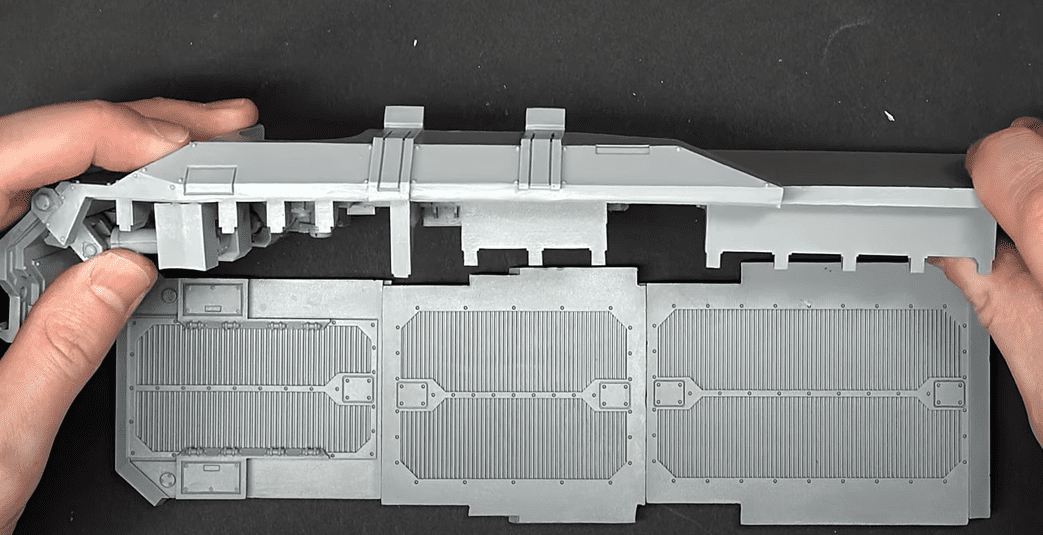 This might be the second hardest part of the assembly. Mainly because you have to line up a ton of pieces, and as you can see, the side isn’t perfectly straight, so Rob had to break out the hot air gun once again and bend some stuff around.
 Rob left the top part unglued, that way you can pull it off and see inside.
 This part is super frustrating because even though everything locks in and is flush, there is still some serious gapping…
Building the Mastodon Tank Treads
 The main issue with the treads is that they have to lock into the bottom piece, and that will sort of make the top springboard out. You can either try vice gripping it down until the glue dries or just throw some weathering in there to make it look natural.
 Rob went with the clamp option as you can see above.
Attaching the Treads to the Body
Sometimes you just need to apply a little gentle back pressure… As you can see above, it wasn’t attaching very well so Rob had to go back to the clamps and use them after gluing to hold the whole thing together as it dried.
 Also, he built the top, but again, there was more gapping to fill.
Building the Weapons
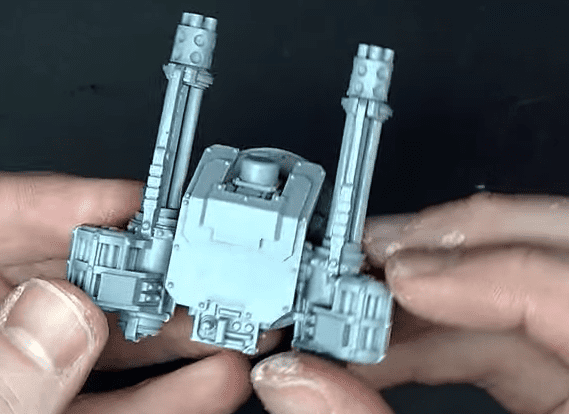
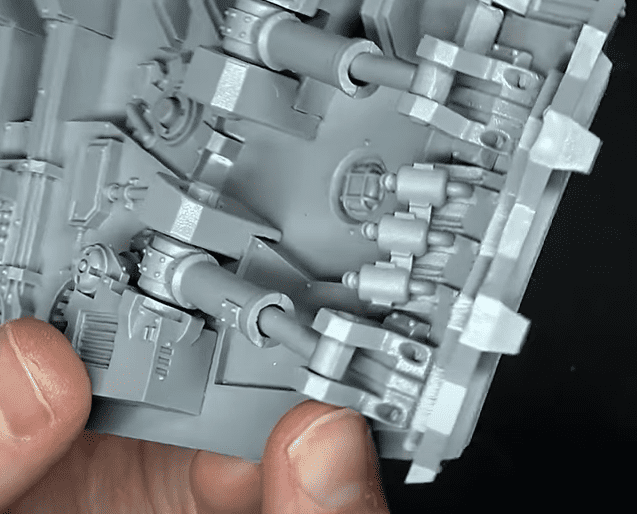
 When building the weapons, they actually work pretty well, as they fit together, and as long as you don’t glue them in you can just change them out. He also left the armor plates unglued so you can paint them in parts later.
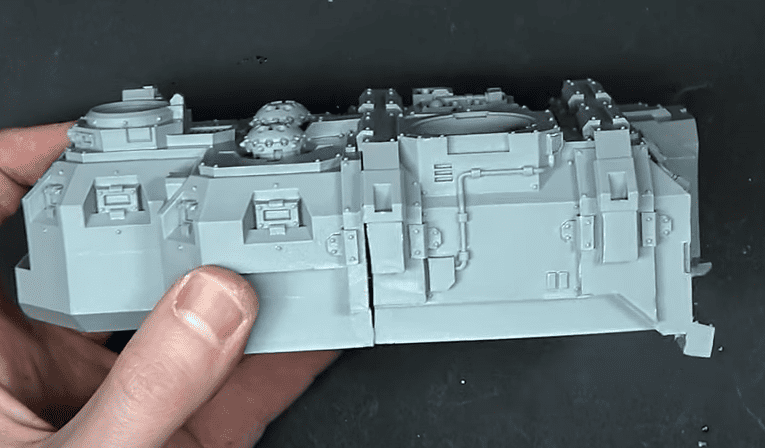
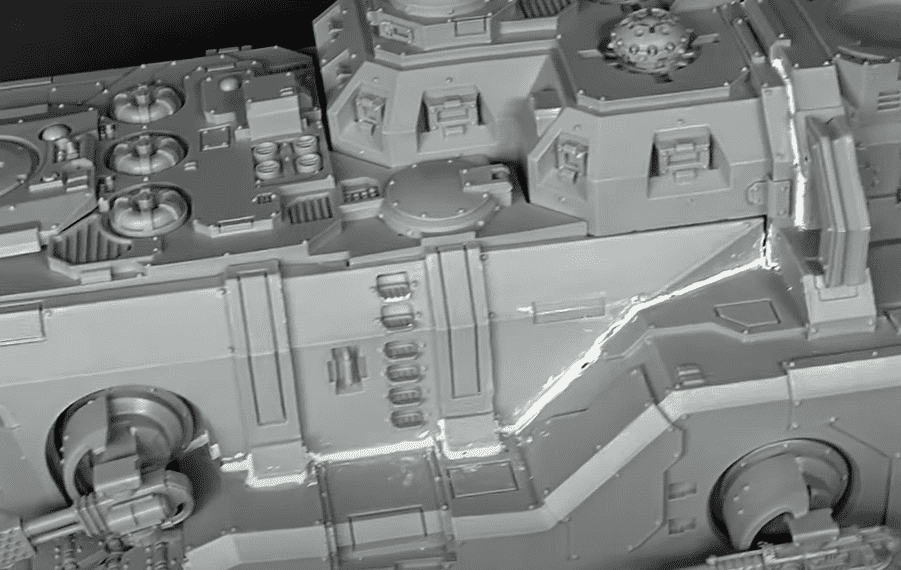
 The roof isn’t too hard to throw on top as long as you lined everything up correctly, but again, there is more gapping on the one side. This comes back to the pieces just being off by that little bit. At least it sits flat…
 The weapons go in fairly easily, which is nice after all the problems, they even move and swivel, which is cool.
Final Steps
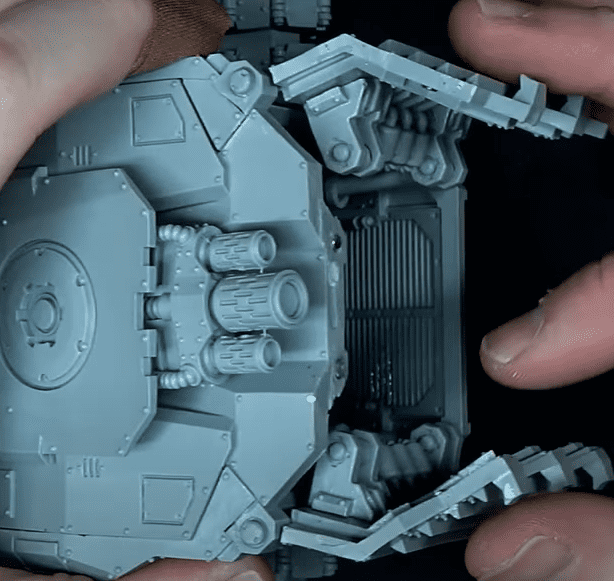 Rob actually attached magnets to the front door so it can open and close, but without the magnets, it would never stay closed.
 We’ve talked about it a lot, but there are just a lot of gaps on this, and for the money, it should go together well. However, the instructions are well laid out and it really is a great kit. Just be ready for a long hobby project.
However, let’s hope over the past couple of years they fixed a lot of the kit issues. Plus, Forge World has always been fairly easy to work with and is willing to send out replacement parts.
Overall we could not have assembled this kit without the use of Vallejo’s Plastic Putty. Click here to get yours, it is a must-have!
Will you be picking up one of these Mastodon tanks, and if you have, where are you at with assembling or building the behemoth?
Let us know in the comments of our Facebook Hobby Group, and make sure you enter the latest monthly giveaway for FREE today!
Get ad-free access to our hobby videos, a monthly crate of miniatures, and support some of the best creators out there for as little as $6 a month on Patreon!


About the Author: Travis Pasch
Travis Pasch
 Job Title: Head Writer & Editor
Joined: 2019
Socials: @paschbass
Bio: Dark Eldar Dracon and Warhammer 40k hobbyist since the third edition in 1998. He also loves camping because you can only paint so much! He joined the Spikey Bits team in 2019 and has been the main daily writer since 2020.
Maybe one day, he’ll finish converting all his Ad Mech models and turn into a true tech enjoyer, complete with sad and happy robot noises!