Way back in the day before Pre-Heresy was “cool”, I attempted an ambitious project: a Pre-Heresy Iron Fists Army.
Unfortunately for me, my painting skills weren’t quite up to the task and I couldn’t quite pull off painting yellow then. But I certainly had fun converting the army, and that’s all that counts.
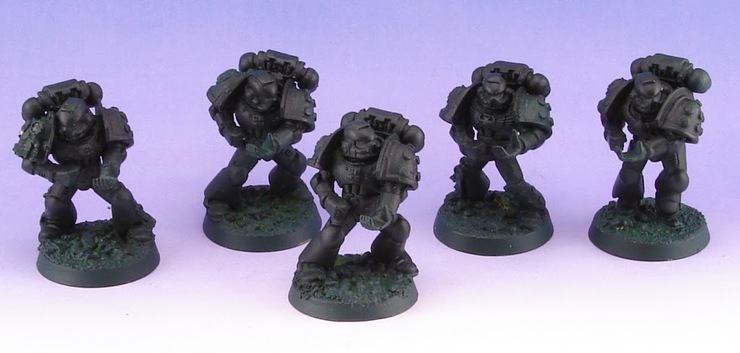
Eventually I went back and started painting them green for Salamanders because I could handle than, and that’s pretty much how they stayed for years until I sold the army on eBay for college books.
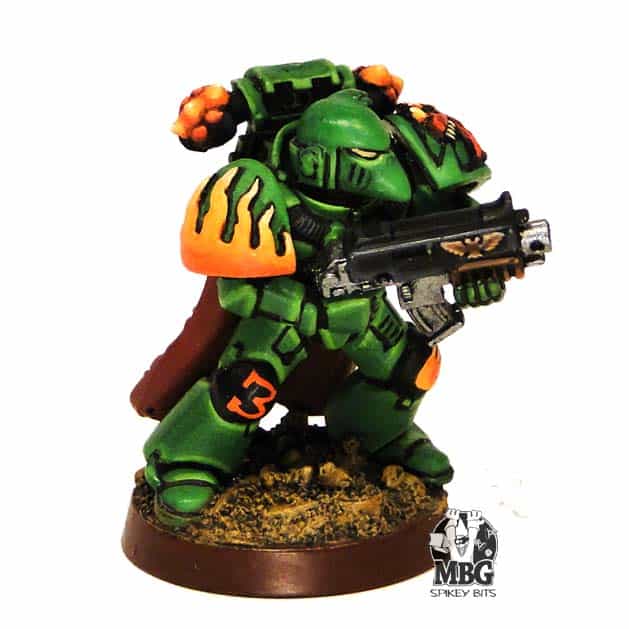
I did finish one test model though (opposite), and he turned out great. I even still have him to this day still.

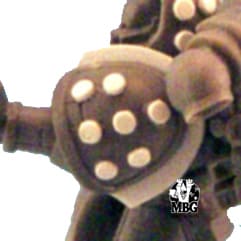
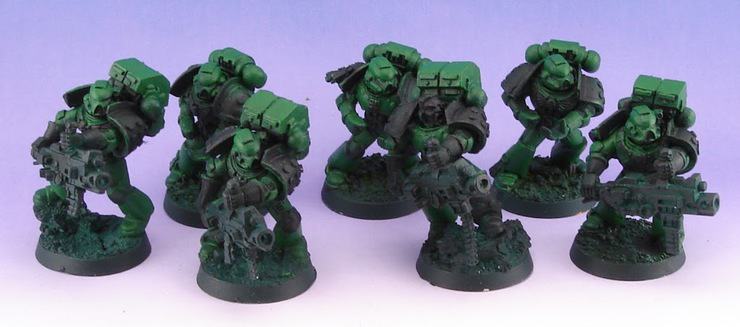
These guys I put a lot of time into, the shoulder pads and legs studs were all made from punched out plasticard and affixed into place with plastic glue.
To do this I just used a 1/16″ (basically that’s a quarter of a quarter of an inch) handheld hole punch for Michael’s Arts and Crafts to make the studs. Then I just used the tip of a hobby knife to lightly stab them, dip them in the plastic glue, and affix them to the pad itself.
The shrapnel guard over the lip of the pad was also made from 1/32″ or 1/64″ thick plasticard, but to secure it I had to use super glue so they wouldn’t keep breaking off.
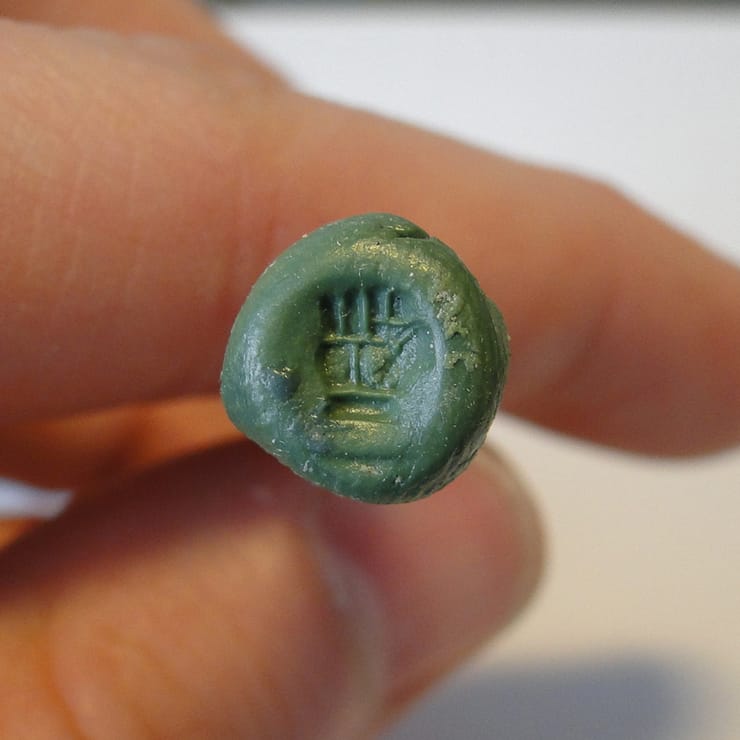
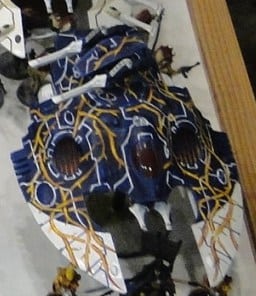
I also wanted to have some “fists” icons all over the models so I made a squish mold of a fist symbol off of a pewter shoulder pad.
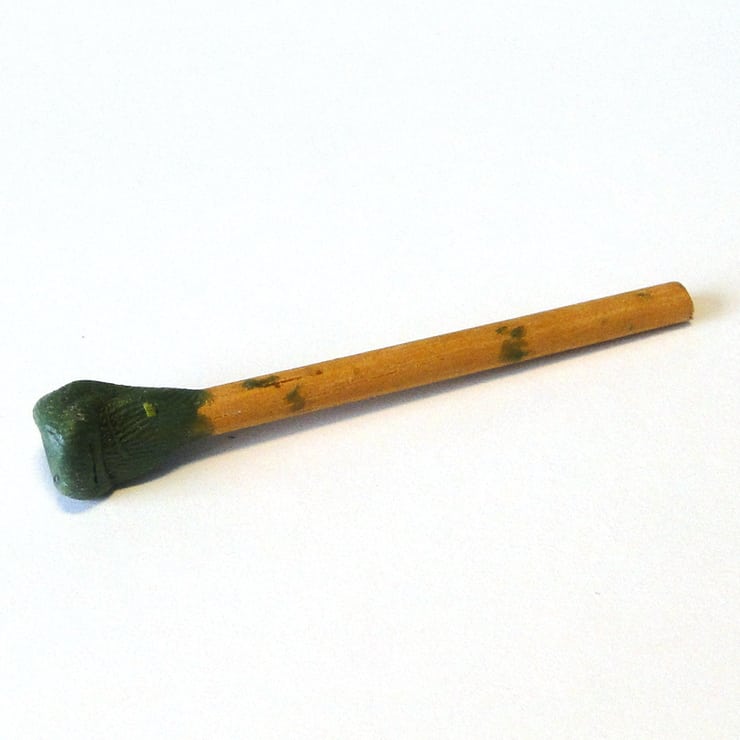
Squish molds are easy to make, I just took a big blob of green stuff, and attached it to the end of a old paintbrush. After adding a drop of two of water to the end, I stamped it onto the icon I wanted to duplicate.
After the mold dried, I just rolled out some small balls of green stuff in a row on some wax paper, and stamped them all into little fists. SQUISH! Then after they dried I cut them out and glued them to my models!
I saw this tip in an old White Dwarf from the Nineties. It’s a pretty sweet trick to make your models really stand out. I splashed these fists on my marine’s chests and some on their shoulder pads, but the possibilities are endless really with what you can do to a figure.
Now being old and all, these pics aren’t the best- but at least I took some, lol. So please scroll down and enjoy all my old converted army photos below. I hope this will inspire someone’s project in a new hobby era!


Any questions, just ask! -MBG
Don’t forget, We do sell bits for less! Over at the Spikey Bits Online Store, all bits are 20% OFF. Just type the code Bits20OFF in the promotion code field when you check out and BAM! bits on the cheap!

About the Author: Rob Baer
Rob Baer
 Job Title: Founder, Publisher, & Managing Editor
Founded Spikey Bits In 2009
Socials: Rob Baer on Facebook and @catdaddymbg on X
Bio: Virginia restless, miniature painter & cat dad. He blames LEGOs for all this, as there was something about those little-colored blocks that started it all. Spikey Bits started with Rob trying to stay motivated to hobby on his backlog of projects and share his knowledge with others during the early blogging era.
Scale model hobbyist in the 80s, miniature wargamer, and trading card player ever since. He’s played every edition of Warhammer 40k and Warhammer Fantasy since 5th Edition, but Titans of all sizes will always be his favorite! It’s even rumored that his hobby vault rivals the Solemnance Galleries, containing rulebooks filled with lore from editions long past, ancient packs of black-bordered Magic Cards, and minatures made of both pewter and resin.