Building & Painting Pre-Heresy Sons of Horus
Hey guys, Rage of Khorne here from The Order of Chaos gaming club, looking to walk you through one of my first Sons of Horus models for my upcoming pre-heresy campaign (more on that in future articles).
The
tools I used were fairly simple and included:
-Files
-Plastic Glue
-Super Glue
-Green Putty
-Assorted Bitz
-Sculpting Tools
-Brushes
–
Paints (Mephiston Red, Orkhide Shade, Tallarn Flesh, Chainmail, Mithril Silver, White Scar, Rakarth Flesh, Yriel Yellow, Seraphim Sepia, Brown Ink, Abbadon Black, Mechanicum Standard Grey, Fortress Grey).
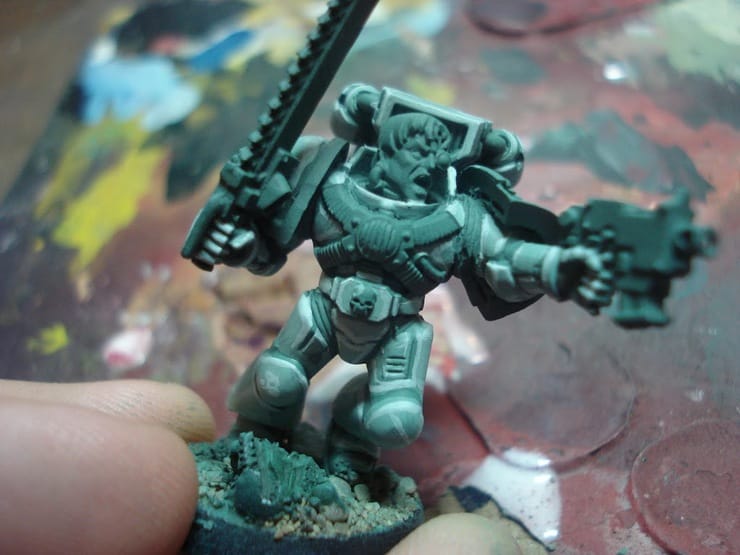
I started off by collecting the bits of armour and weapons I wanted for the over all affect of pre heresy armour so the pieces I used were as follows:
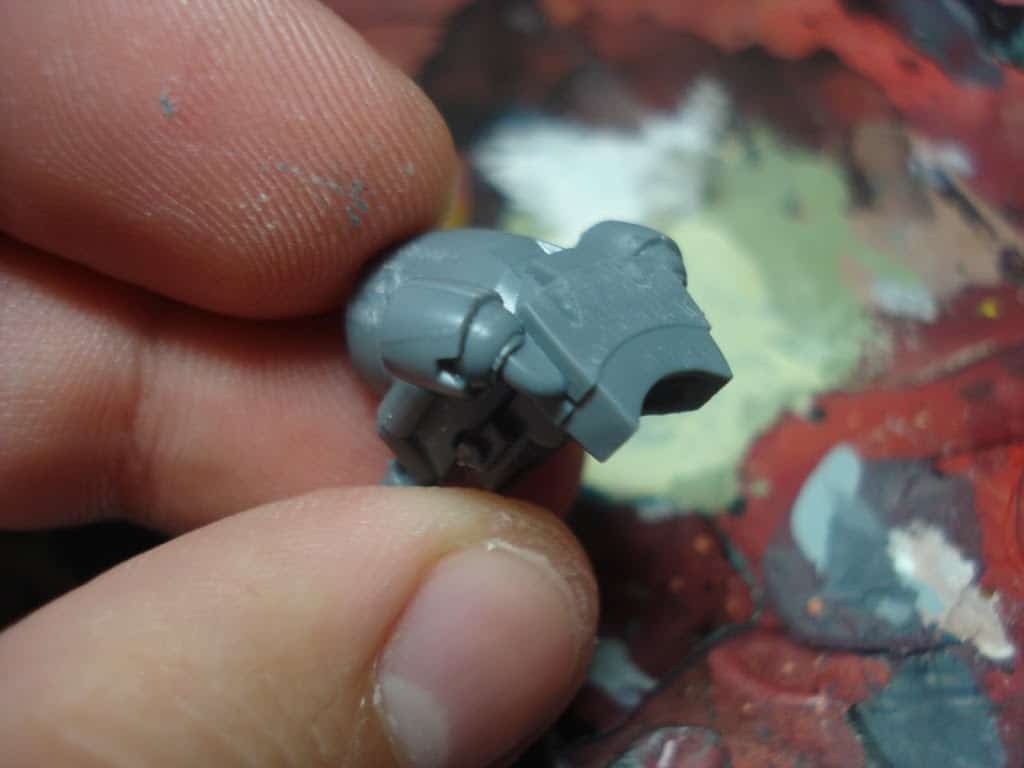
-Mark V Chest Piece from the Tactical Marine Boxed Set
-Blood Angels Augmented Eye Head from the Death Company Boxed Set
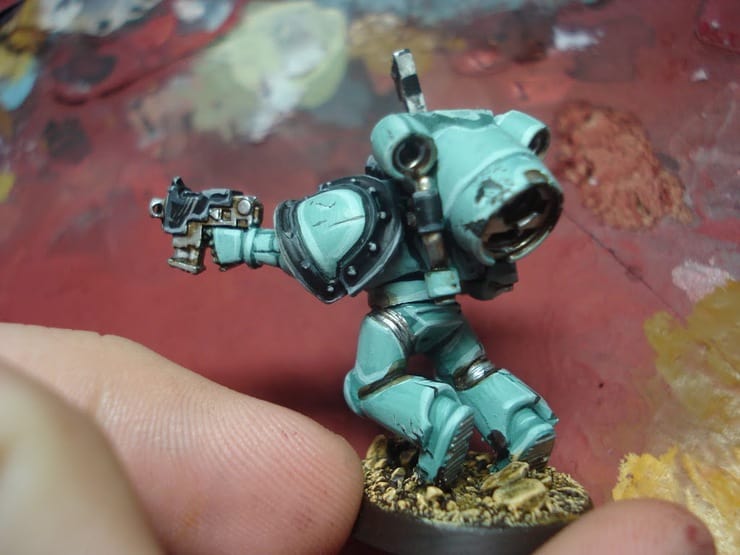
-One FW Iron Armour Shoulder Pad
-Tactical Marine Shoulder Pad
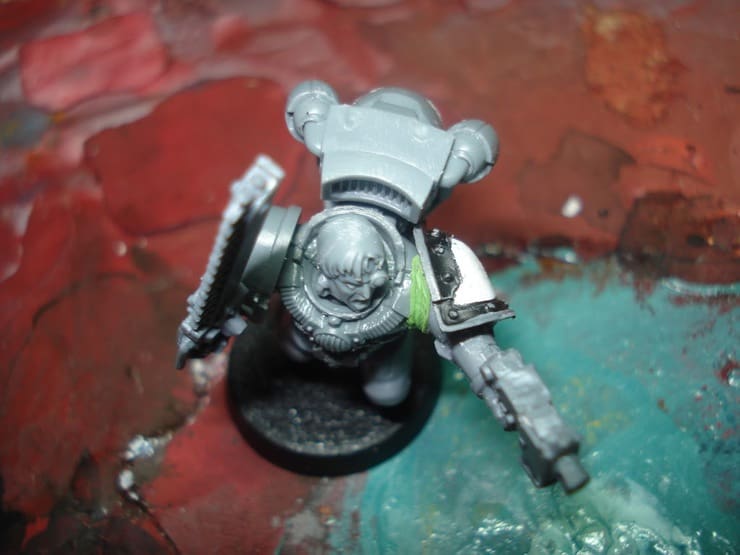
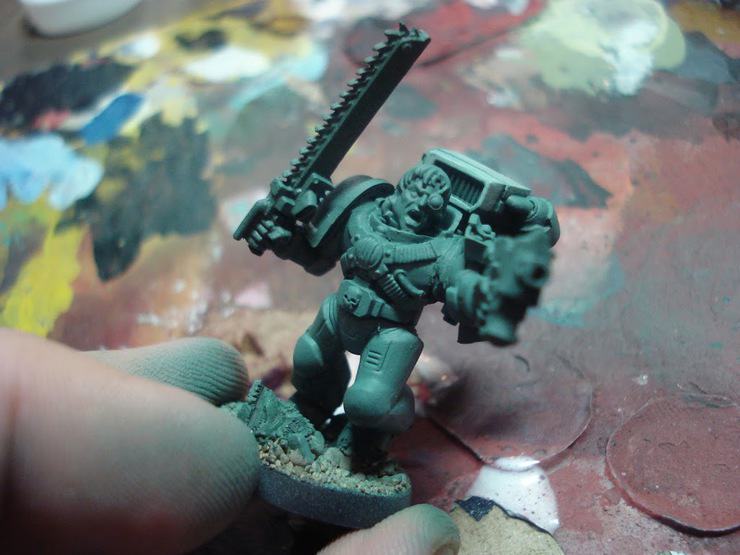
I assembled the legs and torso first so I would have something to add on to while I worked. This made handling the individual pieces much easier and avoided ruining the small green putty work I did.
I blue tacked the head, arms, and backpack before deciding their final position so I could figure out the most dynamic pose while not having to go back and pull parts off the model. I glued everything together and sculpted some ribbing in the arm gap to try and hide the slight angle change I made.
I then did some scenic basing and sprayed the model white. The first step in basing the model was giving two spray coats with my air brush to get a nice smooth finish to the armour. The first coat was a 1:1:1 mix of Water, Orkhide Shade and White Scar.
This was then spray highlighted (although thoroughly) with a 1:1:3 mix of Water, Orkhide Shade, and White Scar.
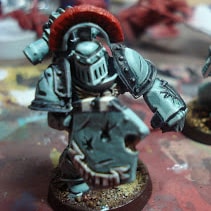
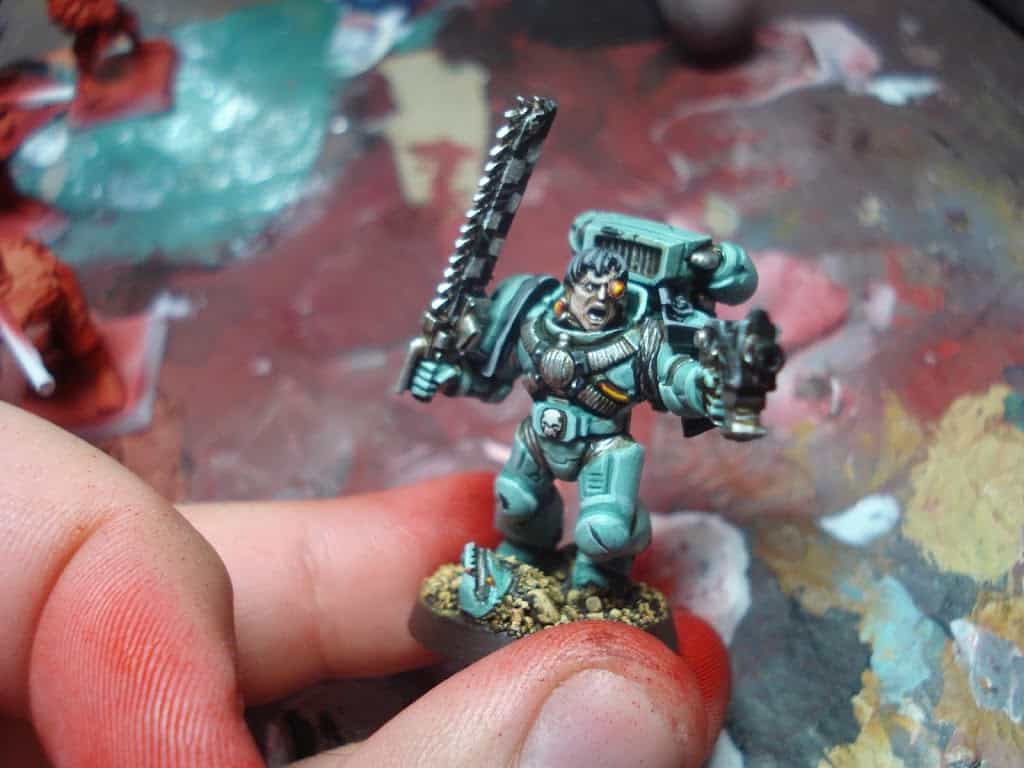
There were two levels of highlights done on the armour, one of which was a mix of 1:1:5 of Water, Orkhide Shade, and White Scar and then another with a 1:1:7 of Water, Orkhide Shade, and White Scar. Some light shipping was done by first going over small areas with blotching and lines of White Scar which would be finished later as scratch and chip marks. This brought the basic armour to a colour I was happy with and was light enough to contrast nicely with the black trim on the shoulder pads which was just Abbadon Black, and then a highlight of Mechanicum Standard Grey and then another of Fortress Grey.

Base coats of Chainmail were done on all the metals, Rakarth Flesh was painted onto the skull, and Mephiston Red was painted onto the cords and eyes on the damaged helmet. Tallarn Flesh was painted onto the face and the checkers were hand painted onto the chain sword. A wash of 1:1:2 of Water, Brown Ink, and Seraphim Sepia was given to all the metals, skin, skull, and cords to dirty them up a bit and bring out the depth of detail.
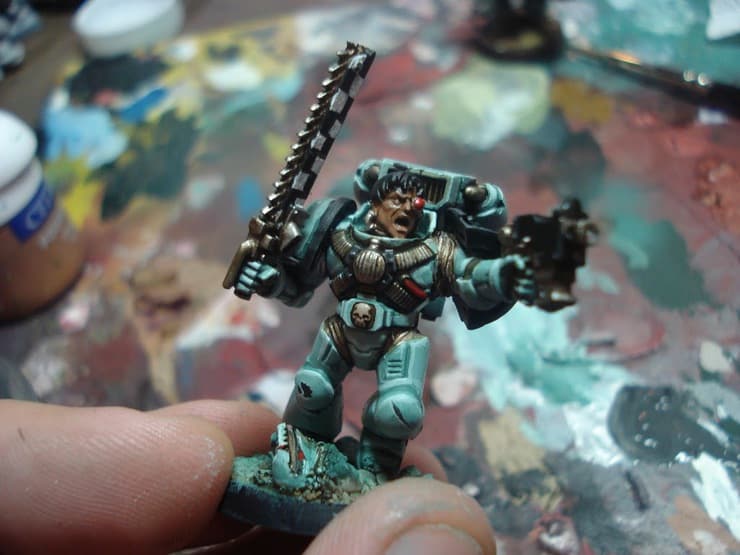
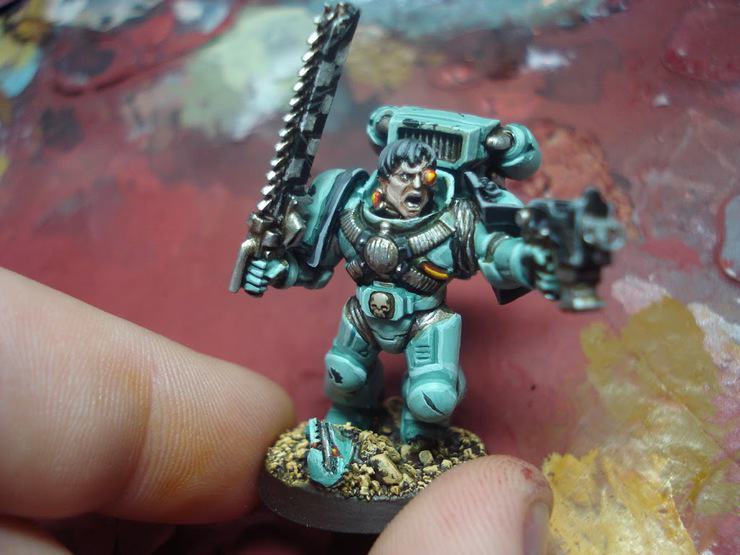
The metals were then highlighted with Mithril silver and some Mithril Silver was criss crossed over the checkers and the bolt pistol to show wear and tear on the most actionable parts of war gear. I finished up by highlighting the skin with successful highlights of Tallarn Flesh mixed with white in increasing amounts until I got a gaunt, light coloured skin tone.
The cords were highlighted with a 1:1 of Mephiston Red and Yriel Yellow and then again with pure Yriel Yellow. The chipping and cuts on the armour were finished off with light dabs of Abbadon Black applied to the upper portion of the light dabs of paint added earlier. This gives the visual effect of a hole or crater and the light reflecting off its edge. The basing was finished and I was ready to start building the other members of this assault squad.

Depending on whether you are a loyalist or traitor, the colours of this assault marine could vary significantly, for example, if you were fielding a first company army with Abbadon, this unit could be painted in blacks to represent Catillan Reaver squad.
If you buy something from
a link on our site, we may earn a commision. See our ethics statement.
Rob Baer
 Job Title: Founder, Publisher, & Managing Editor
Founded Spikey Bits In 2009
Socials: Rob Baer on Facebook and @catdaddymbg on X
Bio: Virginia restless, miniature painter & cat dad. He blames LEGOs for all this, as there was something about those little-colored blocks that started it all. Spikey Bits started with Rob trying to stay motivated to hobby on his backlog of projects and share his knowledge with others during the early blogging era.
Scale model hobbyist in the 80s, miniature wargamer, and trading card player ever since. He’s played every edition of Warhammer 40k and Warhammer Fantasy since 5th Edition, but Titans of all sizes will always be his favorite! It’s even rumored that his hobby vault rivals the Solemnance Galleries, containing rulebooks filled with lore from editions long past, ancient packs of black-bordered Magic Cards, and minatures made of both pewter and resin.