The Corellian Conflict has come to an end with the Rebels victorious! It was a hard won battle that saw the destruction of the Empire and freed Corellia!
 The Corellian Conflict is a Armada campaign spanning the entire Corellian system, pitting the Rebel Alliance against the Empire in a planet attack and defense type game style. Planets are carefully selected to serve as basses and outposts, and each planet offers bonuses to resources or repair abilities for damaged ships. It’s a game of long range planning and strategy, as key planets must be held to secure a foothold and allow your fleets. to grow. The campaign ends in an All Out Offensive, featuring up to 6 players with 500 points per fleet, all on one table! Armada madness!
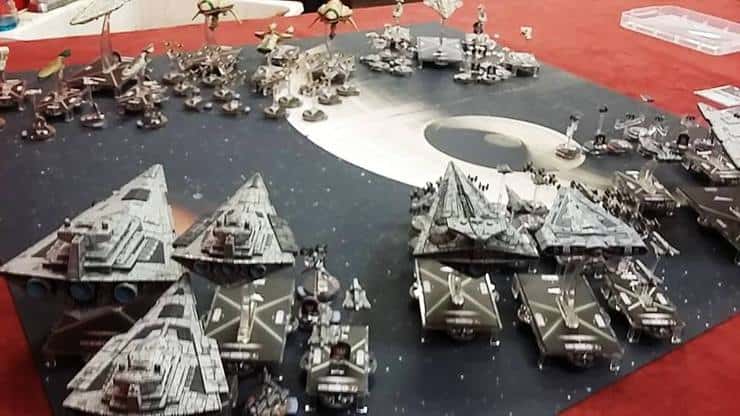
Our Corellian Conflict pitted the Rebel Alliance at full strength, with 3 fleets maxed out at 500 points. The Grand Admiral of the Rebel Alliance was none other than Admiral Ackbar himself, commanding from his flagship: Home One. The Imperial fleet had 3 fleets at 475 points each, being commanded by the ruthless Admiral Screed. It was an all out battle that saw the Rebel Alliance victorious! Let’s do a quick rundown of all star plays and ships from the battle. 
The Rebel flagship, Home One, was ever the force multiplier in this battle. While a friendly ship is attacking and is within range 1-5 of Home One, that ship may change 1 die to an accuracy result. This ability ensured that each volley from the Rebel ships was at full strength, being able to lock down the crucial Brace defense token of the Imperial capital ships. The resulted in the Imperial ships being pounded by overlapping fields of fire, thanks to the coordinated command of Admiral Ackbar!

Boarding Troopers is a new upgrade card that can cripple a ship in a single activation. After having seen the devastation that Home One had wrought upon the Imperial fleet, a Victory Class Star Destroyer came out of hyperspace reserves in order to intercept the vulnerable rear of the Home One. The Boarding Troopers aboard the Victory were unleashed upon Home One, resulting in 3 defense tokens being exhausted: The Brace and 2 Redirects. The Victory then opened fire with all batteries at point blank range and resulted in 5 hull damage on the Home One. The Empire was sure to claim a Mon Calamari capital ship from this battle, but the Rebels had other plans. 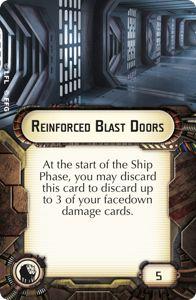
Admiral Ackbar was quick to mitigate the damage received and ordered an Engineering command to recover shields and Reinforce Blast Doors were activated to remove 3 damage cards, resulting in a more manageable 2 hull damage. This allowed Home One to continue to aid the other Rebel ships in focusing fire on Star Destroyers, making quick work of the daring Victory.
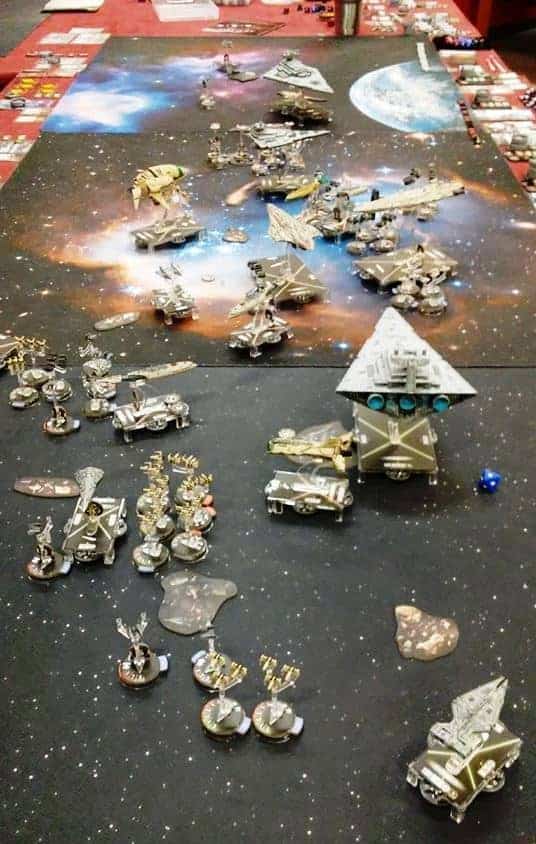
 External Racks was another all star in this battle, allowing MC30 Scout Frigates to threaten ships at long range and close range at will. 3 red dice + 2 from Admiral Ackbar allowed the Scout Frigates to whittle Star Destroyers down for the other larger ships to finish off, but when a Scout Frigate was threatened at close range the batteries jumped up to 4 red and 4 black thanks to External Racks. This resulted in heavy damage upon even the mighty Imperial Class Star Destroyer.
It was a hard won battle, but the Rebel Alliance was able to rid Corellia of the Imperial rule over which it had suffered. For the Alliance!

More Star Wars Tactics

About the Author: Barclay Montgomery
I’m a weird guy wargamer and hobby enthusiast. I’m like the Thing, I can take many forms. I could be a bounty hunter looking for Rebel prey, a commander of an Imperial fleet, or the Hive Mind of the Great Devourer of Worlds.