 The Adeptus Titanicus Warmaster Titan has arrived at the studio, check out Rob’s latest unboxing!
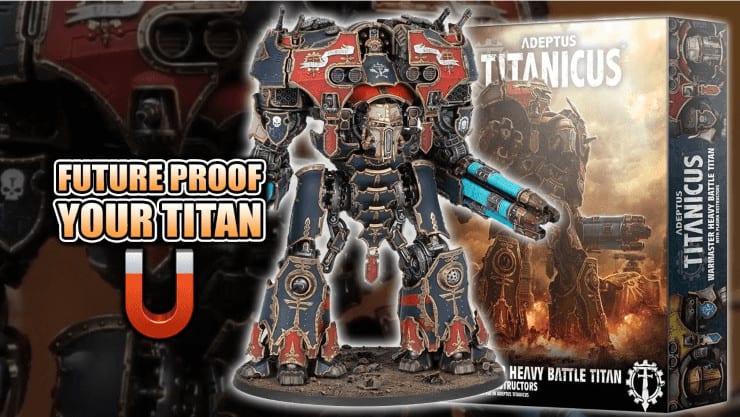
We’re back unboxing the newest addition to AT! Rob sees what it takes to get it ready for the tabletop, shows the size of the model compared to a 40k knight, tells you the GOTCHAS to be aware of when building them, and how you can future proof yours by magnetizing it.
We are going to show you everything including the bits, size comparisons, and everything included. That way you can decide if this is worth your hard-earned hobby dollars.
Adeptus Titanicus Warmaster Titan: Magnetizing & Build
Get Yours For Less From Amazon or Dicehead Games!
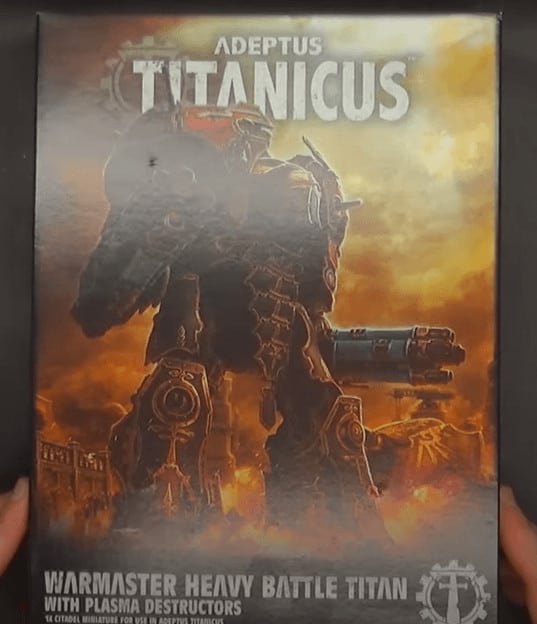 This is the biggest single mini and most expensive kit for AT ever, and it’s giant! It runs for $160 and unfortunately sold out pretty quickly. This comes with 4 gigantic sprues that are all different. The Imperial Knight Preceptor is 5 sprues for $157, just as a little comparison.
Command Terminal
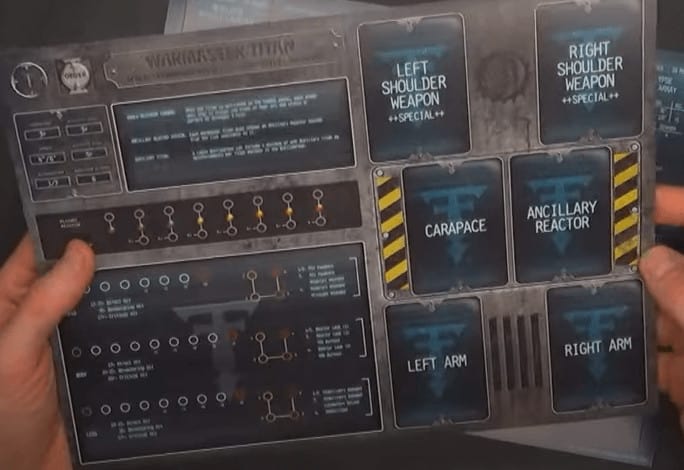 If you want to magnetize your command terminal to make this easier to use, check out Rob’s tutorial on how to magnetize it, check that out here. There is also an iPad app to keep track of your Titans as well, but magnetizing them is super easy.
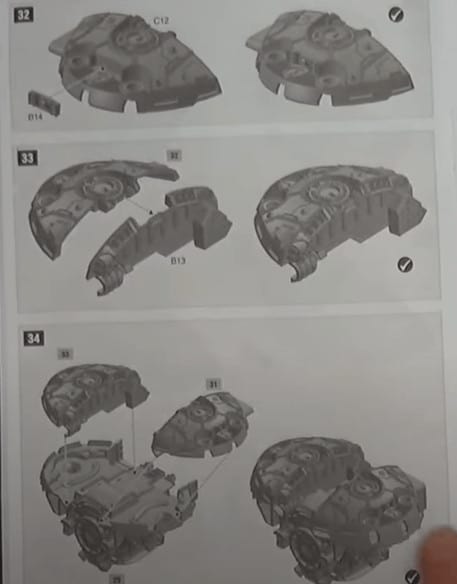
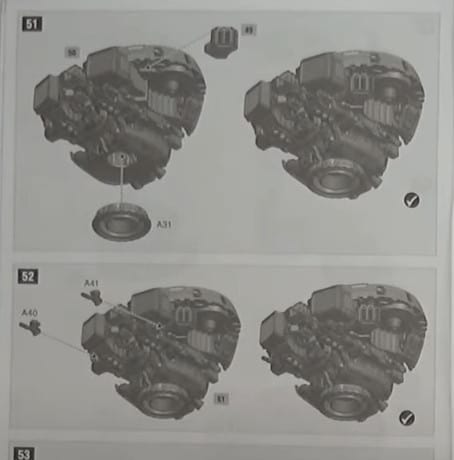
Instructions
 The interesting thing is this comes on a smaller base (120mm) than the Knights it’s as big as, but if you wanted to proxy, you could have two bases for it. However, this one will work with the firing arc template.
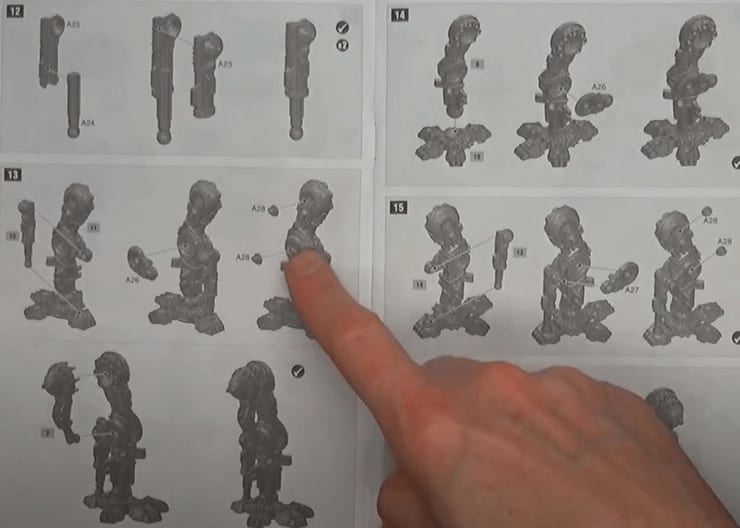 The instructions are quite long but do seem fairly well detailed. Rob recommends keeping the armor plates off while building because it will make painting all the trim and such so much easier. Then just glue them on later.
He also uses Sharpies for the gold trim, if you want to see how he does that, you can check that out here.
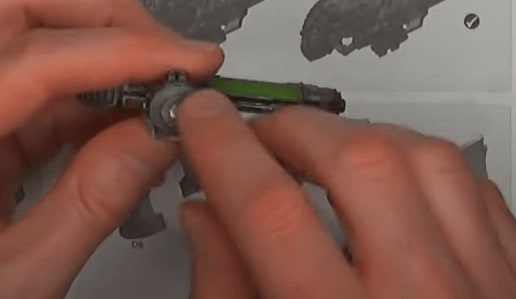
 The arm sockets in the top are something you’ll want to magnetize, but because of how everything fits, it could be very hard. Since you have to lock the whole body part together to even build it, but that may not end up being an issue!
 You may not have to magnetize the bottom of the body because it looks like it will hold its own weight, be able to rotate, and come apart without issue.
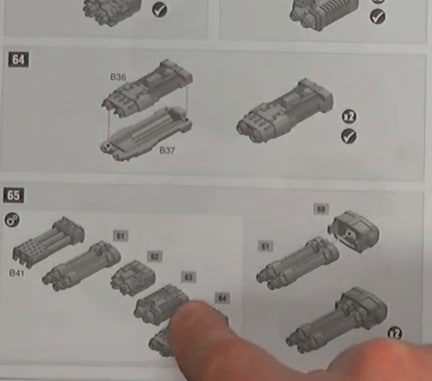 They give you a ton of options for weapons, and some of the other weapons don’t need to be glued down so they can move around. So pay close attention to where it tells you not to glue, so you’ll have way more movement on the mini.

 The shoulder weapons look to build very similarly to the Warlord’s weapon mounts too, where Rob just put one magnet in the top so you can switch them out with other weapons, obviously the Warmaster’s weapons are going to be bigger, but the idea is the same! It even looks like it has a pre-made space for a magnet.
Sprues
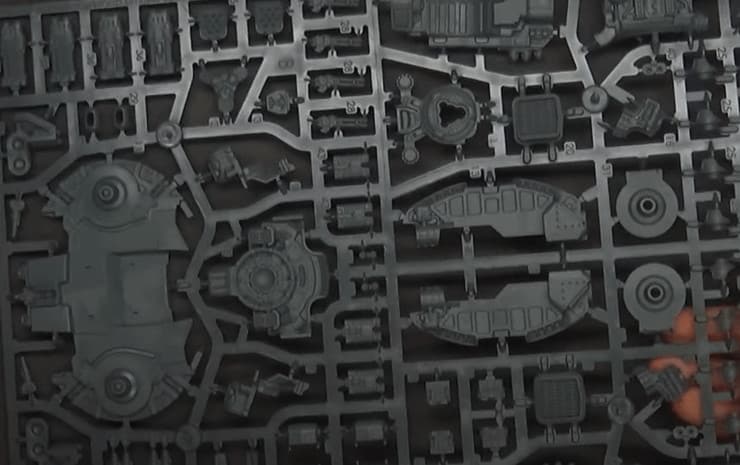
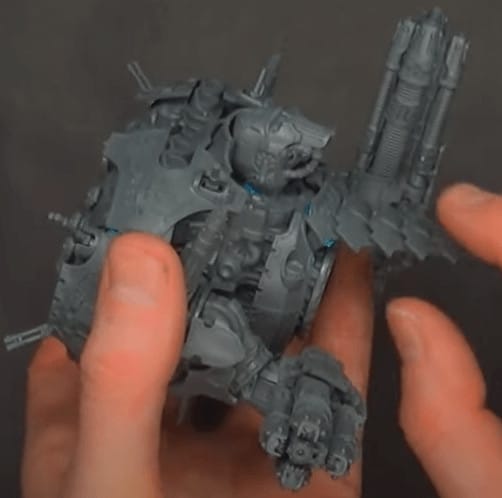
 Like we said before you get 4 sprues and they are loaded with bits! They all look very detailed, but be sure to follow the instructions because there are just so many bits to glue. Also with how the AA guns look, it seems like you’ll be able to magnetize them as well.
Assembly
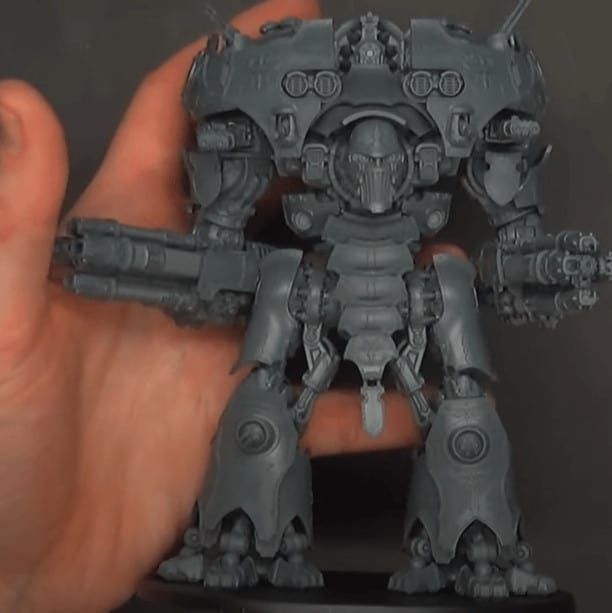 Here it is! It took Rob about 7 hours to clip it, trim it, magnetize it, and build it. So quite the build overall, Rob also used blue-tac for all the armor so he can take them off and paint them separately.
 Luckily you don’t have to magnetize the torso because it works well without glue and will hold its own weight.
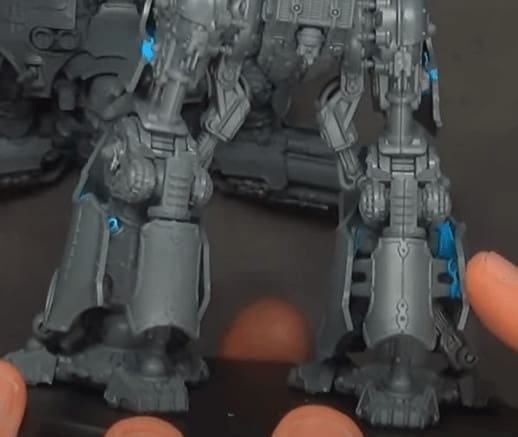 The knee guns don’t move, but you are able to actually build the leg armor and then blue-tac it to make painting easier. Just note, the legs are done from the actual minis perspective, not yours as your looking at it.
 For the cock armor plate, Rob used the Tamiya Extra thin cement, and you have to lay it out flat to keep it from hooking up.
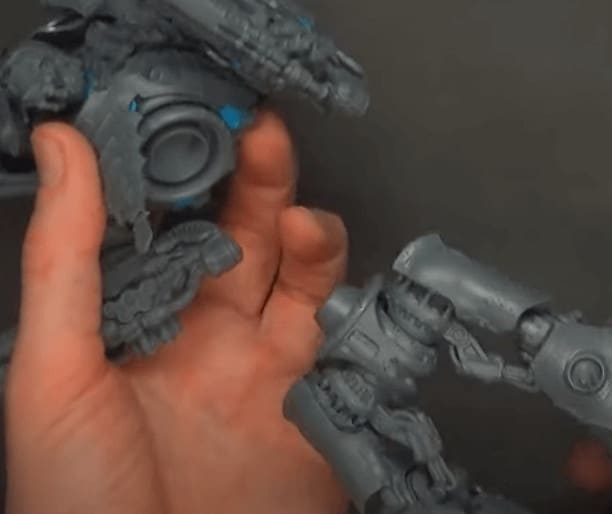
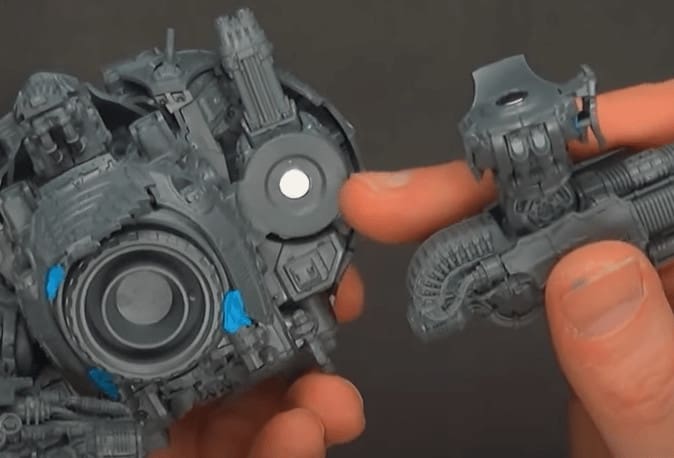 The joints already have the spacing for a magnet, so all you have to do is grab two 1/8″ x 1/16″ magnets and they fit in there perfectly. Just make sure you don’t glue down the peg that goes up to the shoulder, so you can actually move it.
 For the shoulder weapons, Rob went with a 3/16″ x 1/16″ magnet and it fit in there pretty well. Then for the actual weapons, Rob clipped off some tin and put it on the back of the actual weapon. You really only need about six magnets for this whole thing which is sweet! You could magnetize the AA weapons on top, but Rob didn’t care too much and kept them glued in. Those look to be 1/16″ x 1/32″ depth.
Size Comparisons
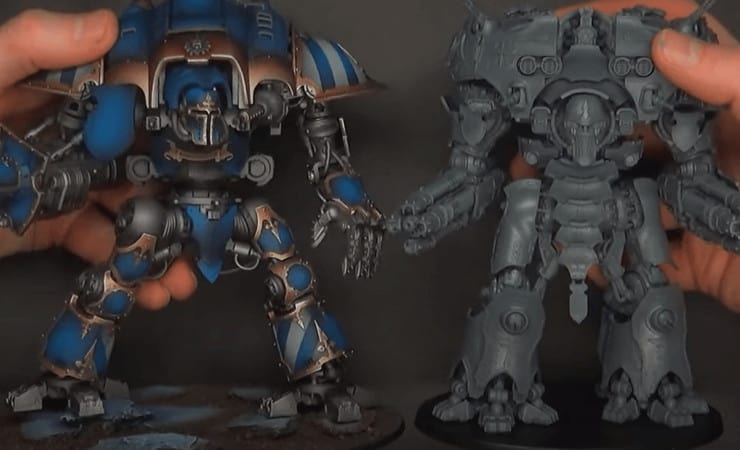 It’s the same size as the 40k Imperial Knight! If you wanted to throw your Warmaster on a 170mm base, you could totally use it as a count as Knight.
What do you think of the new Titan? Were you able to pick one up?
Let us know in the comments of our Facebook Hobby Group, and make sure you enter the latest monthly giveaway for FREE today!
You can also support us on Patreon and get ad-free access to the site, plus a ton of minis that helps support some of the best creators out there! This post contains affiliate links, as an Amazon Associate Spikey Bits earns from qualifying purchases.

About the Author: Travis Pasch
Travis Pasch
 Job Title: Head Writer & Editor
Joined: 2019
Socials: @paschbass
Bio: Dark Eldar Dracon and Warhammer 40k hobbyist since the third edition in 1998. He also loves camping because you can only paint so much! He joined the Spikey Bits team in 2019 and has been our lead writer since 2020.
Currently, he’s working on converting all his Ad Mech models and becoming a true tech enjoyer, complete with both sad and happy robot noises!