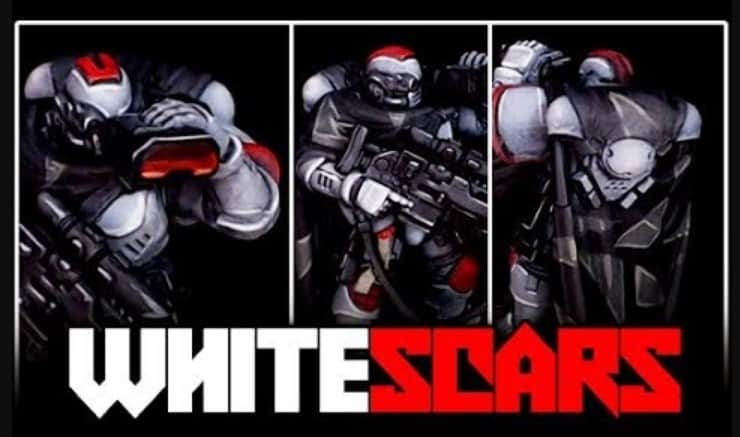
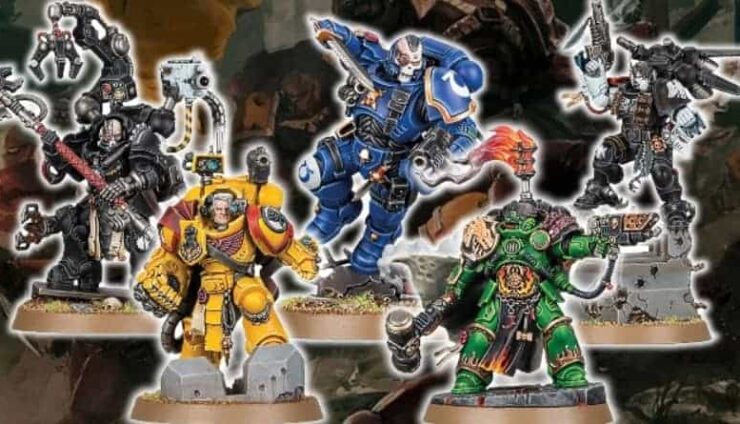
 Painting white isn’t as hard as you think with this tutorial from Kenny at Next Level Painting. Learn how to paint White Scars Space Marines!
Kenny has done all types of painting tutorials, but today he’s gonna give us the rundown on painting White Scars well and efficiently. He’ll give us his personal advice and some tips along the way to getting a crispy fresh White Scars marine ready for the tabletop.
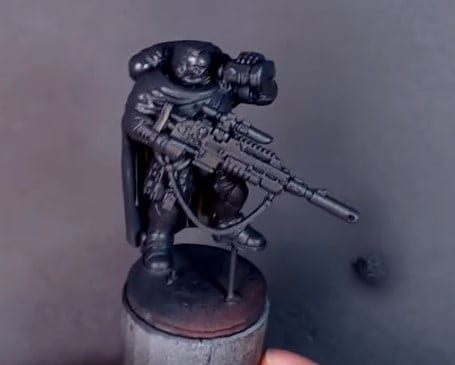 The first thing we do is prime the model black as usual and then hit it with a quick base coat of dark neutral grey to give it some depth.
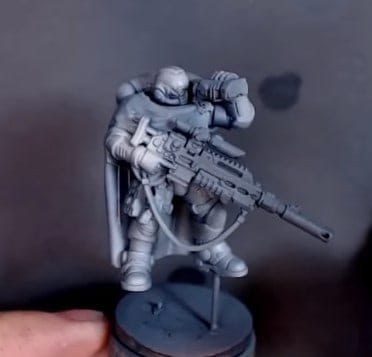 After the dark neutral grey add some Proacryl Cool Grey to the pot to get a 50/50 mix and do a top-down highlight. After that dries do a fresh pot of cool grey to highlight it again and make some very good clear transitions. It looks bright here but it will dry grey, we aren’t into the whites yet.
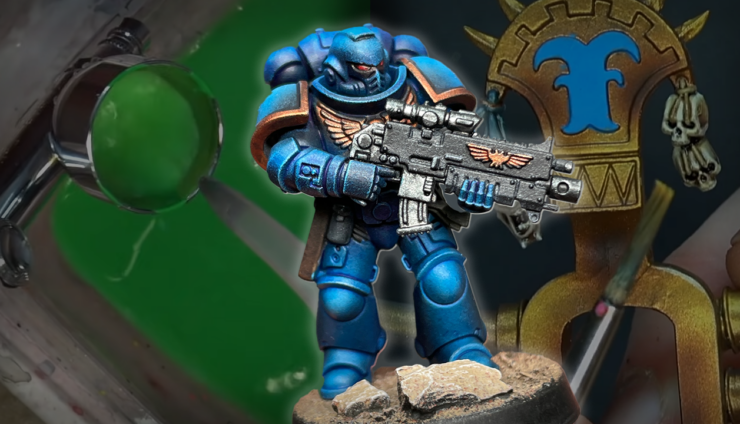
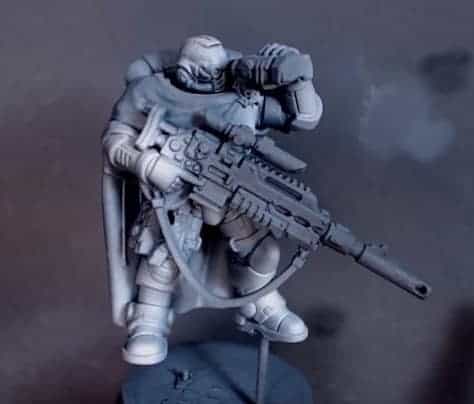 For the last of the base coats, you’ll want to use Proacryl Titanium White and hit the parts sticking out like toes, knees, shoulders, the helmet, hands, and elbows. This will complete our base model coats for all the armor. Next, we can start the detail work.
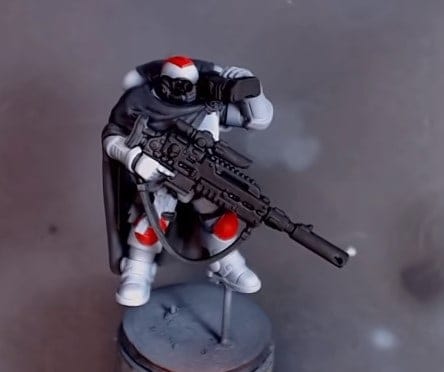 Kenny quickly hits the simple details off-camera, just use some red and black to get a nice clean base coat on the details and you will be fine here.
 After the detail work, we can highlight the armor with a brush by using a super thin white and glazing it. We do it as we would with a normal edge highlight but make the lines a little thicker. It’ll dry and create a more muted highlight. Its recommended doing this with two coats.
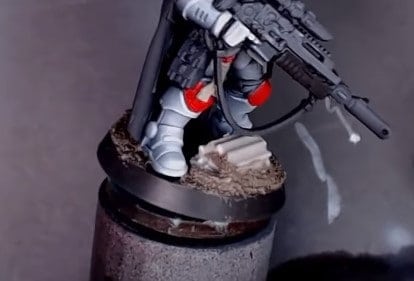 We are going to use some basic rock chunks and Vallejo earth texture for the base
 After that, we can wash/weather the model with our Mr. Hobby Multi black and Multi Grey. Use the grey on all the white/grey areas to add an urban warfare/dusty vibe. The black can go on everything else including the red armor and the base.
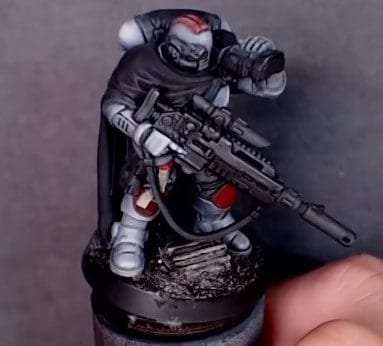
Next, we have to brighten up the highlights again. So hit those edges highlights again this time as normal, not as a glaze. And redo the red areas as well.
 After finishing the edge highlights Kenny is going to add a quick camouflage design to this cape. Just mix the greys from before and a tiny bit of green to make this brown tone and add some triangles and trapezoids around the cape. you can then add a tiny bit more grey and cool grey to brighten it up one tone. Add highlights inside the shapes on the creases of the cape and edged the as well.

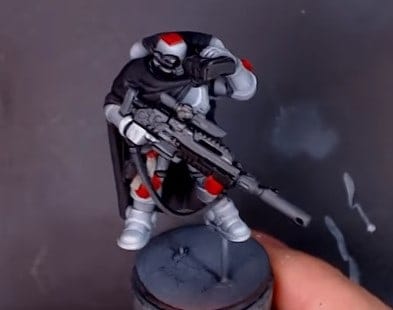
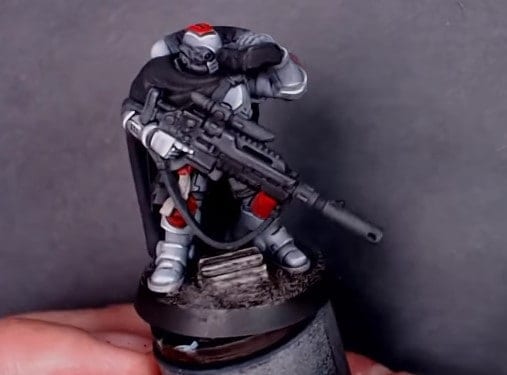
The last piece of the puzzle is finishing the lens! All we have to is base it in red, add a very thin coat of black to the top half, and at the very bottom of the lens add an orange line to give it a glow effect!
That’s it, our model is done and it took less time than you might think. White Scars truly are secretly easy to paint!
You can support Kenny on his Patreon page, and stock up on all the great Chaos gear over on his Heretic Swag store.

About the Author: Andrew Schrank
Andrew Schrank
 Job Title: Staff Writer
Joined: 2018
Socials: Facebook
Bio: Aspiring diplomat, Lord of Fluff, and Master of Ice Hammer. Andrew joined the Spikey Bits team in 2018. He mainly covers releases from Games Workshop, along with some previews and hobby posts. He loves Star Wars, Chaos Undivided, and Gundam.
During his free time, he hunts Platinum trophies on PS5 and reads international news. On weekends, he can be found playing commander and cEDH games, often with unique strategies that push the limits. He believes that each day presents a new opportunity to grow and be challenged.