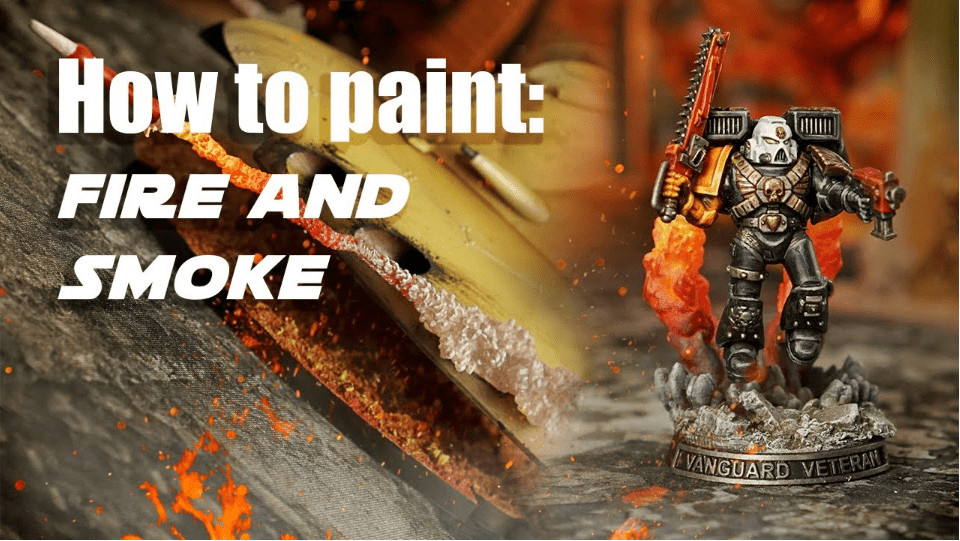
 With this Deadly Print Studio painting tutorial, it is easy to learn how to paint fire and smoke effects for 40k or any sci-fi miniatures.
Deadly Print Studio has some of the coolest FXs for all kinds of miniature out there, which you can grab here. Today we’ll be talking about how to actually paint up their fire FXs that can be used for Warhammer 40k or any sci-fi games!
Let’s learn how to paint fire and smoke with this Deadly Print Studio painting tutorial!
How to Paint Fire & Smoke: Deadly Print Studio
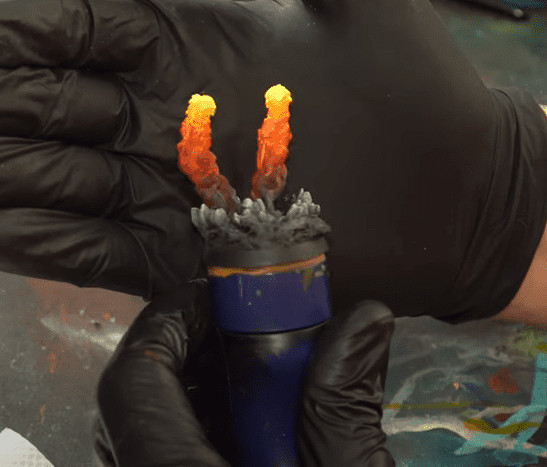
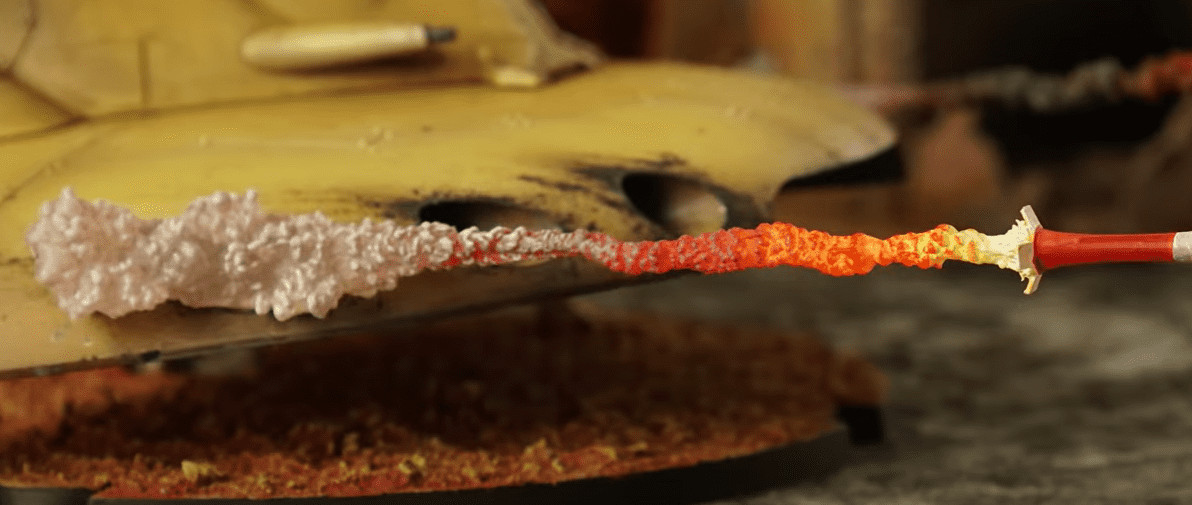
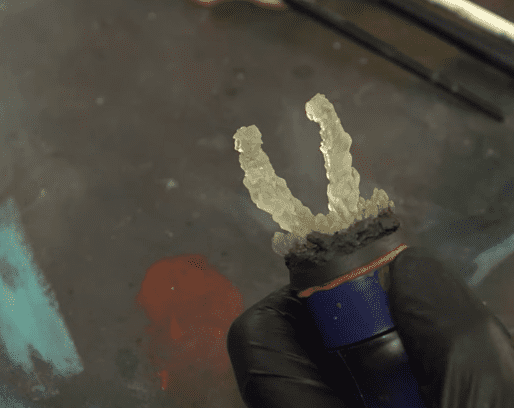 They will show how to paint two different types: a jump pack and a trail of smoke left by a rocket.
Step 1:
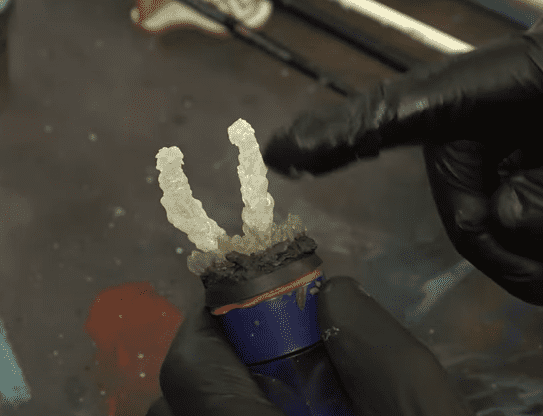 First, they break out the Golden White and water it down with 3 parts water, and 1 part paint. They then apply it all over the lighter parts of the effect.
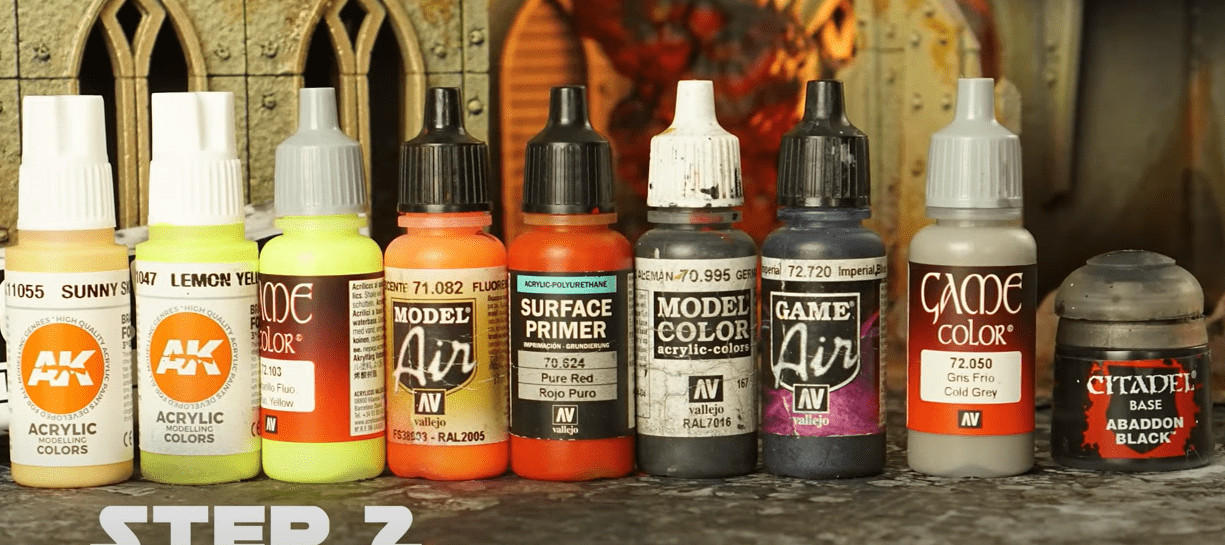 Before we go further, here are the rest of the paints used in this video:
- AK Sunny
- AK Lemon Yellow
- Vallejo Yellow
- Vallejo Fluorescent Orange
- Vallejo Pure Red
- Vallejo Imperial Blue
- Vallejo Cold Grey
- Citadel Abaddon Black
Step 2:
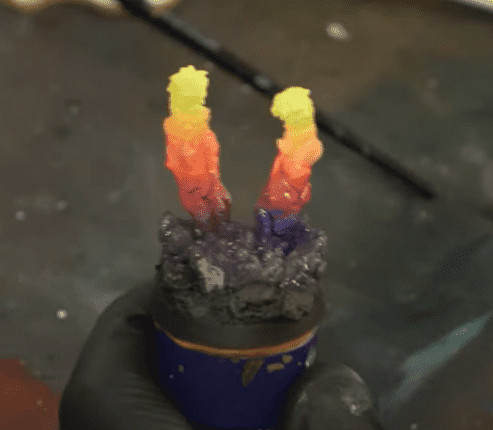 Start by putting the yellow, orange, and red on your wet palette. We will be wet blending here, so start with the lighter colors and slowly work up to the darker ones. The top of your piece is the lightest, and the bottom the darkest.
Step 3:
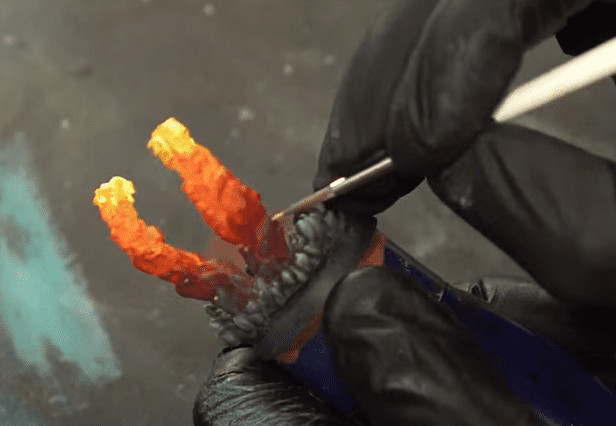
 Now is the time for the dry brush. They use the same colors from above and just drybrush the colors on each section to give more depth to the mini. Slightly cover the other colors with each drybrush.
This will give you more contrast and help blend them. Just be sure not to use the colors from the palette as they will be too wet. Then for the smoke, they will drybrush that with the grey to give it the smoke tone.
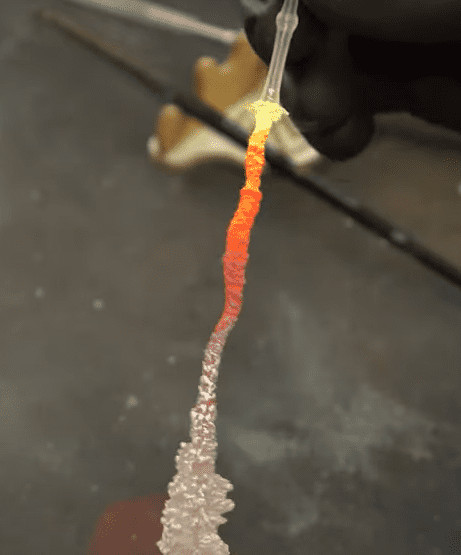 They are using the same technique for the rocket trail, just with the colors more focused on the top.
Step 4:
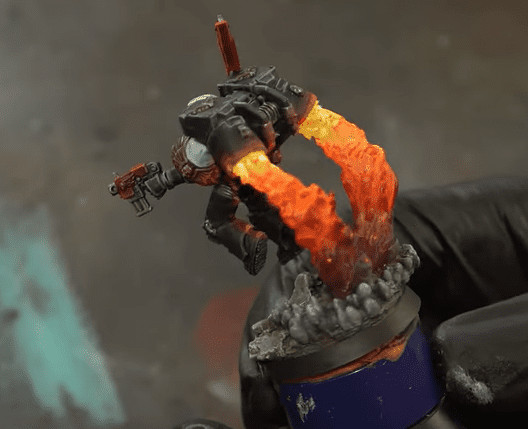
 For the finishing touches, they start by highlighting. You want to highlight where the light would be the brightest, generally at the top. However, you can also add some embers to the bottom by throwing some orange into the darker parts.
You can also attach the FX here to the mini and add a little fluorescent yellow and orange to the edges of the Space Marine’s backpack, as you can see below.
Finished Effects:
 And there you have it! Some super cool effects that just look amazing. Don’t forget, if you want to grab any of these amazing miniatures effects 3d STL files or bits, you can by clicking the link below.
Get Your Fire Flash Effects Here!
This post contains affiliate links, as an Amazon Associate Spikey Bits earns from qualifying purchases.