 Kenny from Next Level Painting is back to help us learn how to paint the Thanos Diorama. Let’s make the Mad Titan look the part!
Today Kenny helps us tackle a really cool Diorama with both airbrushing and paintbrush techniques. He’s going to be painting up the Marvel Crisis version, which you can grab here! If you want to see his other tutorials, you can check them out here!
He’s going to be using techniques from his awesome 101 painting curriculum, which is a set of three easy lessons to get your minis on the tabletop fast and looking good! Get your paints and brushes out and let’s go!
Painting the Thanos Diorama Base: Next Level Painting
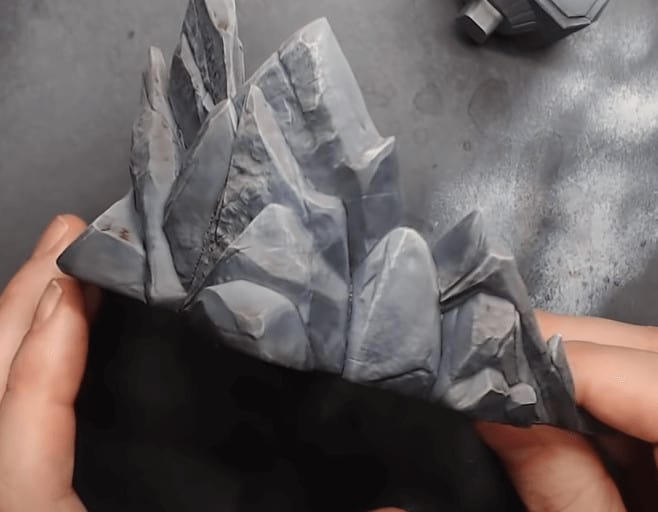
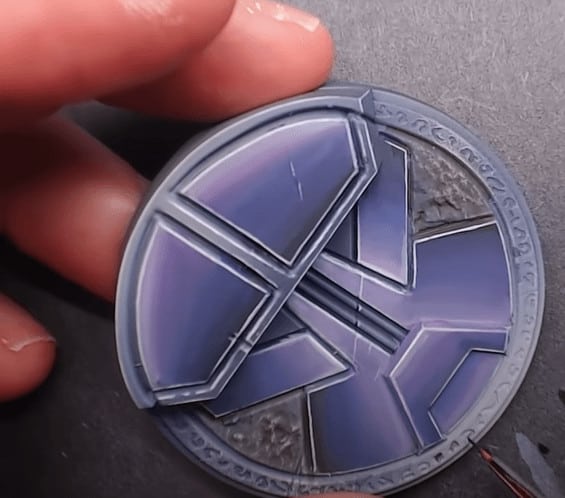
 Here’s the end result we’re going for. Now let’s learn how to do it!
Base Coats
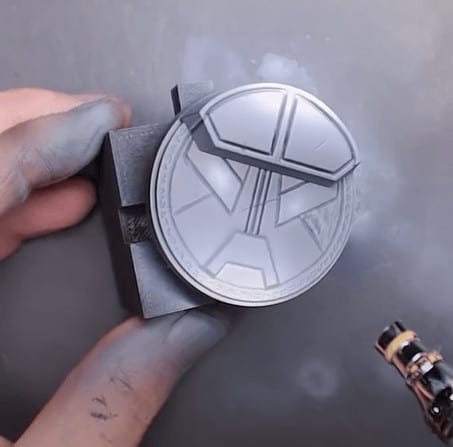 Start by mixing black and purple in the airbrush and hit everything. As you go, keep adding more and more purple. After it’s all coated, then add in a little bit lighter purple and keep building up the levels of paint and opacity. just make sure you nurture each level and slowly build up the colors to lighter and lighter. Nothing scientific here, just make sure you’re hitting good highlights.
Drybrushing
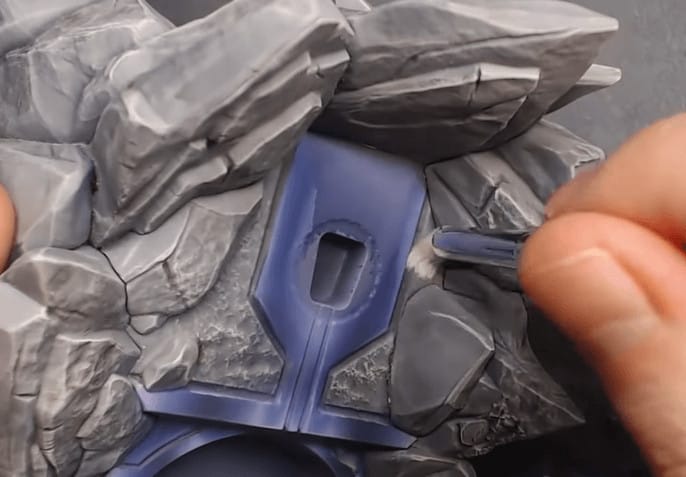
 He’s using The Army Painter drybrush set here for this stage. Start with Bright Ivory and hit an “edge Highlight” all over the base. Just bring out the colors of the base and only use downstrokes. This will make it look more like light is coming from your actual light source. Just keep using light brush strokes and take your time. Once that is looking good move to a brighter white and do another layer of dry brushing.
Washing
 Next, he makes a mix of Army Painter brown, green, black, and light tone washes and fills a container. Then grab a big brush and wash from the top down with the mix. Keep it light and the brush moving here.
Brushing
 After that is dry, he takes the dark purple from before and hits all the parts he wants to be purple. Just make sure you wet it down a lot and keep hitting the layers until you’re satisfied. Then, take a lighter purple and cut in all purple with the lighter paint. After that, he brute forces a wet blend so all the paints look good. Basically, carving in the values to make everything look natural. Just keep doing as many layers as it takes, it took him quite a while, but he’s not too worried about the blend here.
Just keep the paint very, very thin, and smooth! Keep it smooth to the touch. The last step here is to take a super light purple and hit all your edge highlights. Again, this doesn’t have to be too clean because we’ll soften it up later.
Airbrush Softening
 Lower the opacity of your purple and throw it over all of your highlight zones. This will pull in those highlights you’ve done before. This will blend everything together and make it look smooth. just keep your paint thin here! Also, use a different purple than you used before, that way it will not blend in with the old paints but make them all look more natural.
Start slowly adding in more and more black the further you go. Just keep it smooth and do as many layers as you need. Once you get it smooth, add back in some Ivory to the dirty mix and barely hit the edge highlights again. Just keep the PSI low and hit little gleams all throughout.
More Drybrushing
 Just go back with the drybrush and clean up where the wash got things dirty. He uses the light ivory here and just makes sure to bring out the natural colors.
Pin Wash
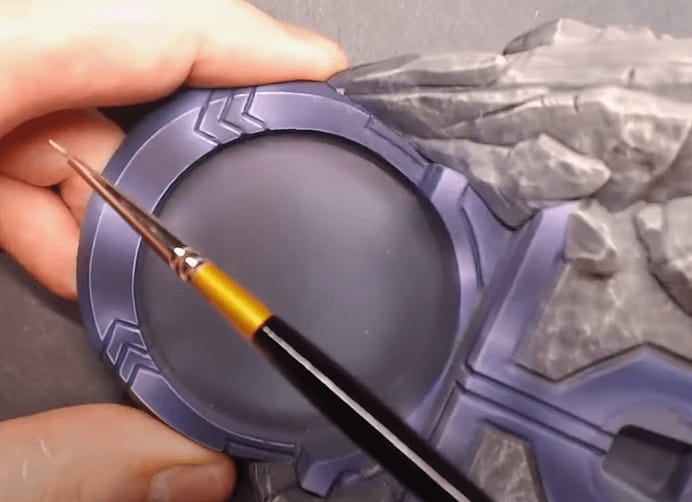 Go back to the darkest Purple and add some water. Use a small brush and push it into the channels of the model. Kind of like an opposite edge highlighting, which makes the dark stuff darker here because it will bring out the lighter colors. To finish this step use the same method but hit an actual edge highlight with the ivory again.
Ultimate Brute Force
 Use the purples from before and just go from dark paint to light paint. As you’re doing this over the flat areas, just get a wet glaze blend and get going over it again and again until all the colors are blending together correctly. keep the paint very thin and just hit a ton of layers. He goes over this quickly, but just try and get good transitions here so the colors look natural. He’s not worried about making this perfect, because when you put the mini on top, no one will notice!
Finished Thanos Diorama Base
 This took Kenny a couple of weeks to do, so just stay patient and don’t get frustrated!
If you want to get an even better look at how to pull this off, check out Kenny’s full video on the Thanos diorama! If you liked this tutorial, you can also support Kenny on his Patreon page, and stock up on all the great Chaos gear over on his Heretic Swag store.
Join The 101 Painting Curriculum From Kenny
This post contains affiliate links, as an Amazon Associate Spikey Bits earns from qualifying purchases.

About the Author: Travis Pasch
Travis Pasch
 Job Title: Head Writer & Editor
Socials: @paschbass
About Travis Pasch: Travis has been a Warhammer 40k hobbyist since the 1990s, playing the game since Third Edition. Through extensive traveling, he’s seen a lot of the miniatures hobby from across the world, giving him a unique perspective on the latest gaming topics and trends.
Travis’s brother even owns a commission painting studio, where he’s picked up a lot of good advice and techniques for painting Warhammer and tabletop miniatures over the years, as well. Travis joined the Spikey Bits team in 2019 and has been the lead writer since 2020.
Currently, he’s working on converting all his 40k Adeptus Mechanicus models and becoming a true tech enjoyer, complete with both sad and happy robot noises!