Step your Farsight Enclave painting game up. With this new Triple Riptide triple Titans list floating around the interwebs, your favourite frenchie is back with an awesome tutorial on painting the red Tau of destruction. Here we go!
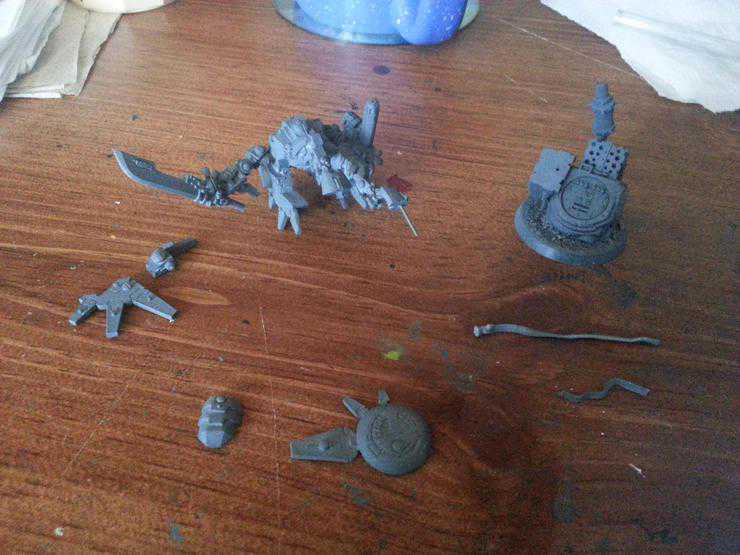
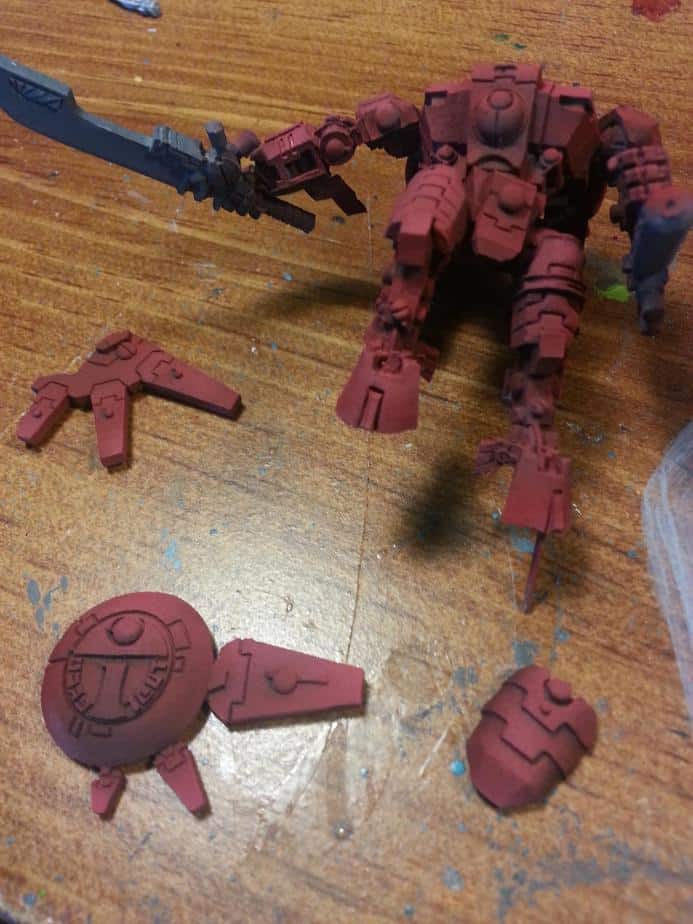
I left most of the parts unassembled to begin with, because we’ll be using the airbrush quite a lot and we want to make the most out of different color parts. I figured the Head and the ribbons would be white, and the rest red. In retrospect, I should’ve airbrushed the blade and mask it going forward, but it’s up to you.
This model ( and the entire army besides possibly Kroots ) is painted in 4 colors, and I think it’s one of the things I like about the Tau army, simple schemes work great on them.
Editorial on how lazy/awesome the scheme is done, on to the painting.
I did the base first, as the idea for the whole model came from having him posed dynamicly on a scenic base. Dry test your way into this, destroy some orks in any fashion you find most enjoyable short of a flamethrower, and pour sand around it.


The kan was airbrushed Rhinox Brown, with patches of Skraag Brown, Zhandri Sand and Fiery Orange. Using Runefang Steel, sponge or stipple some scratches on your nice and rusty wreck to give it a more weathered look. You can then wash the whole thing in either Nuln Oil shade or Black oil paint, whichever you have handy/prefer.

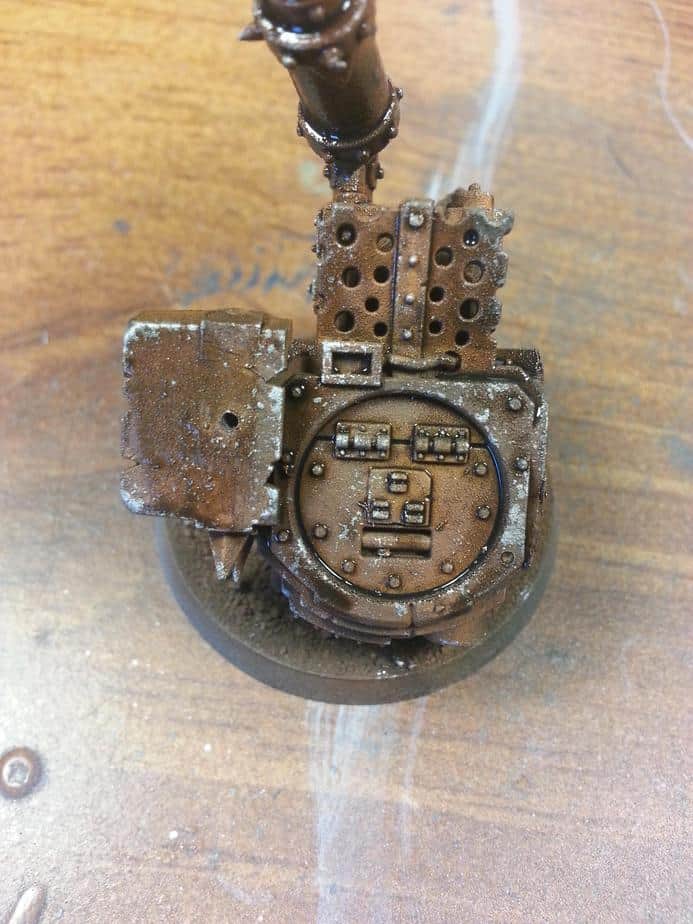
The grass was painted in Caliban green, and overbrushed in various shades of green, and then washed with Rhinox Hide. As per usual, unless this is gonna be a display or standalone model in your collection, keep the basing similar to your army’s.
Airbrushing the pimp.
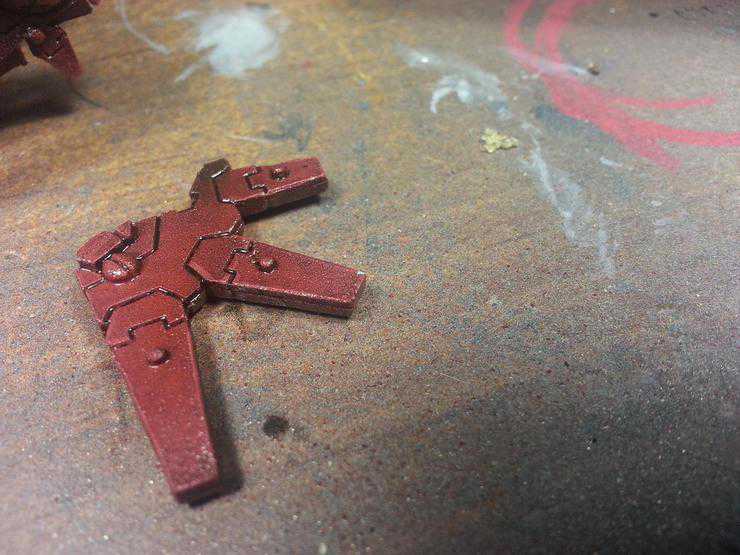
Red: Start with a solid basecoat of Rhinox Hide, then work your way up through Khorne Red, Mephiston Red and Wazzdakka Red, focussing on higher parts of the model as you go to get a nice highlight. Don’t worry too much about cleanliness at this point, we’l fix it with an actual brush later on.

White: This is somewhat trickier, specially with the little ribbons thing, as you have to figure out where they go and which end is up before you start highlighting to get them looking right. I used the badger Stynylrez grey primer, which is dark enough to use as a base for the white, and then highlighted by adding more and more white to the airbrushable primer. Don’t go to pure white here, as once again, we will tidy up the shading and highlighting with a brush later.


This would be a good time to paint the blade if you want to airbrush it, scroll down for colors.
Actual brush work.
Red: To clean up the red, we’ll first start with washing the whole model with brown oil paint. Clean the plates of armor as you go and focus on getting the wash in the recesses. Once this is dry, we’ll add a final highlight on the edges and top most plates with thinned down Wazzdakka Red.

White: I basecoated the parts I want to be white on the model with the Airbrush primer to get the same color. This goes on quite well with a brush, but feel free to use a similar grey that is not the primer. Go lightly on the white plates, you don’t wat to many on the model as it will ruin the contrast we have going on. Once you have a clean basecoat, highlight your way to white with ceramite grey. This would be the time to fix the head and ribbons you airbrushed. When highlighting the helmet, try to think on where it’s gonna be looking on the model so you can highlight the right direction. Same thing for the gun and the little markings on the shield.


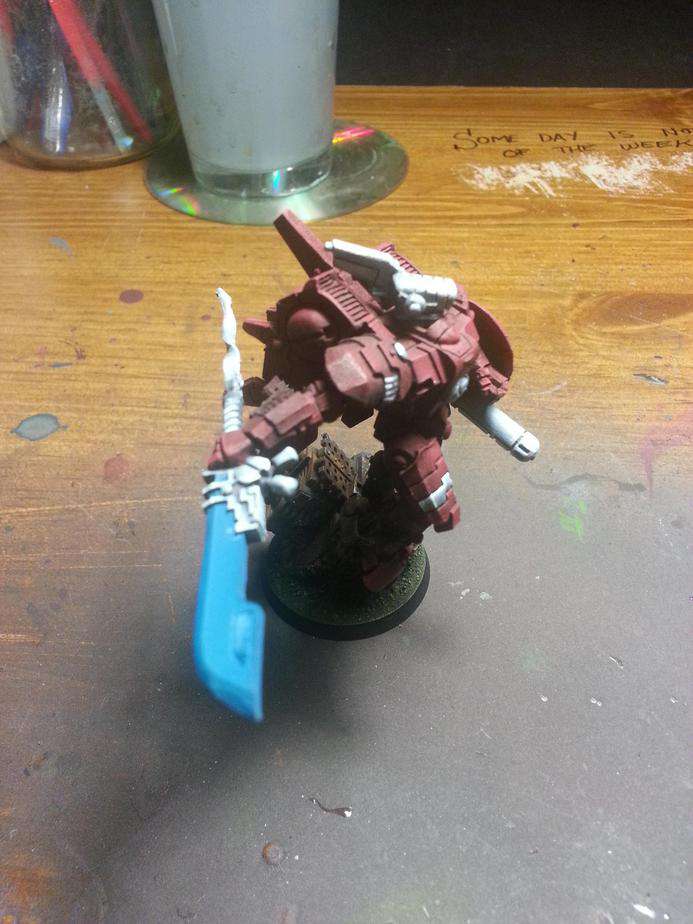
Turquoise: Fancy name for blue, thank you very much. Start with a clean basecoat of Kantor Blue on the gems, lenses and the blade ( unless you’re smarter than this cannuk and airbrush said blade. ) Blend in Sotek Green ( The color formerly known as Hawk Turquoise ) and screaming skull ( bleached bone ) mixed 50/50 with Sotek Green to get a nice and not so manly color. You can also blend this sweet mix around the exhaust of the plasmagun to get a glowy-overheaty feel. This mix is one of the rare time I mix colors together, I am usually totally against mixing 2 colors together,as you rarely get the same mix 2 times in a row. You can then use Kantor Blue again to shade some parts of the gems where you might have gone too heavy on the turquoise-ing.

Black: This really came as an afterthought, as I was quite happy with my 3 color Tau Commander at first. Some small details like the cables on the gun or parts of the leg looked a little off in red. Also, I figured that on bigger models like the Riptide or Tanks, some parts would need to be a different color, so in order to keep the whole ( hypotetical ) army tied together in awesome-paintjob-ness, I added black parts to Farsight. Start with a black basecoat and highlight using multiple coats of thinned down The Fang ( Shadow Grey ). The blue hue of this grey goes well with the turquoise.
You are done and should now be the proud owner of a pimpin’ Farsight Enclave commander.


Additional note that everyone should know but sadly is at the end of this very long article: With models that are not humans or that don’t have a bare head, the focus of the miniature should be on the weapons. As such, a lot of effort was spent on painting the shield and this is also the reason why I painted the gun and sword handle in white rather than black. I want them to pop out. PEW PEW and BLING, reunited at last.
Until next time, have a good one!