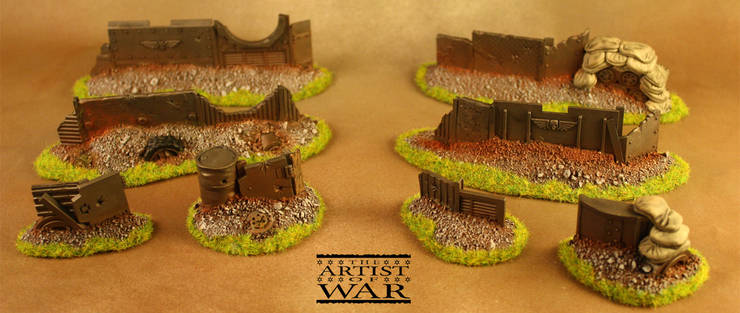
You don’t have to be in the hobby for long before your bits box starts to build. come see how that pile of bits can be put to good use as terrain.
I built all of the above pieces using spare parts from my bits box with a few additional items. With not too much effort so can you.
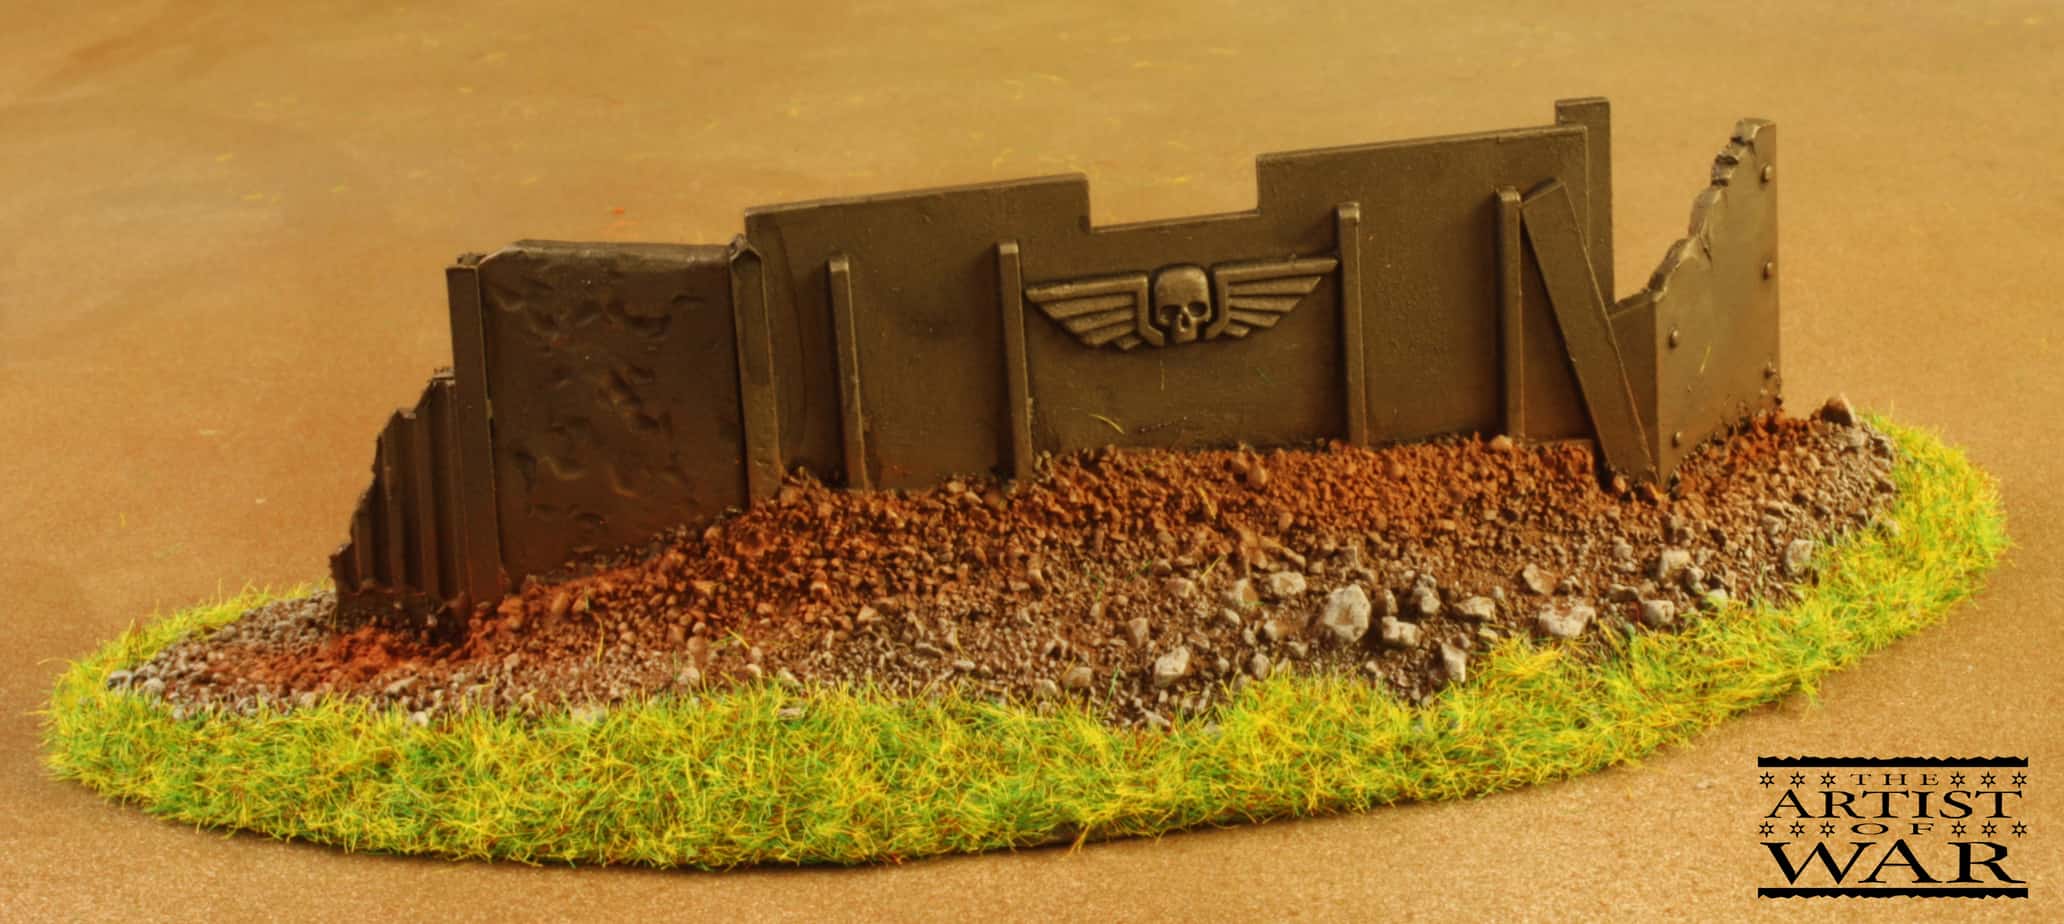
Start with a plan. For example, you may wish to build an imperial outpost, an Ork stronghold, or a trench line. In this case I wanted to build my own ‘counts as’ Aegis Defense Line. So I googled the dimensions and found that the line includes four 2 inch sections and four 5 inch sections. I chose to cut the bases for my barricades out of 1/8″ MDF. You could just as easily use foam board, cardboard, or styrene but I choose MDF to base my terrain due to its strength, cost, and ease of use.
I began by cutting the MDF into 1.5″ wide strips. Those strips were then cut down into the previously mentioned lengths. I used my table and miter saws but MDF can be cut with a razor.
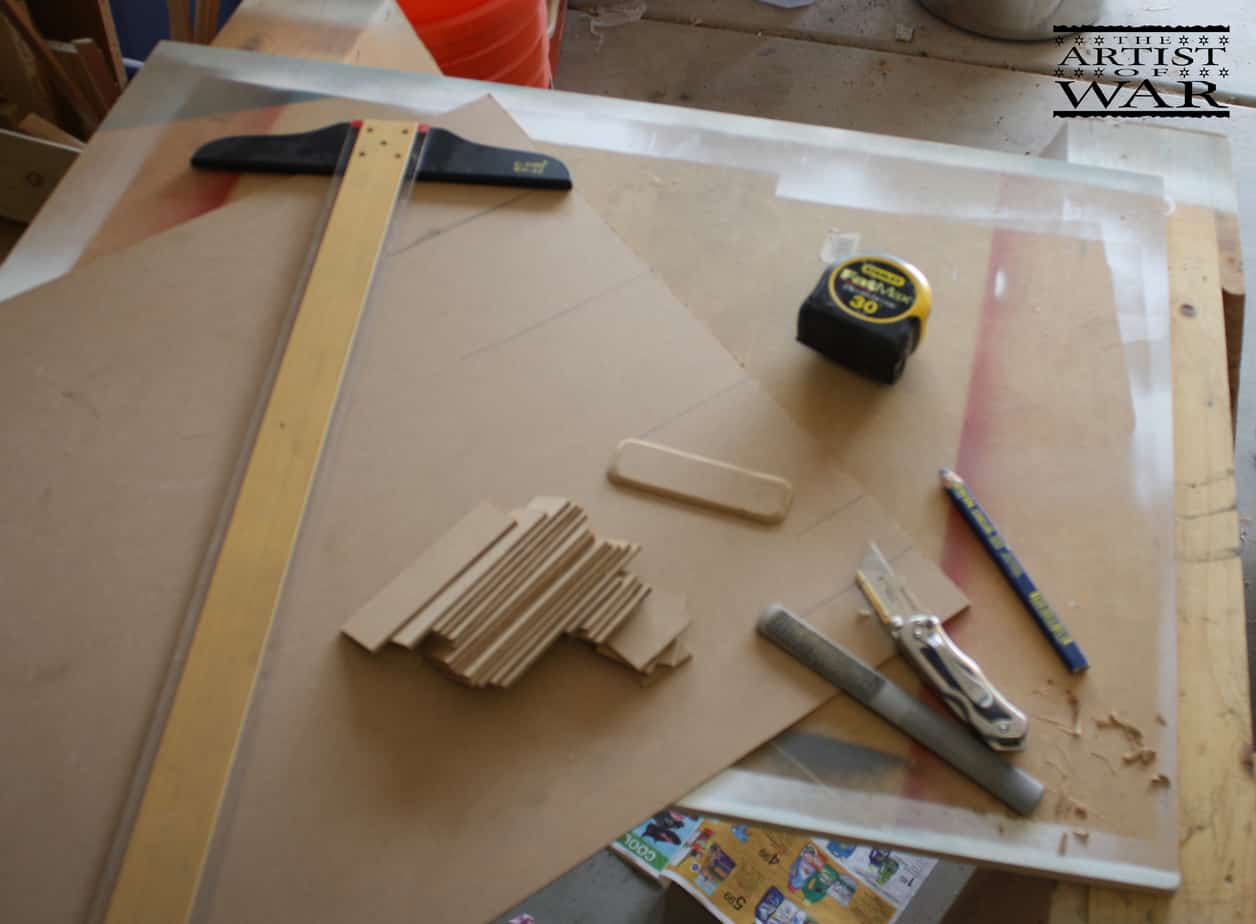
After the bases were cut out I used my file and a razor blade to cut them to shape. I went for oblong organic shapes. The file helped to round out the edges. Once the bases were shaped I began selecting various bits to apply to the base. It is important to keep in mind things like line of sight when building terrain. As I built I was constantly placing my guardsmen behind the barricades to insure they could still draw line of sight from behind the barricade.
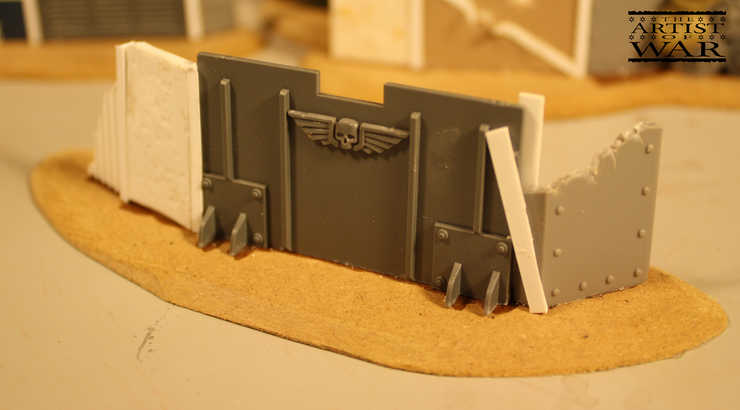
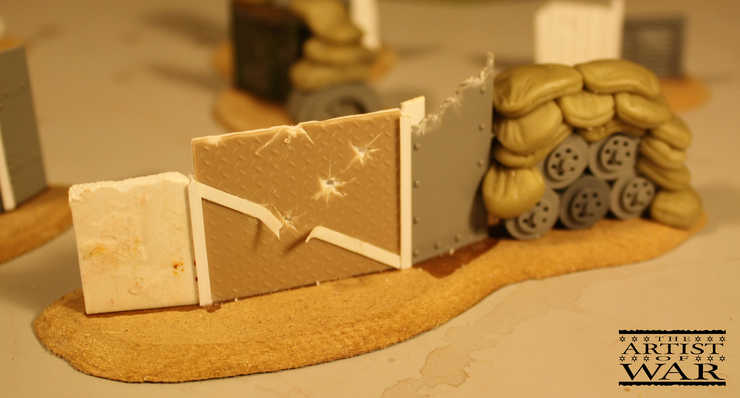
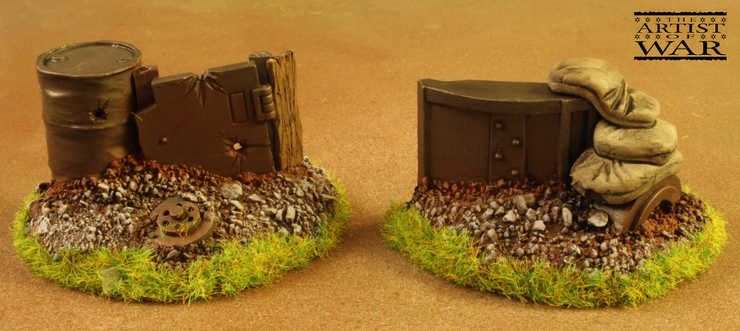
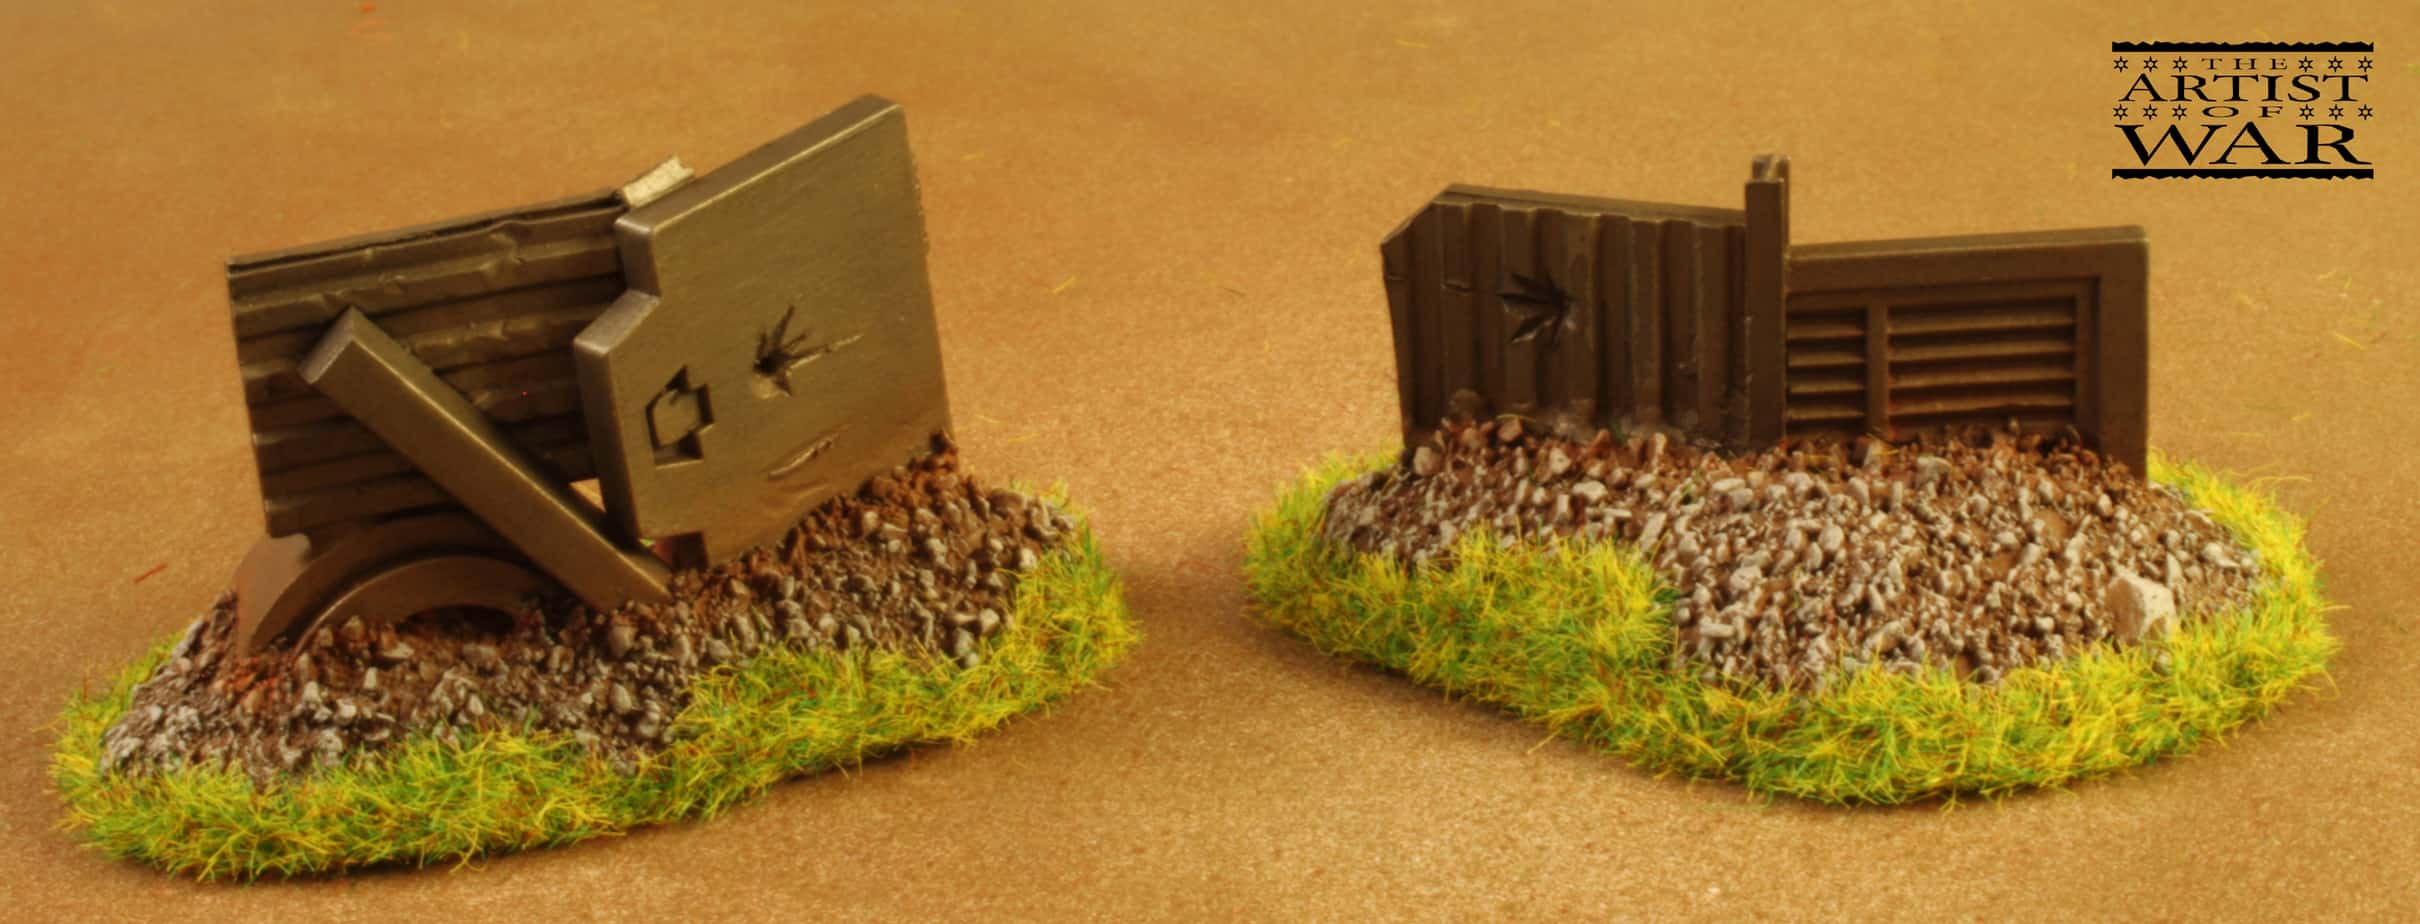
The white pieces seen above and below are styrene of various textures and thickness. Additional texture was added by biting the styrene, yes… biting. I found ‘I-Beam’ extruded styrene to be very helpful in making a logical joint between different bits. Plastruct or Evergreen are great suppliers of styrene.
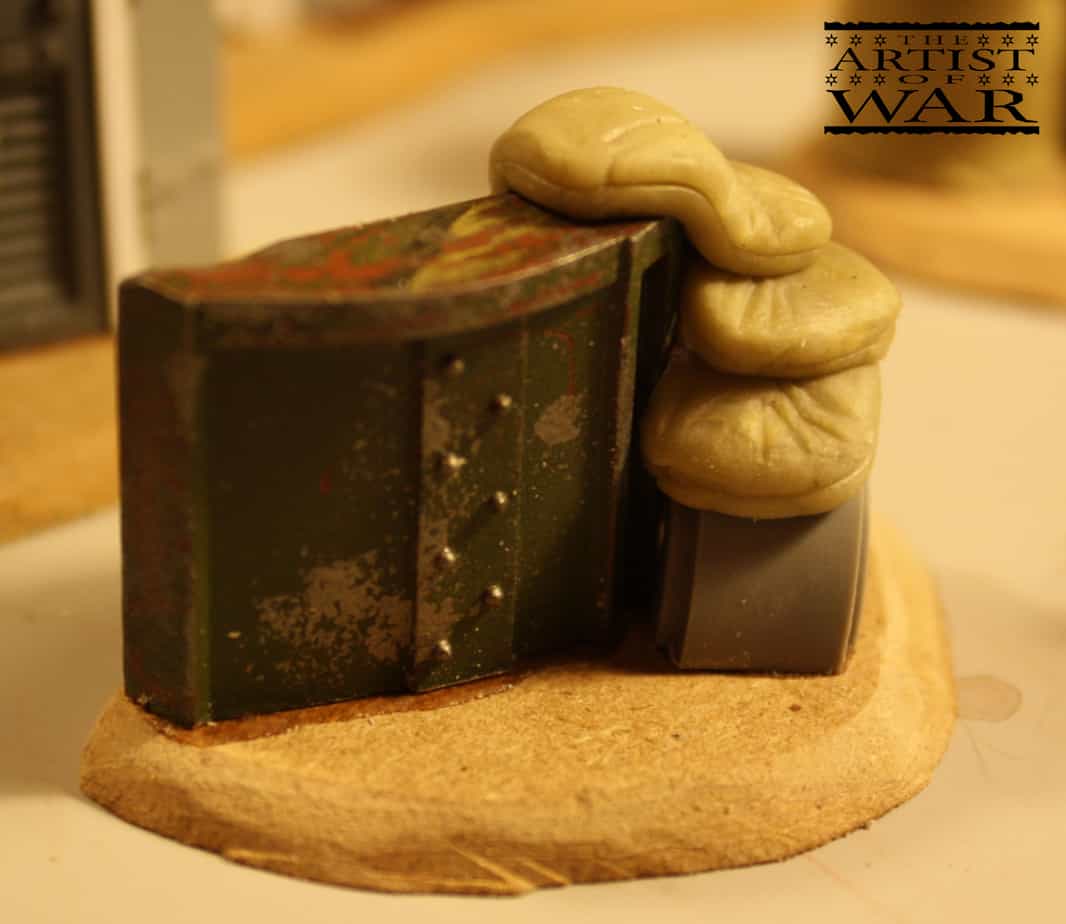
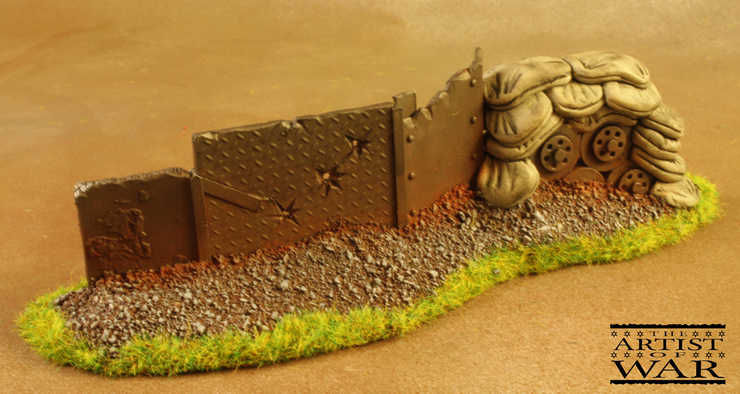
Don’t be afraid to tear those bits apart! Battle damage was especially important to telling the story of both the materials which were pieced together to build these barricades, but also the battles the barricades have seen after construction. I also used some apoxie sculpt to make sandbags to add a little more visual interest.
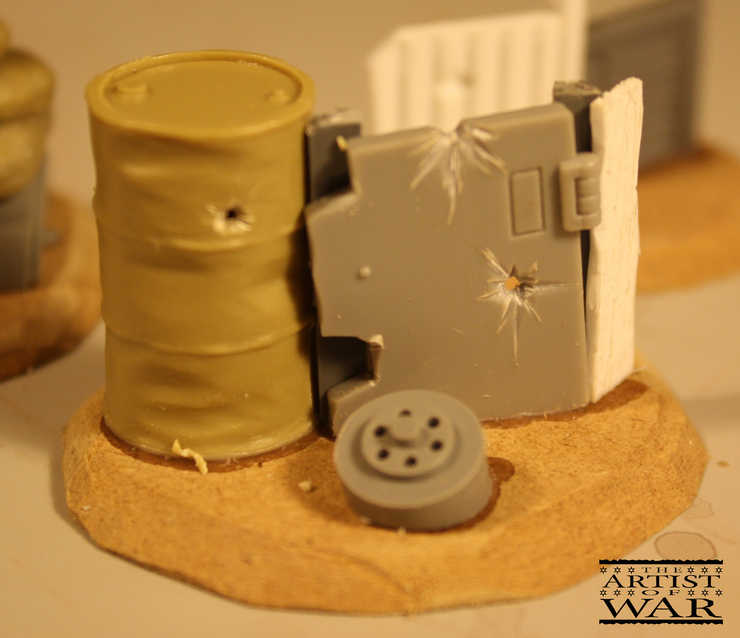

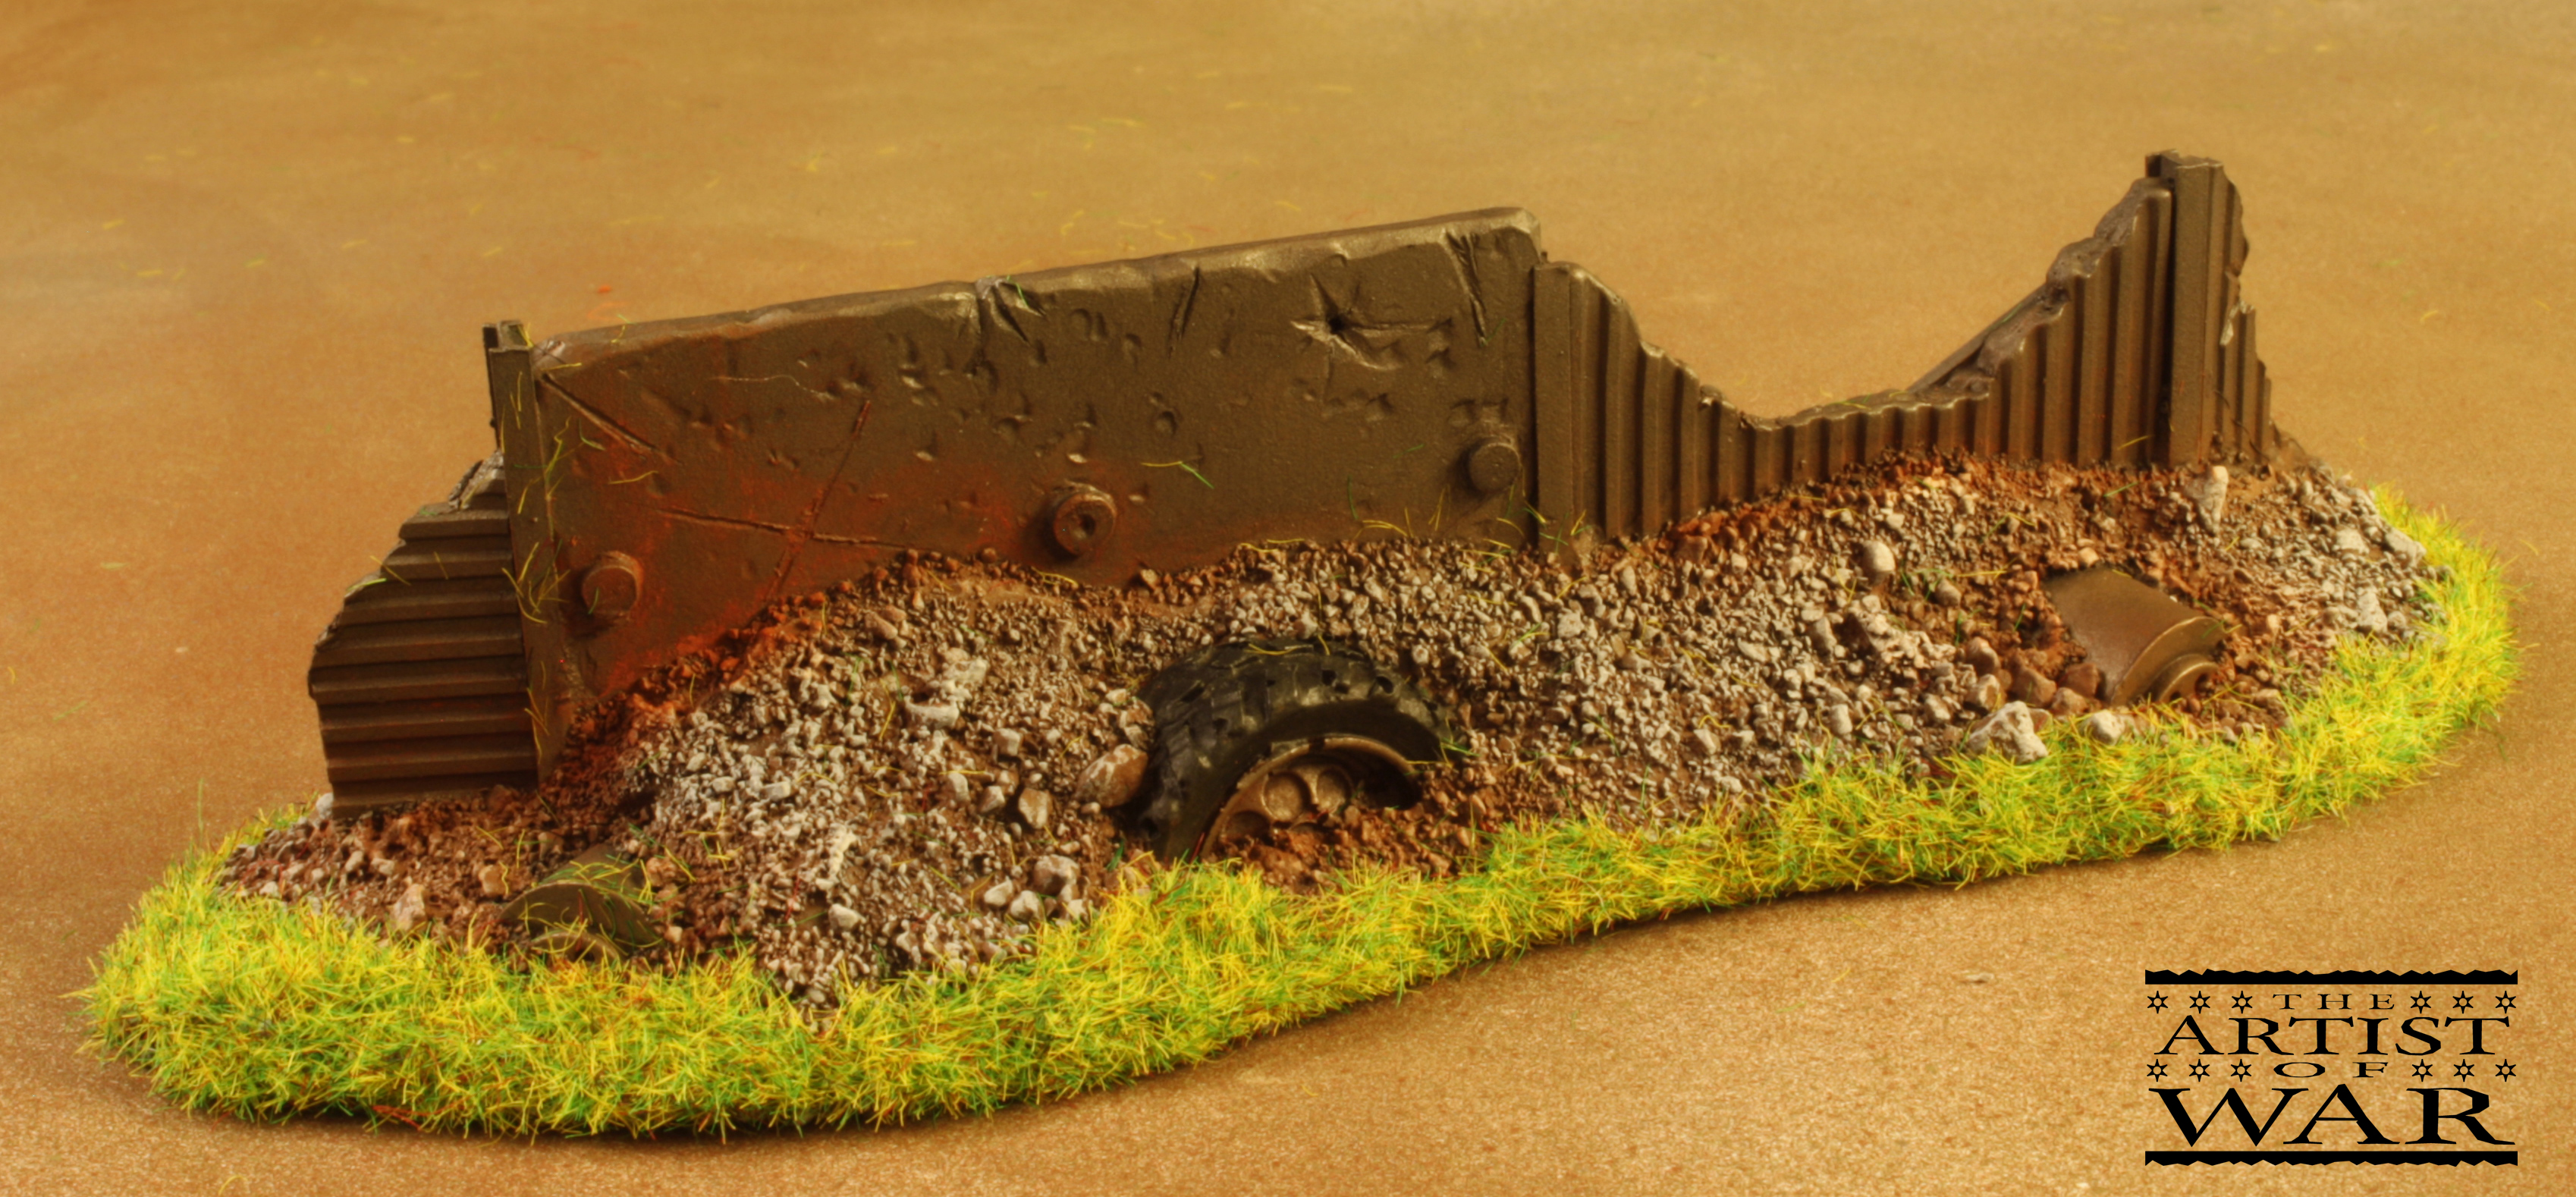
After the bits were all glued in place (using superglue) I applied a layer of joint compound (filler) around the bottom of the bases. After the joint compound had dried I chipped away any excess. Topped with a layer of fine sand this gives the appearance that the barricade is worked into the ground.
The bulk of the painting was simply a dry brush of Army Painter’s gun metal over black primer. This was followed by a wash of Army Painter Dark Tone and eventually Secret Weapon Miniatures rust weathering powders. I applied a flocking of static grass around the edges in tribute to the old school Citadel Scenery barricades already in my collection of terrain.

Additional terrain by The Artist of War.