Alright Hobby Maniac’s it’s time to plug into SkyNet and steal their secret tech for building the Tomb Blades, and making them ready for paint!
Things you’ll need to assemble your Tomb Blades Long War Style: a seam scraper, a hobby knife, Plastic Glue, Plastic Putty, Plastic brush, and side cutters.

Remember Hobby Maniacs, always change out your blades; it’ll make your life easier. That’s just a proven fact, well that and that painted figures play better …mostly better.
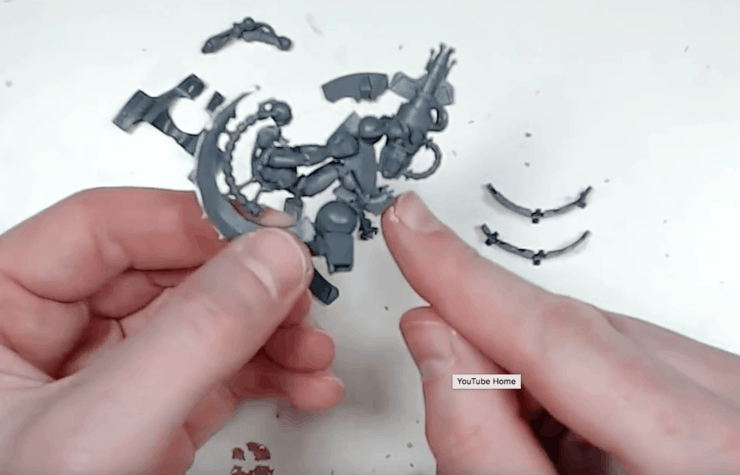
I like going about this like assembly line, I cut out the parts I need for each section and do it as many times as needed for each model. We’ve got three identical sprue’s so that makes it easy. First, we want to get in there and get the crescent parts cut out. Again, make sure you’re not getting too close to the parts because we’re going to use our hobby knife to clean up those nubs later. If you want to paint them separately I wouldn’t recommend gluing in the wings that insert into this big crescent part at all yet.
First, let’s clean up the burs, remember kids, don’t cut towards you, I’ve got a number of cuts because I’m a stupids. Don’t be a stupids.
Once the big nubs are off use your seam scraper to clean up those edges without cutting into the actual model. It’s a great tool for plastic, not so good for resin or some intricate details.
Mind the gap
Once you’ve got it together, the nubs cleaned up and the seams scrapped away you’re going to notice a huge gap here.
Putty up
That’s not good because you’re going to see it. This is where we use our plastic putty. There’s no super technique to it, just smear it in and fill it as deep as you can.

There’s a huge seam down the back of the spine, and where the thruster jet goes so be fill those in! For stuff like that I use Vallejo plastic putty to fill the gaps – it’s way better than green stuff! Try it for yourself and you’ll be a believer too!
Keep it separate.
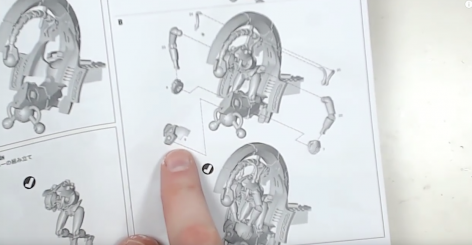
We’re going to glue the arms separate just like in the instructions but that top piece, the one I’m point to, that’s not going to get glued down; it’s going to stay off so we can paint the rider separately.
Just be Careful
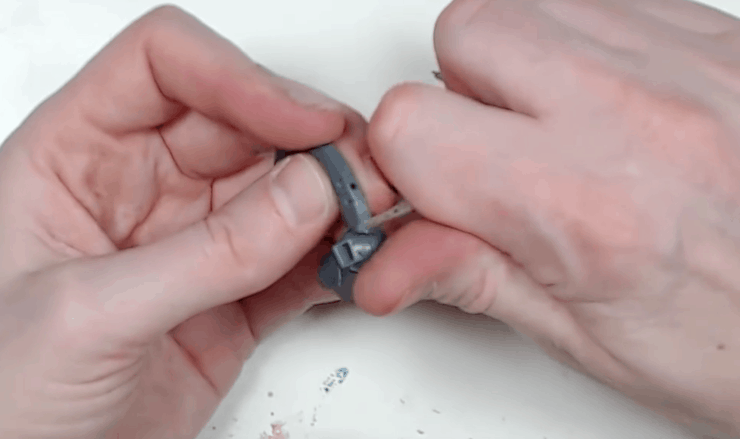
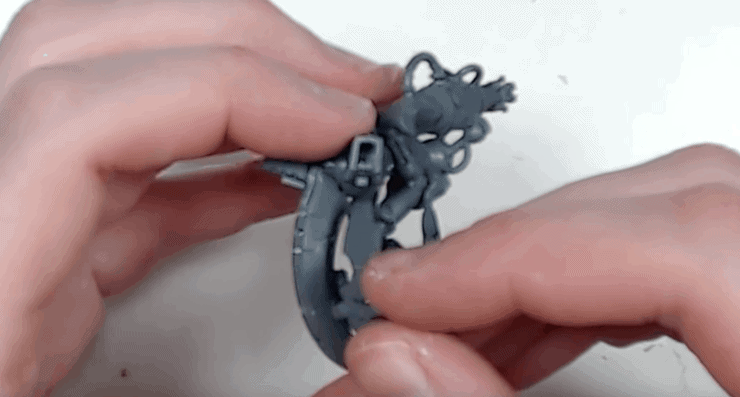
The real trick to putting the rider in is just being careful. I like to slot the face forward into the nub of the scope of whatever it’s called, and then push the pilot back into the spine receptacles on the jetbike itself.
Once that’s in, you can put his hands in. I didn’t glue them to the control panel because I want to paint in separately; I’m just going to leave him here and let him dry.
Weaponizing
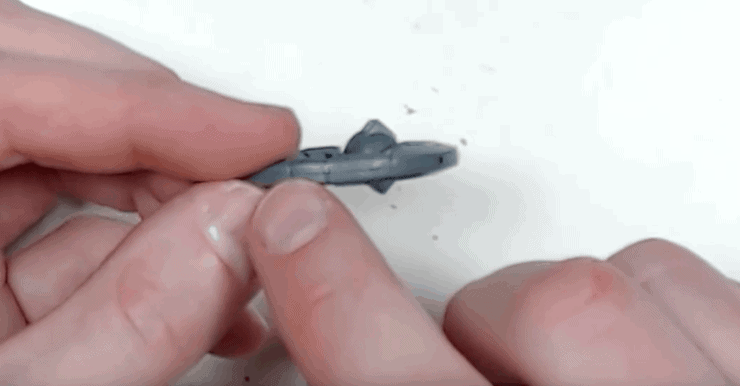
Next up is the weapons, I’m putting the particle caster in because it seems like a good buy for this particular vehicle. But before that I work on the shielding wing bits that go on top. They are an actual upgrade you pay for- but I think it looks better with them on IMHO. After I glue them together, as they’re actually four separate pieces, I let them dry on the side while I mount the particle caster.
Once that’s done we’ll move on to the wing bit as we’re keeping that separate; you’ll have to detach the rider to glue this on. It should be, in theory, easy to lock back in once you’ve got it painted on. You want to make sure you got them on a nice even plane horizontally and perpendicular as well. It looks a bit like a weird rocking chair until you get it mounted on.
Scrape it off, scrape it off!
Within six hours or so you’ll want to scrape off the plastic putty. Make sure it’s hard before you start but don’t let it set overnight or anything. Just grab your seam scrapper and get to work. The putty itself comes up just like flash would, and you can see the white filing in those gaps that are now filled. Even if it’s not 100% dry it’s should be enough to do the job eventually.

Those Veins tho..
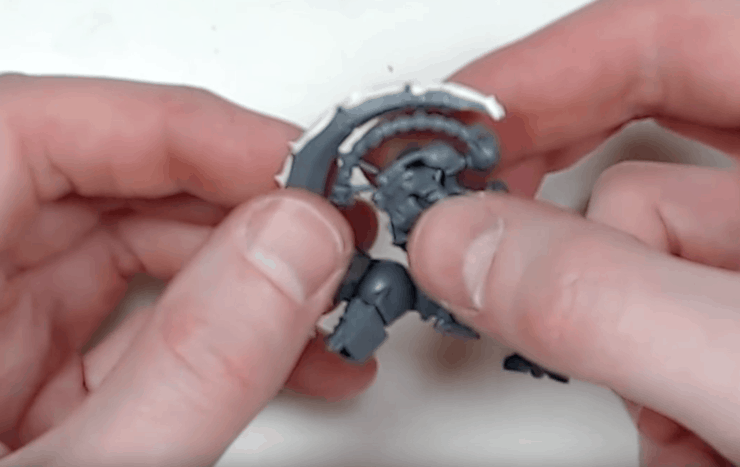
The shield veins are super fiddly and a bit frustrating so you want to make sure you get those two pieces together first.
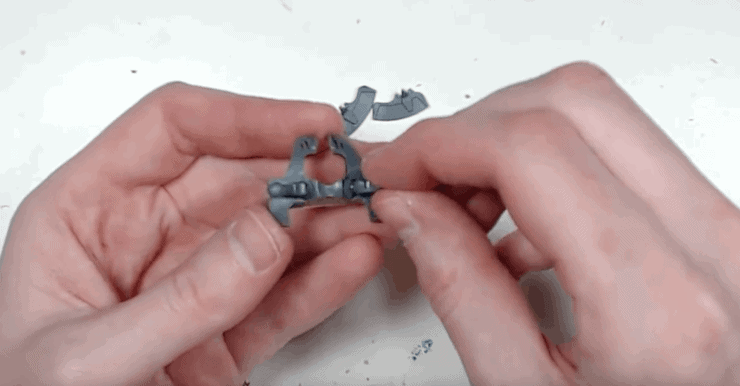
They actually lock in to the little cross hatches on the spine piece on the back of the chassis. This is a very fragile assembly. Be very careful with it. If you disrespect this step it will own you.
Once that’s in you can push in all the extra little bits on the spine itself that I leave off so I can get in there and paint all the details with an airbrush first.

And that’s that Hobby Maniac’s! Now you’re ready to build your own fleet of Tomb Blades!
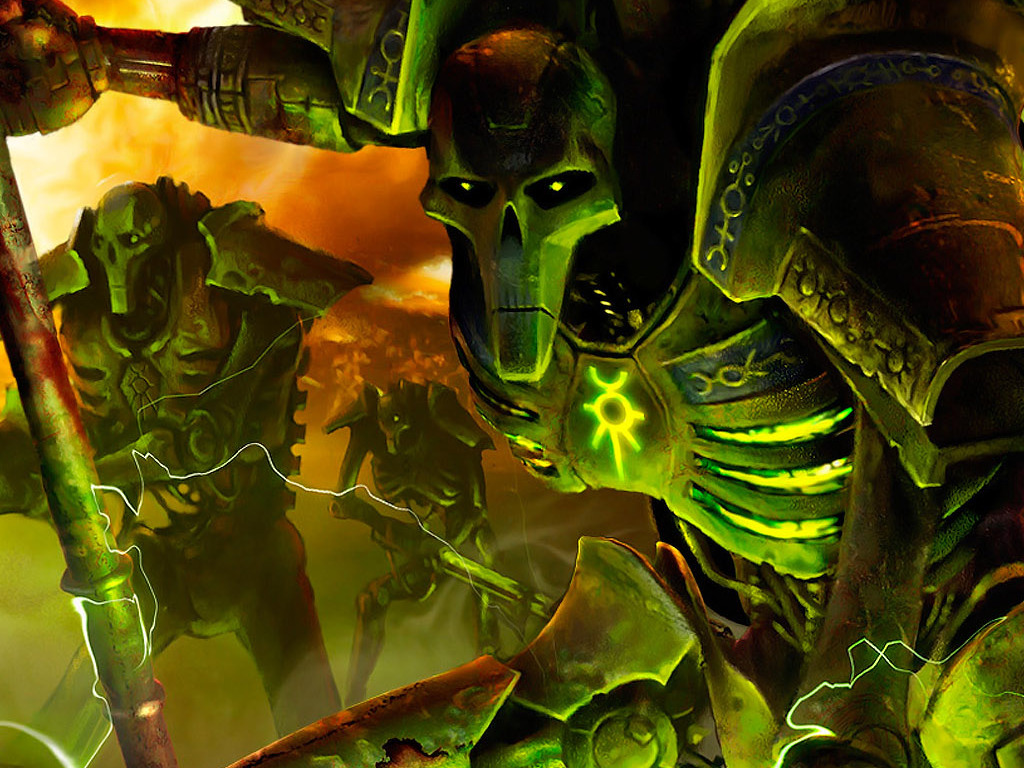
Assembling the Necron Tomb Blades – TUTORIAL