Hobbying is what I like to call “an enjoyable chore”.
While I hate all the work that goes into prepping, base-coating, and painting my models, nothing beats the sense of satisfaction of seeing a good looking project completed from beginning to end.
What would take someone like Kenny from Next Level Painting a week to paint, takes someone like me, that treats it as hobby, sometimes months or more.

 A great time saving technique when you are airbrushing is to use a “jig” to help hold the pieces you’ll be working on.
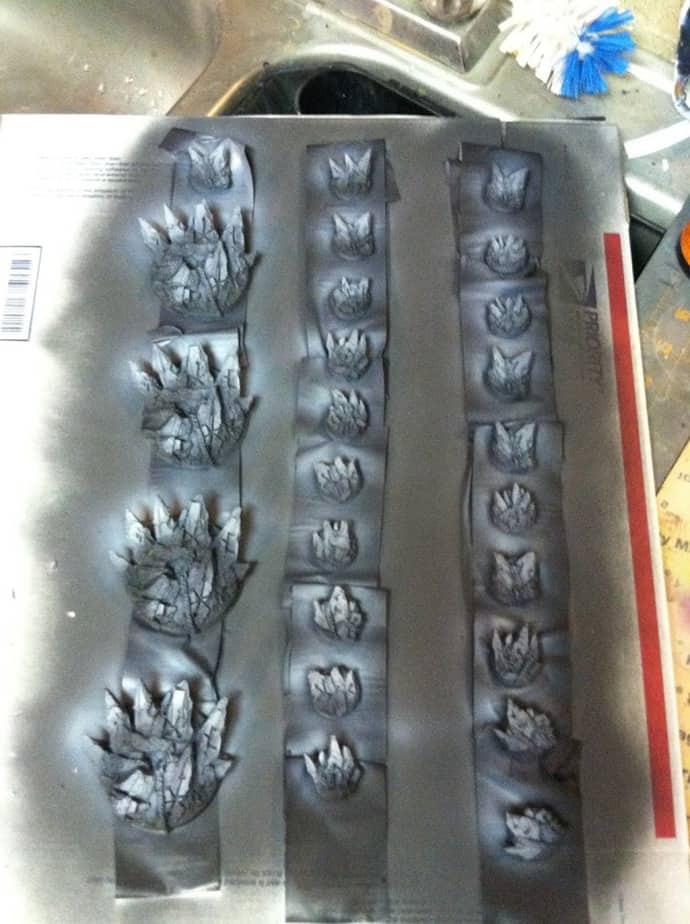
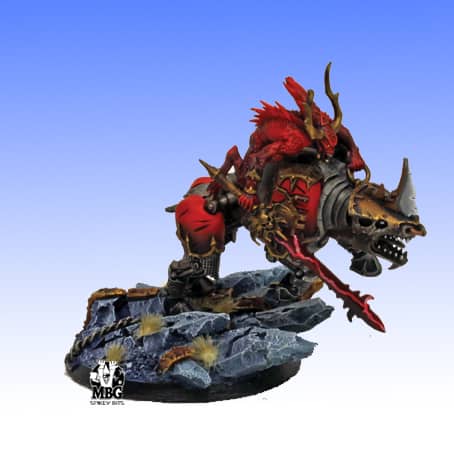
For painting these bases I used packing tape stuck together in loops to hold the Chaos Bases for my Daemon army firm to an old shipping box I had received. This way I could hold them easy, and paint them en masse.
The first trick to airbrushing is don’t aerosol primer models you’ll be airbrushing very heavy at all- you just need a dusting of paint for the airbrush paint to stick to, nothing thick or through is needed. The real prime job can be done with either black, white or grey from the airbrush itself.
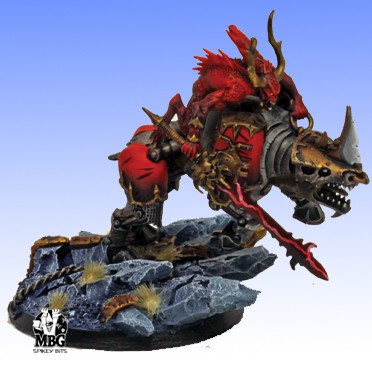
For this project I think it’s better to use black undercoat to keep the bases relatively dark compared to the almost cartoony brightness of the Daemons themselves.
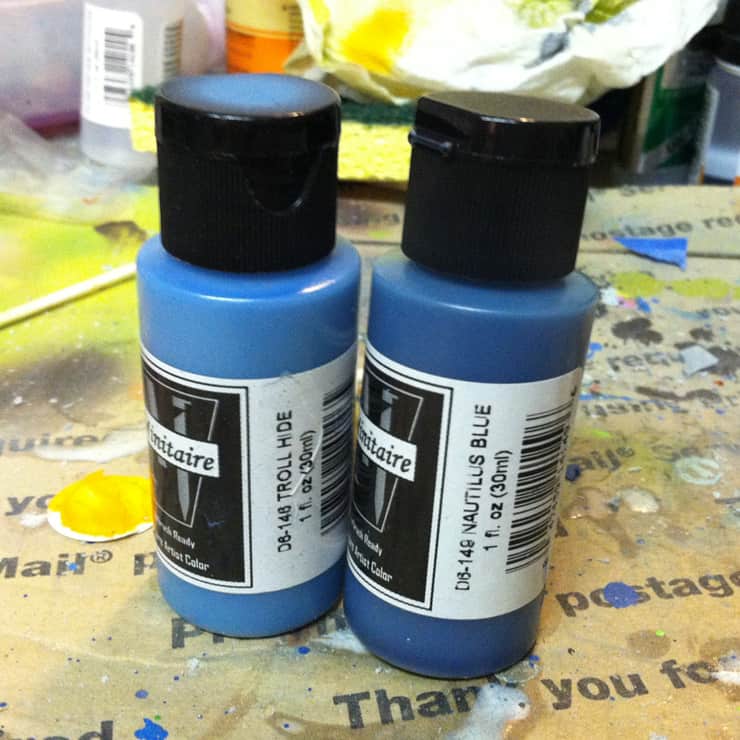
I wanted the bases to be a blueish grey, so selected some of the new airbrushing Minitaire Paint (Nautilus Blue, and Troll Hide) to use that I thought would produce a nice complementary color to each other, and the models themselves.
From there use white to highlight the areas that would be brighter, so that the blue greys would not get drowned out by the black undercoat.

So first step is to carefully spray the tops of the chaos stars white, or any other place that would naturally receive a highlight.
For this step just blast paint at about 40psi to get nice quick basecoat of white down. You can pull the airbrush needle slightly back to get a wider spray pattern to help cover the larger surface areas of the bases.
When it comes to the actually blending of the blues turn down the pressure to around 20psi to get a better fade (and push the needle back fully forward to get back the smaller spray stream).
Next up is the first basecoat, which was Nautilus blue. Just applied it all over, as it “shaded” the black areas, and looked normal on the areas that were painted white.
This set up the next color of highlights, as now you can see where the blue grey would need to be lighter.

Some of the deeper recesses would stay black regardless because the spray just couldn’t reach down to them- it’s not a wash after all!
From there I used Troll Hide to highlight the work I just did with Nautilus blue, again at about 20psi being careful to blend in the right direction and minimize overspray.


About the Author: Rob Baer

Rob Baer
Job Title: Managing Editor
Founded Spikey Bits in 2009
Socials: Rob Baer on Facebook and @catdaddymbg on X
About Rob Baer: Founder, Publisher, & Managing Editor of Spikey Bits, the leading tabletop gaming news website focused on the hobby side of wargaming and miniatures.
Rob also co-founded and currently hosts the Long War Podcast, which has over 350 episodes and focuses on tabletop miniatures gaming, specializing in Warhammer 40k. and spent six years writing for Bell of Lost Souls.
Every year, along with his co-hosts, he helps host the Long War 40k Doubles Tournament at Adepticon and the Long War 40k Doubles at the Las Vegas Open, each of which attracts thousands of players from around the world.
Rob has won many Warhammer 40k Tournaments over the years, including multiple first-place finishes in Warhammer 40k Grand Tournaments over the years and even winning 1st place at the 2011 Adepticon 40k Team Tournament. He was even featured for his painting in issue #304 of Games Workshop’s White Dwarf Magazine.
With over 30 years of experience in retail and distribution, Rob knows all the products and exactly which ones are the best. As a member of GAMA (Game Manufacturers Association), he advocates for gaming stores and manufacturers in these difficult times, always looking for the next big thing to feature for the miniatures hobby, helping everyone to provide the value consumers want.
While he’s played every edition of Warhammer 40k and Warhammer Fantasy (since 5th Edition) and has been hobbying on miniatures since the 1980s, Titans of all sizes will always be his favorite! It’s even rumored that his hobby vault rivals the Solemnance Galleries, containing rulebooks filled with lore from editions long past, ancient packs of black-bordered Magic Cards, and models made of both pewter and resin.