Hey guys, Rage of Khorne here for a step-by-step building and converting article intended to make the new Centurion kit look a little more dynamic.
I for one was a little disappointing with the appearance of the new kit as the idea of a space marine inside a space marine seemed a bit tame.
I chose to build mine up as a model somewhere between a terminator and a dreadnought so it more closely resembles a miniature contemptor.
As with most models I build, I started by building the legs and attaching them to the base. I planned on having this model look like it is taking long strides forward so I built up cork board ahead of time so I had something for the feet to attach to.
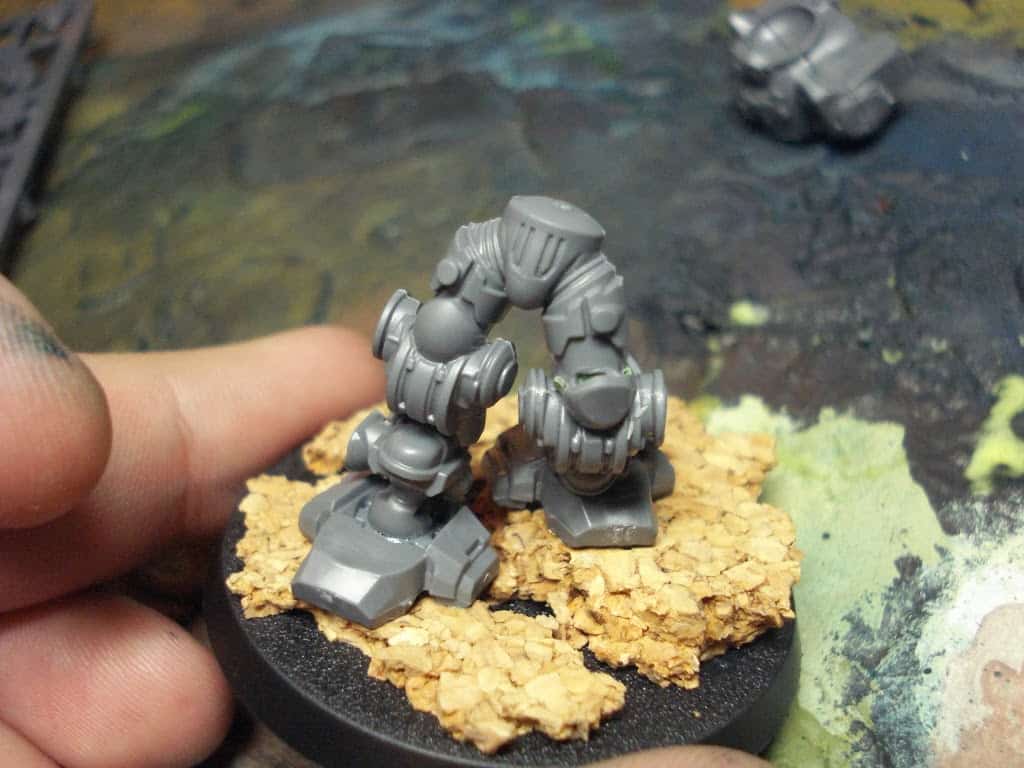
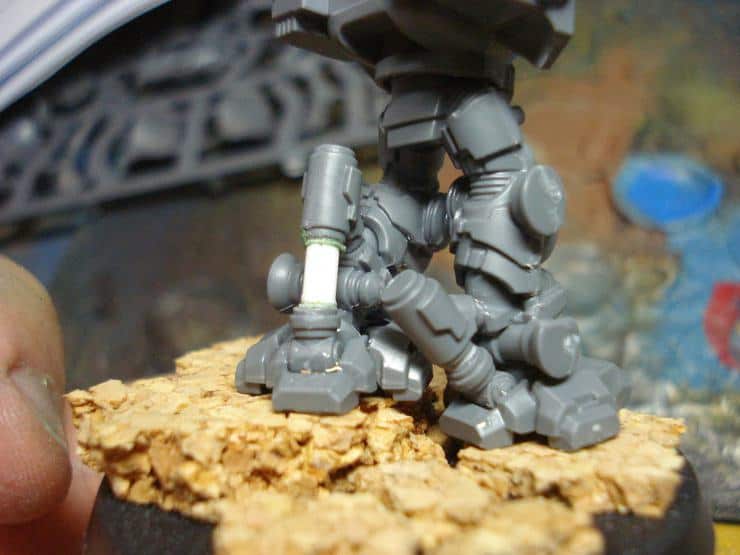
In order for the legs to look like they were in motion some clipping was required. I removed the piston arm from the kit and extended it on the one leg using a piece of polystyrene tubing. The other leg needed to be much shorter so after I removed the piston arm I simply glued the pieces in place, effectively making the legs look like they were in movement.
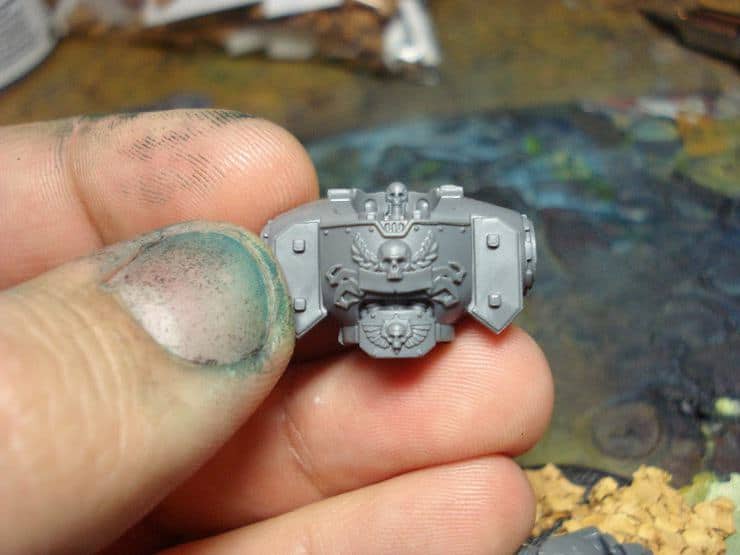
The torso was simple enough to assemble as it was only a couple pieces fitted together like a normal space marine body. I was sure to remove the notches on the front of the armor because I planned on having the hurricane bolters fitted somewhere else.
The pistons at the sides of the legs I added after the torso was glued on to ensure I had enough clearance to place them without interfering with weapons placement etc. I decided not to add some of the side panels so I removed the third ball join from the side pistons as they would be unused and unattached.
This is what the legs looked like before adding the plating.

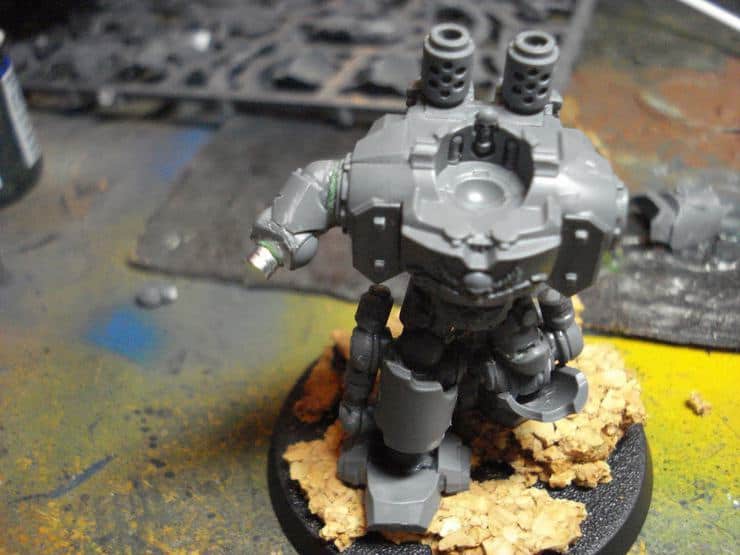
I glued on the backpack and the upper arm sections of the centurion at this stage. In order to get just the upper arm I needed to cut away the large fists which I though looked a bit overkill for this scale of model. I planned on using ranged variants of this figure so I didn’t really need the big fists.
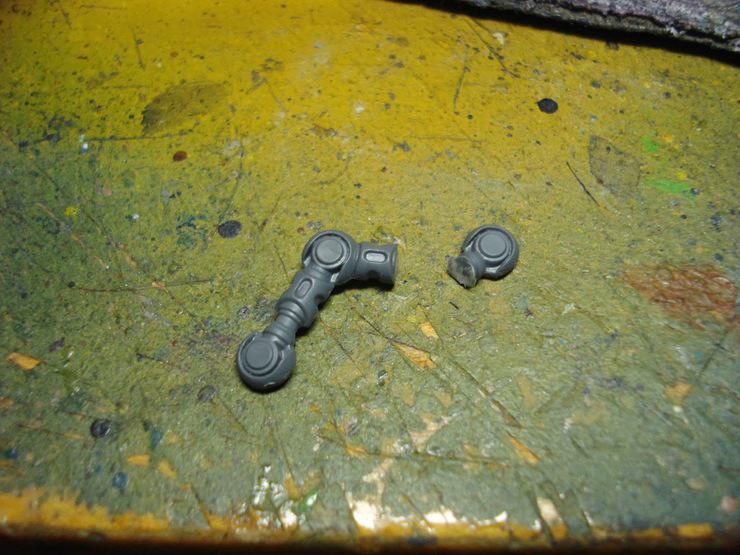
As I plan on using the devastator centurion variants of this model I magnetized the arm join to allow for swapping between the grav cannons and lascannons. Instead of applying the leg plating as it was, I only used the top section which usually covers the thigh and cut the rest off. I found the shape that was left fit nicely as the replacement shin/knee pad.
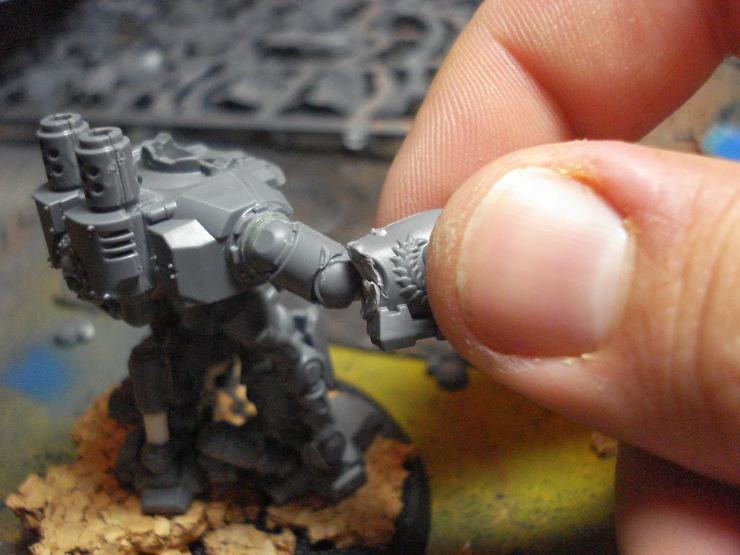
The lascannons required some cutting to fit the new arm and after removing the back section I glued the magnet in place and dry fit the connection.

The shoulder pads I made to replace the rounded ones one the original model are actually the lower part of the leg plating I had cut away originally. They fit fairly well at the shoulder and only required a little bit of filling with plastic card to cover up a gap at the neck. At this stage I also blue tacked in the head to ensure I was getting the right directional feel and movement I wanted.
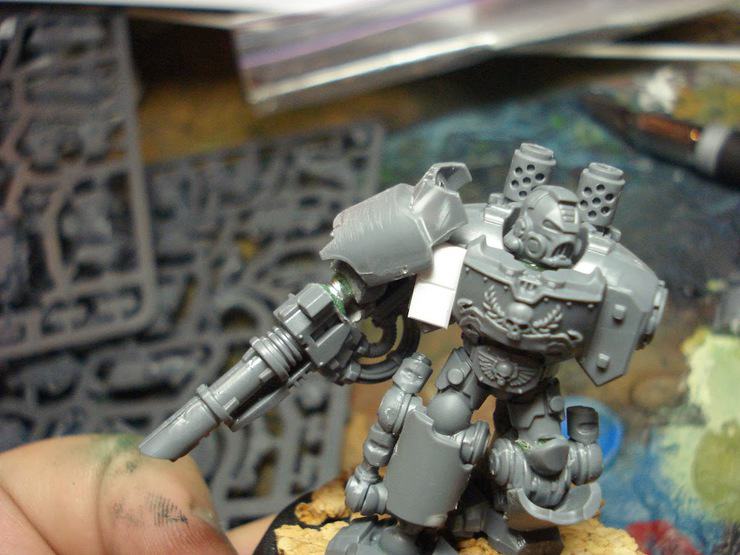
I finished modifying the other lascannon and magnetized it so I could get a feel for the models direction and when I was happy I applied two strips of plastic card to either side of the breast plate where I would be including heraldry designs.
At this stage I started working with the hurricane bolter attachment over the right shoulder. I wanted to model to look more like a contemptor so I though mounting the weapon over the shoulder would match up better as that is how contemptors mount their missile weapons. I used the left over cables and wires from the kit to affix the rear of the guns to the power pack. The platform I used to mount the bolters on was a piece of plastic card cut to size.
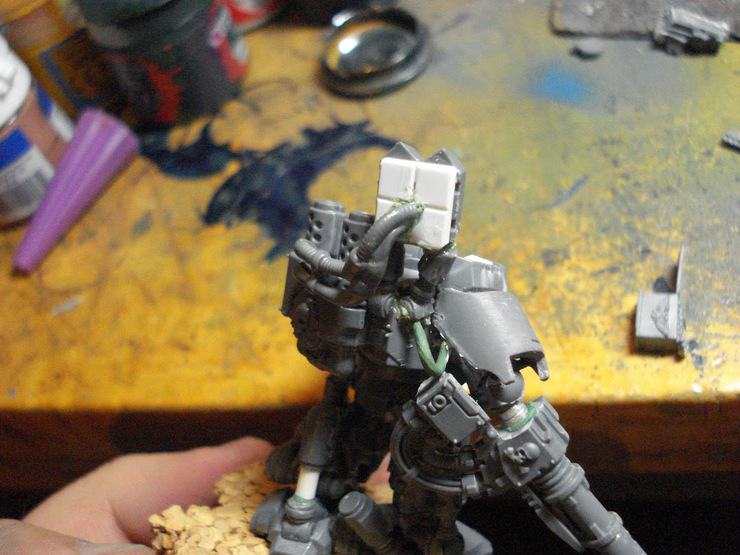
There was no visible way of showing how ammo would be fed into the weapon at this stage so I rigged up an ammo pack from an imperial guard heavy stubber.

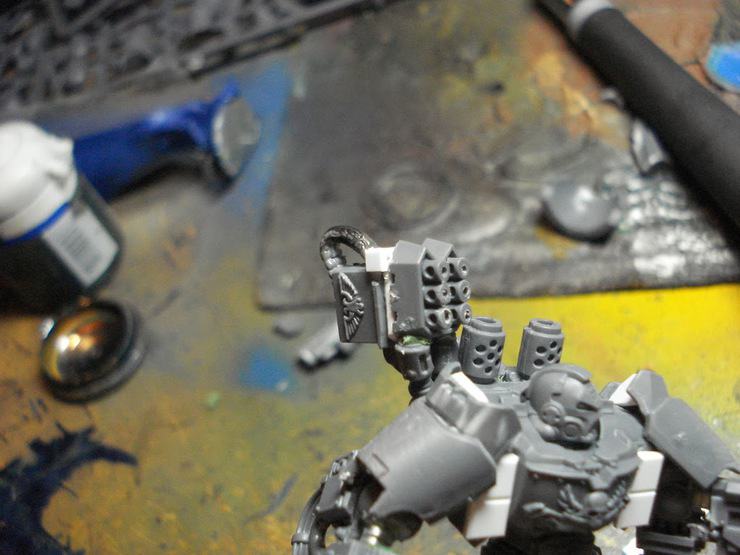
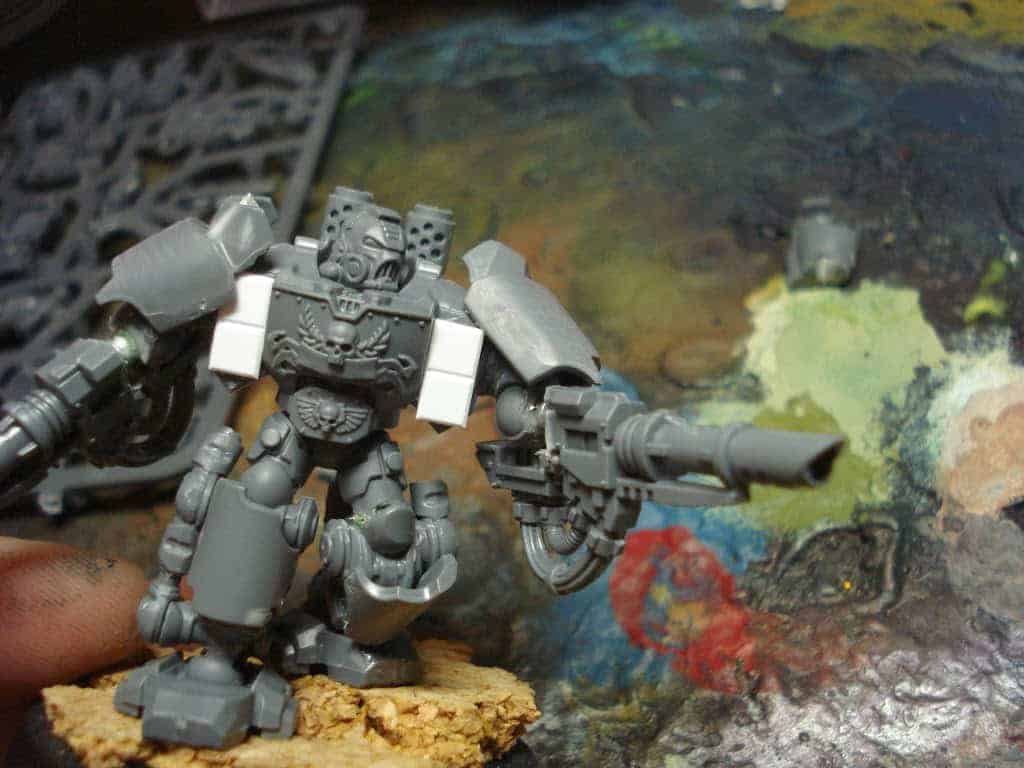
I almost stopped working on the model at this point but felt the head stuck out just a bit too much and as contemptors usually have very little of their head showing.

I went back to the kit and cut up the neck guard that usually fits over the shoulders. The picture shows where I made the cuts.

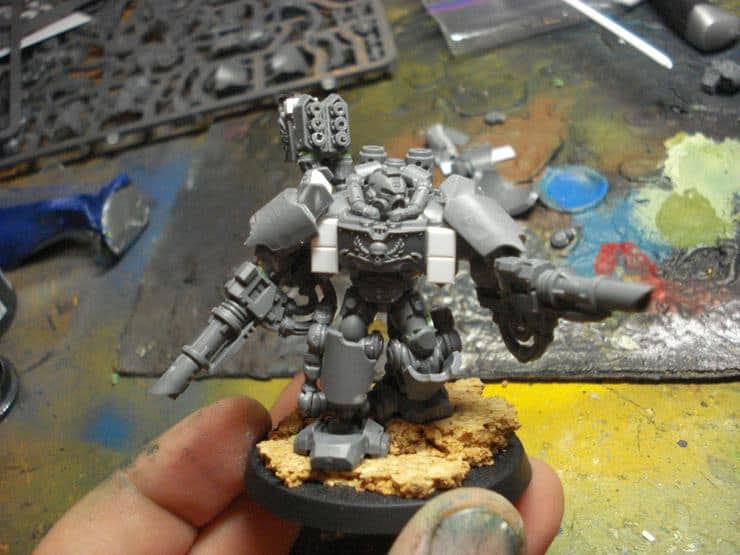
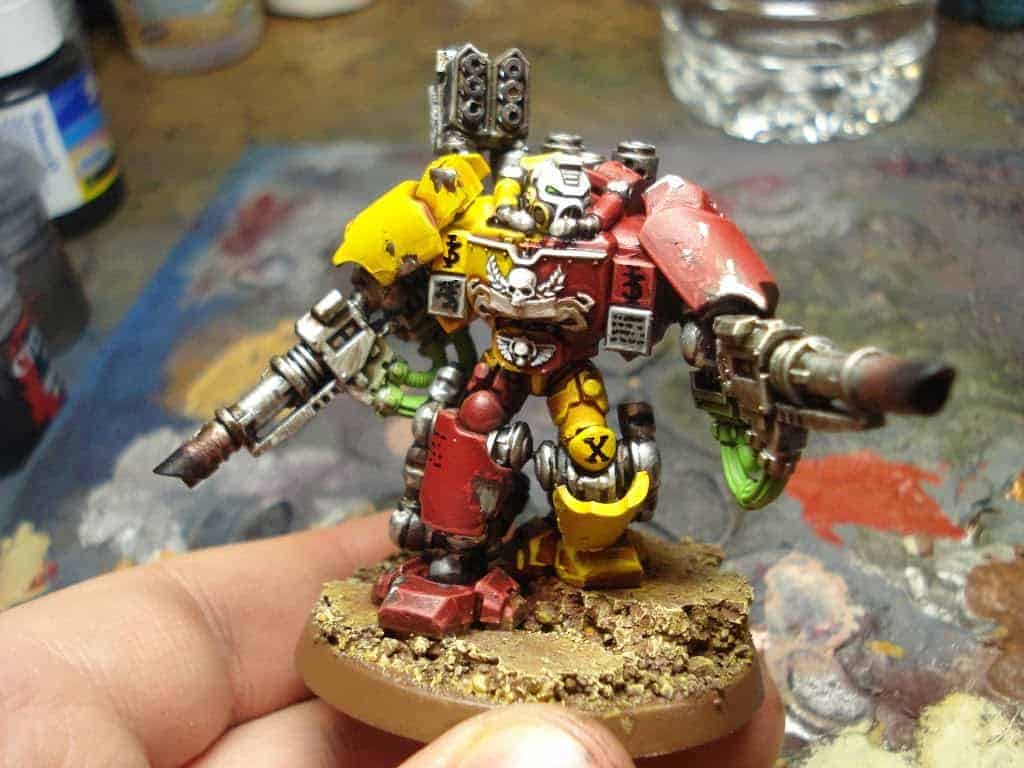
This is what the completed centurion looked like before being painted.
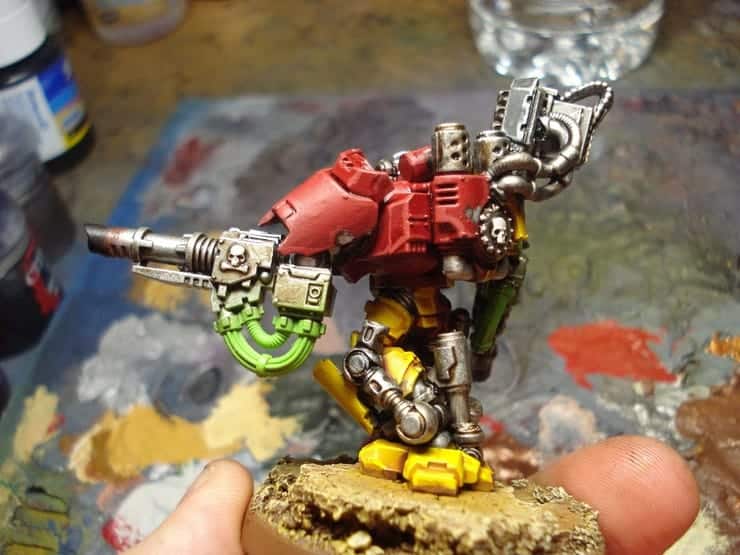
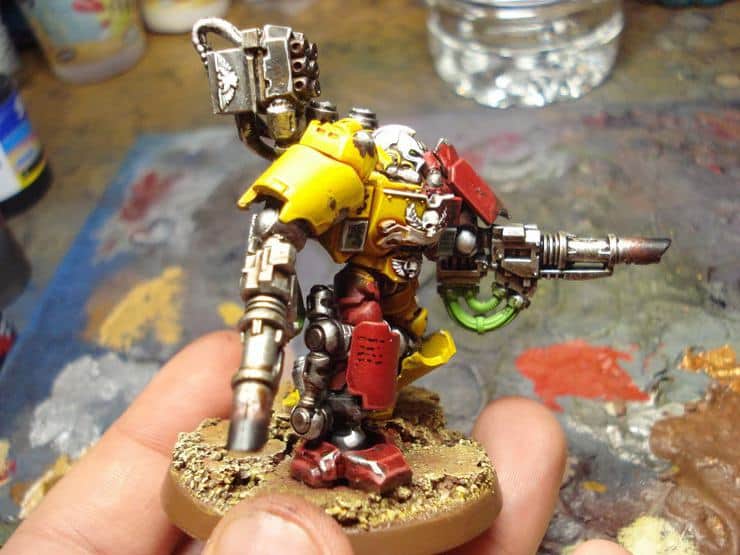
I was very pleased with the way the model turned out after a few coats of paint and I’m ready to start working on the other two. It takes a bit of work and some extra pieces but I feel the finished product improves on the cumbersome static pose of conventional centurions.

I hope you guys enjoyed the article and I hope it was helpful in some way. The next article I do will include some models from my ongoing Horus Heresy Campaign. Cheers.
Rage of Khorne