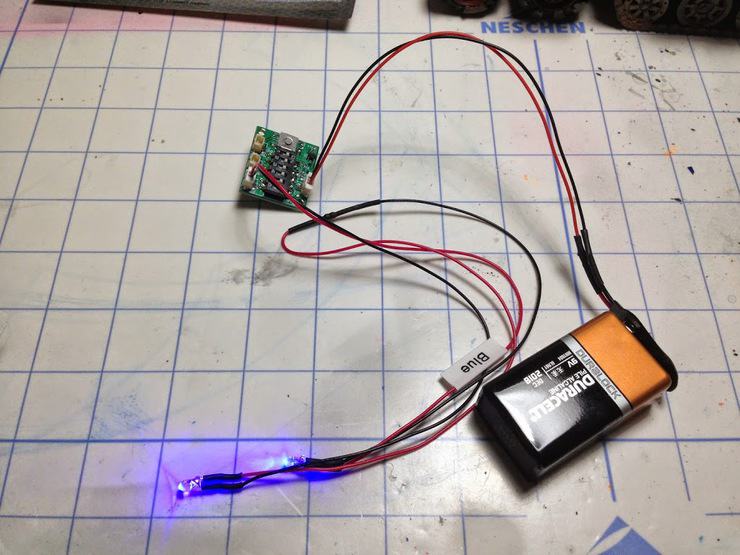
Hey guys, Beast here with another modeling project out of my mancave. MBG asked me to put my small brain and limited skills to use and see what I could do with Powered Play’s Programmable Effects Micro-controller.
After much deliberation, I decided to pimp out my custom Ork Lifta Wagon.
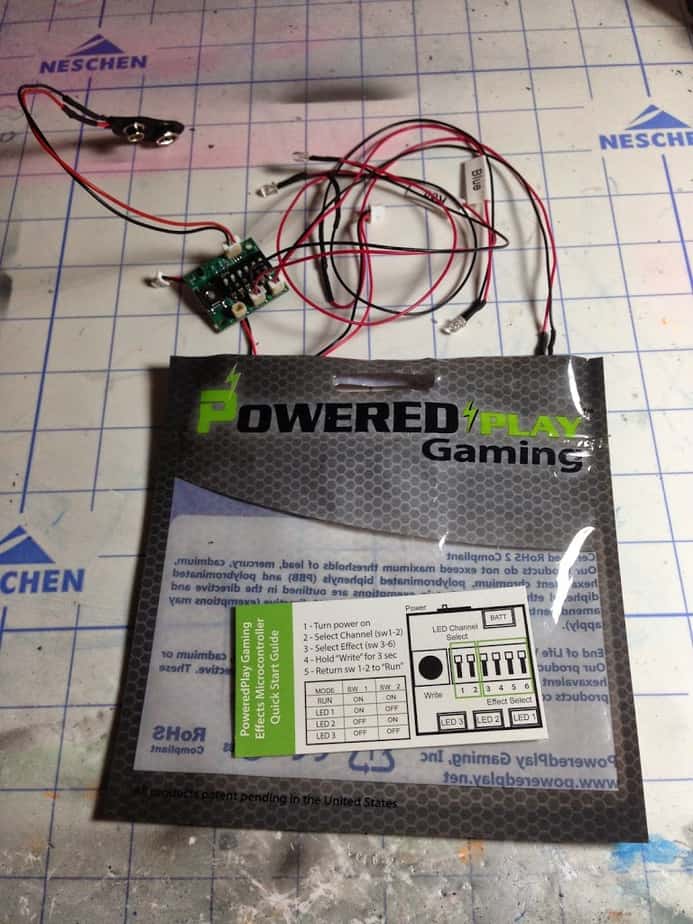
This conversion actually makes use of Powered Play’s Alpha Kit as well because I would need more than the 3 LED available plugs on the Programmable Micro-controller. The two are easily connected with the supplied jumper string so one battery and one switch controls all the lights.
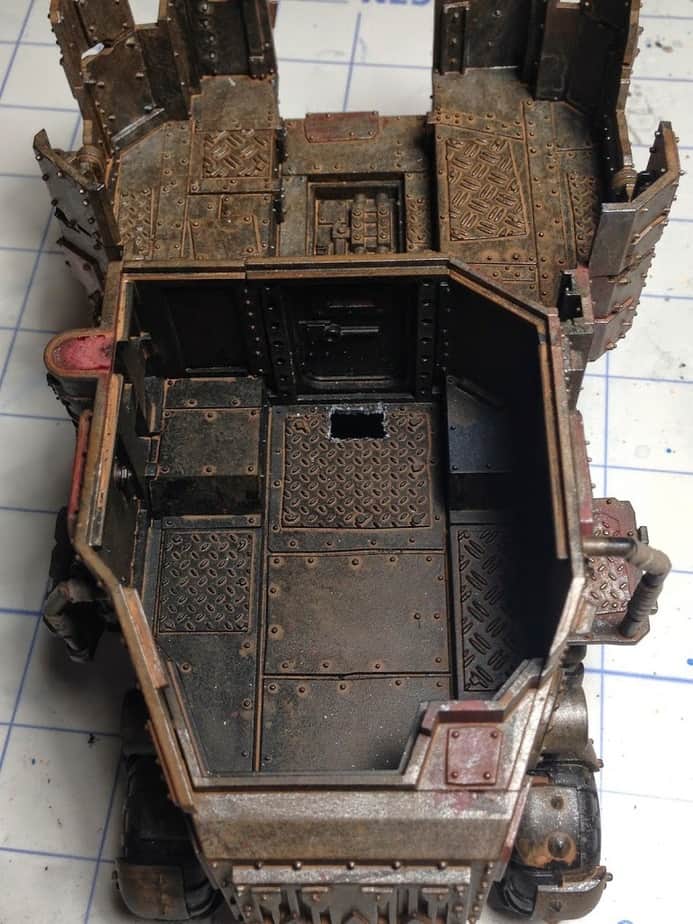
My Ork Lifta Wagon (and sometimes Battlewagon) was already a ‘completed’ model but since the crew and passenger compartment tops were not already glued in place, it would make things much easier.
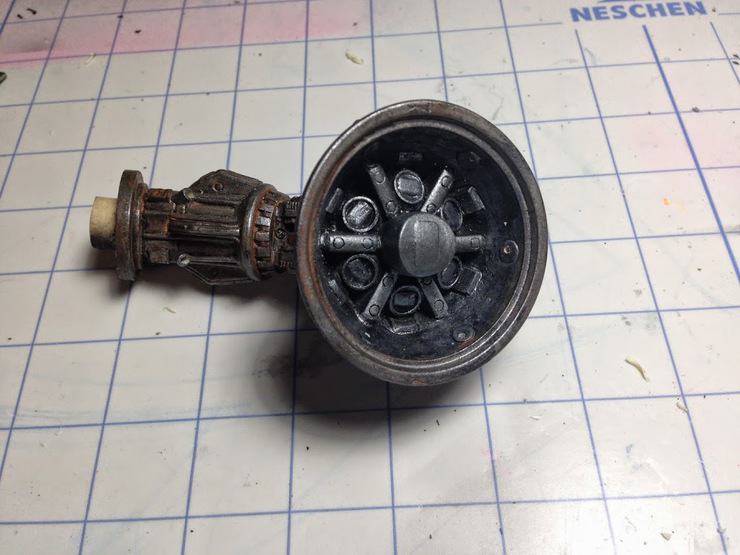
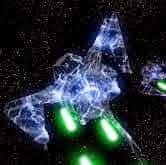
The Lifta–Droppa gun on this model is an old Armorcast Wave Canon that I wanted to light up for some extra special ‘Ummie Lifting and Dropping.
As with my other LED projects, I found that planning the circuit board placement and wiring scheme ahead of time helps prevent unnecessary cutting and frustrations. I know, I know- that’s not very Orky of me- real Meks would just go willy-nilly on it. But the ‘Ummie in me hates wasted modelling time.
The Ork Battlewagon kit has plenty of space in the crew compartment and a lot of hidden area under the hull- all of which is perfect for mounting and hiding the battery, boards and wiring.
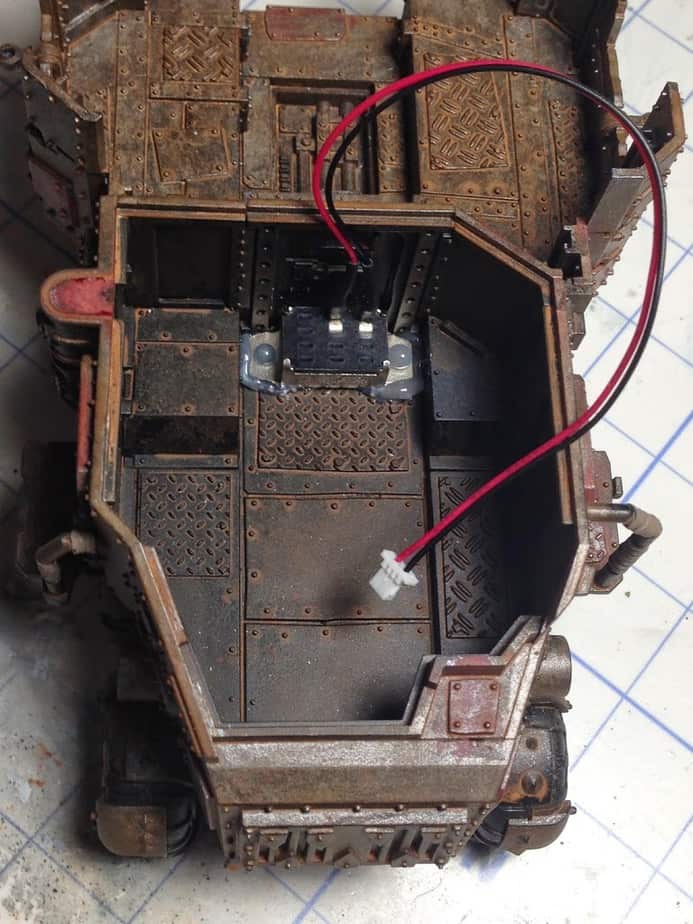
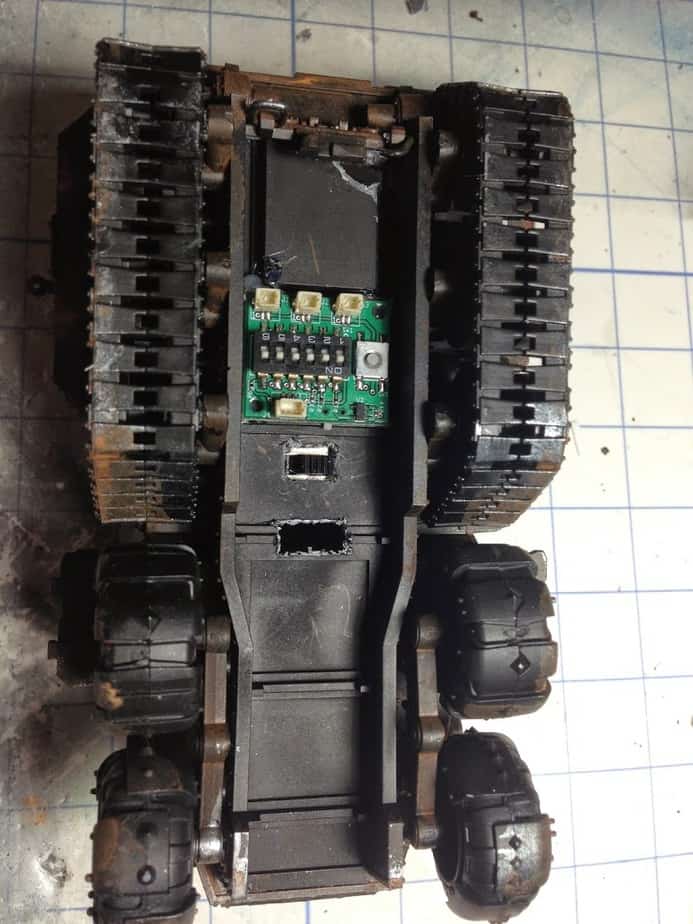
I mounted the master switch inside the crew compartment with the switch accessible from the bottom of the hull. This only required a small opening in the back of the crew compartment floor and a blob of hot glue to hold it in place.
I also glued both the Alpha circuit board and Micro-processor board to the bottom of the hull and connected them with the jumper cable (the photo shows only the micro-processor in place). All the connections would remain easily accessible after the conversion was done in case I want to change the LED strings for other colors (Mork and Gork are so fickle).
Wiring the Lifta-Droppa canon itself required a bit of creative drilling and a dozen or so lengths of fiber optic wire from an old Christmas tree of all things.
I made LED sockets out of short lengths of plastic tubing- these would align and hold the ends of the fiber optic cable against the LED.The micro-processor is programmable and you can set each of the 3 LED string channels to a different lighting pattern with the included instruction card. I wanted one set of fiber optic cables on the canon to be solid red (cuz Orkses love red and it makes everything go faster) and the other set flashing blue (cuz it makes the Meks happy). But the beauty of the programmable board and the quick connect LED strings is that whenever Gork/Mork want new or different flashy bits, it is very easy to change.
Lastly, for the crew compartment, I made a crude armature to fit over the 9v battery which will hold the LEDs from the Alpha circuit board in place to illuminate the windows. I used lengths of clear sprue in the visions slits to capture and disperse the light. For the crew compartment I used white lights (Orks don’t need no stinking night vision!), but again, if Gork/Mork decide some other color is more Orky that week, then I can easily swap the LED strings.
So that’s it- not an overly complicated conversion, aside from the use of fiber optic cable. But I think it gives my Lifta-Droppa that bit of extra bling that it deserves.

Cheers from the Beastcave!

About the Author: Rob Baer
Rob Baer
Job Title: Managing Editor
Founded Spikey Bits in 2009
Socials: Rob Baer on Facebook and @catdaddymbg on X
About Rob Baer: Founder, Publisher, & Managing Editor of Spikey Bits, the leading tabletop gaming news website focused on the hobby side of wargaming and miniatures.
Rob also co-founded and currently hosts the Long War Podcast, which has over 350 episodes and focuses on tabletop miniatures gaming, specializing in Warhammer 40k. and spent six years writing for Bell of Lost Souls.
Every year, along with his co-hosts, he helps host the Long War 40k Doubles Tournament at Adepticon and the Long War 40k Doubles at the Las Vegas Open, each of which attracts thousands of players from around the world.
Rob has won many Warhammer 40k Tournaments over the years, including multiple first-place finishes in Warhammer 40k Grand Tournaments over the years and even winning 1st place at the 2011 Adepticon 40k Team Tournament. He was even featured for his painting in issue #304 of Games Workshop’s White Dwarf Magazine.
With over 30 years of experience in retail and distribution, Rob knows all the products and exactly which ones are the best. As a member of GAMA (Game Manufacturers Association), he advocates for gaming stores and manufacturers in these difficult times, always looking for the next big thing to feature for the miniatures hobby, helping everyone to provide the value consumers want.
While he’s played every edition of Warhammer 40k and Warhammer Fantasy (since 5th Edition) and has been hobbying on miniatures since the 1980s, Titans of all sizes will always be his favorite! It’s even rumored that his hobby vault rivals the Solemnance Galleries, containing rulebooks filled with lore from editions long past, ancient packs of black-bordered Magic Cards, and models made of both pewter and resin.