‘Board Control’ is a term thrown around a lot, but what is it? Maybe more importantly how can you use it on the table top?
Hello everyone my name is Michael from Tactica Imperialis. Today I want to talk about Board Control as it applies to 40k.
To anyone like me who plays Hearthstone you’ll be familiar with the term, but to those who aren’t it is the idea of securing the board until your opponent has no way to come back and turn the tide.
So, who is best suited to playing what I term a “Control List”? Well, horde armies do it best e.g. Astra Militarum, but any army who can make big/blocky Troops will do a plenty good job, preferably resilient ones too. Personally I think Necrons are one of the best armies to play Control with Reanimation Protocols and T4, but basically if your Troops can be 10+ (15 or 20+ if you can) you are in business. You’ll then need 2 HQ choices: a beatstick to deal with any big threats your opponent can muster, and a force multiplier e.g. a Psyker to make the rest of your army much more efficient. If you don’t have a beatstick available (I don’t value Lord Commissars that highly in this regard) a second multiplier (in this case a Company Command Squad) will suffice but you’ll need to have other answers to big threats in other parts of your list. Then add in some rapid response units, anti tank/monster things and Skyfire elements to cover any outstanding weaknesses or exploitable holes in your list, and you’re set. It will likely be pushing towards 2500-3000 points by now, but you could feasibly do it at 2k points too.
I’m going to break the game into 3 sections: Deployment and the Early Game (turns 1 and 2), the Midgame (turns 3-4) and the Late Game (turn 5 onwards). During these sections there are a few key things you need to do to keep control, which I’ll hopefully be able to show you a plan for.

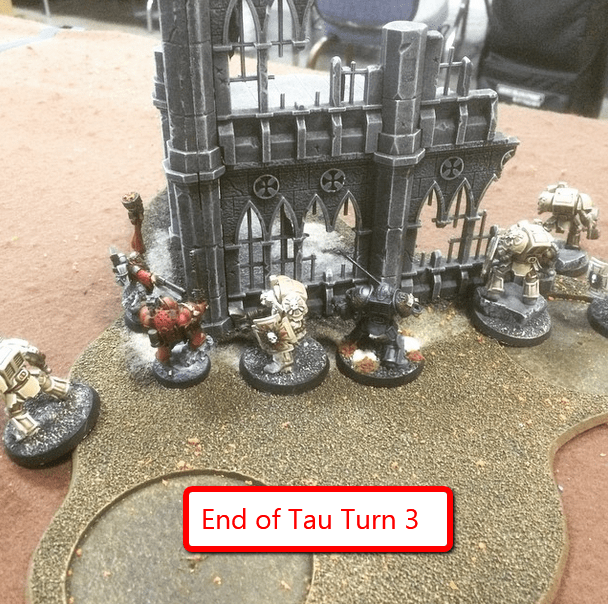
Pics from Spikeybits Instagram – Last Round of Adepticon 2015
The Early Game
During deployment, make sure to keep your multiplier and counter units out of sight of enemy snipers or big guns, otherwise they will be eliminated instantly. Your bulky troops should be deployed as bullet magnets, along with any non-essential units (Bullgryns with a Priest are as tough and sticky as it gets). Their job is to get up the board and secure your table half from aggressive roaming units or lists that will attempt to rush you and pin you back: DO NOT LET THIS HAPPEN. Any Deep Strikers need to be cut down to be either dead or unable to make an impact e.g. via tarpitting. Aggressive units or basically anything in your half of the board simply cannot be allowed to cause any trouble, so get rid of them pronto. Once they’re gone, use your counter units to silence the key threats of your foe e.g. wiping out pie plate tanks or combat beatsticks. As you prepare for the Midgame, your board half should be practically devoid of enemies and all objectives on that side must be held if possible.

The Midgame
Transitioning into your Midgame will begin with the advance of your wall (the troops and expendables) towards the enemy deployment zone. Objectives not in said deployment zone are the responsibility of these units during the Midgame, whilst your half now falls into the hands of everyone else. Any remaining threats designated pre game as the biggest problems need to be dead by the end of this phase, and your wall now needs to focus on your opponent’s troops and non-essential units (assuming you hadn’t already started with this during the early game) to make sure they’re not going to pull some crazy comeback with lucky cards or dice. At this point you should have near-total board dominance by keeping your enemy pinned in their corner and systematically taking down any units that threaten to break out or make trouble.
The Late Game
The final phase of the game should pretty much play itself if you have board control. Keep advancing to put down the final units or corners of enemy resistance. The one possible problem/risk is getting caught in the thrill of the hunt and abandoning your objectives: DON’T DO THIS. You need to maintain that control you established earlier to stop any smash-and-grab raids on objectives that you leave behind. If you are behind in terms of points, this control and the push for the kill will hopefully be enough to turn the tide but Control Lists can struggle to regain the lead if they make a poor start and end up on the back foot. To counter this, make sure you try and pick up every available point in Maelstrom missions and encircle objectives in standard ones at every opportunity because you’re on a very limited clock at this point.

So, that’s my view on Board Control. If you wish to see me discuss this further I made a video on the subject for my YouTube channel below. If you have any thoughts, be sure to let me know. Thank you for reading, and I will see you all again.