When it comes to painting Necrons, work smarter, not harder.
Hey guys: Caleb with White Metal Games here. White Metal Games is a miniature painting and consignment commission service. One great thing about being a commission painter is you get the chance to paint all sorts of models that you normally wouldn’t have the opportunity to. In this case, a local client contacted me regarding some Necrons.
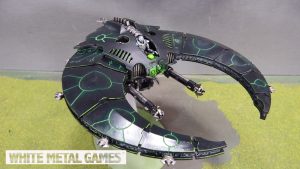
I’ve long been a fan of Necrons, but I’ve only recently began to see the light when it comes to lining and edge highlighting models. In the past I’ve been discouraged about lining every single part of a model, as it is such an intricate and time consuming endeavor.
But a little while ago, I came across a technique that made painting Necrons (as well as other models, in particular Tau), SO much easier, and I want to share that with you today.
The technique has to do with Oil Washes and how they pertain to models. But before I jump into the technique, let’s get the model prepped.
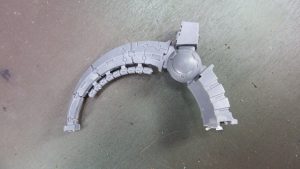
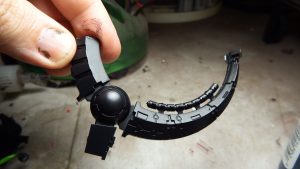
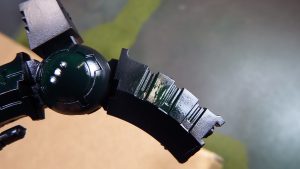
I start off with a simple piece of spare Necron kit. It should come as no surprise to anyone who follows my work that I love me some kit bashing. As such I always have spare parts lying around. I select this bit from an Annihilation Barge I had left over to demonstrate this technique. I start by priming the piece black.
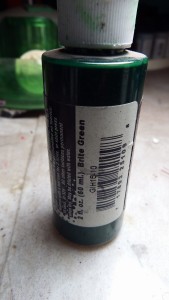
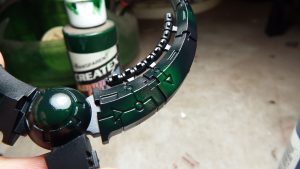
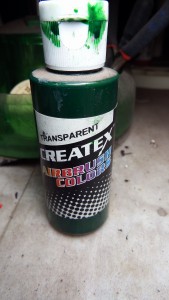
To get the ambient green glow effect I’m looking for, I use Createx Transparent Brite Green airbrush paint. Don’t let the name mislead you. Over black primer, this paint isn’t as bright as you’d expect. But it’s transparent, so that’s what I’m going for. I made a big deal about transparent paint into another article.
I use a smaller airbrush needle (.35) in order to minimize overspray, with about 20 PSI. (On a side note, I also tried this technique with Miniature Envy Green, which worked pretty well, but the paint is kinda tacky/sticky and lends itself better to OSL than Oil Washes)
I focus on the areas where the Green Lining will come into play. I’m liberal with it’s application. As you can see, when concentrated with a few passes, it gives off a nice, saturated look.To finish off the area, and this is important, I use a GLOSS VARNISH on the areas where the wash will be applied. This helps both with getting the wash to sink into the right spots as well as cleaning up unwanted wash on problem areas.
Now for the actual technique. I first learned about this technique while watching a video on the youtube channel, Schauzer Face Minis. The video, aptly titled ‘Oil Washes’ can be found here.
It’s worth noting that IMHO Andrew is an INCREDIBLE painter, far better than me, and I am just standing on the shoulders of a painting giant, sharing a bit of his insight and knowledge with hopefully people that don’t yet know about his work and will value from his insight.
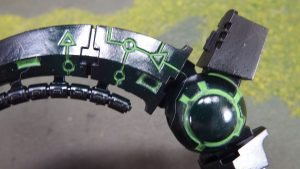
My use of this technique is an adaption of Andrew’s. I noticed that when I started using this technique, much like water the wash would spread to the area of least resistance. You might think of it like water running down a channel. In particular when the mini has a track or groove of some sort, it tends to race along the groove and fill in the area with pigment. In this case the mineral spirits acts as a vessel, carrying the pigment evenly towards its final destination.
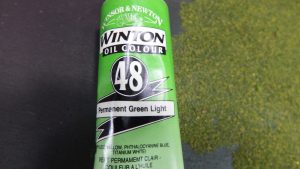
I used Winston Oil Colour #48, Permanent Green Light. It’s sort of a neon green that closely mimics GW Moot Green.
I mix the oil wash to the right consistency, using Mineral spirits to dilute it until the wash disperses evenly over a paper towel. Again, if you aren’t following this article closely, you really need to reference the above video for this to entirely make sense. For those of you that are impatient, go about 50 seconds into the video to get the backbone of the technique.
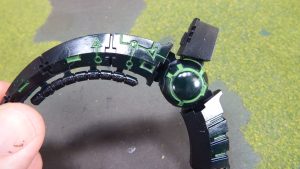
I apply the wash to the model using a thin tipped brush to try to keep it in the right areas. I continue to reapply the wash to the right areas until they are filled in with pigment to my liking. Then I use a cotton swab to clean off any excess paint. The gloss varnish comes into play here, since it makes clean up SO much easier.
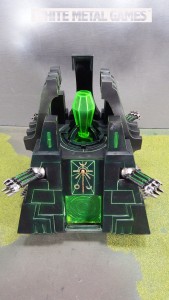
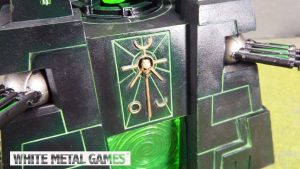
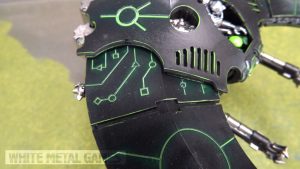
And that’s it. From there, I just apply detail work, metallics, and line the edges of the model. On bigger models this takes some time, but I was able to complete both a Scythe and Monolith in maybe 12 hours total. Here are some sample pictures from the models for the client.
On the scythe for the bigger areas I applied the wash multiple times until I was able to get enough pigment to saturate the area. A little clean up and I was good to go.
More pictures of these models can be found here.

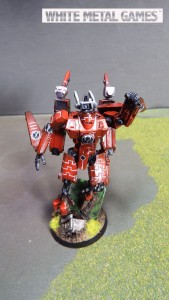
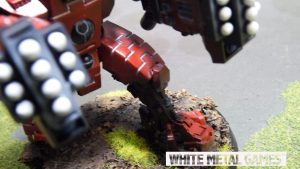
I’ve also tried this technique on some Tau using Winton Titanium White. In the commander below you can see it in the grooves, and especially in this close up of a Broadsides leg guard.
So for me this is a win. It’s simple, it looks good and it will save you HOURS if done well.
What do you think, community? How to you paint your Necrons?
If you enjoyed this article, be sure to like it, share it with others, and subscribe!
Find us on the web, Facebook, Twitter, Flickr. Listen to our podcast, shop in our store: follow our blog.
Caleb, White Metal Games
