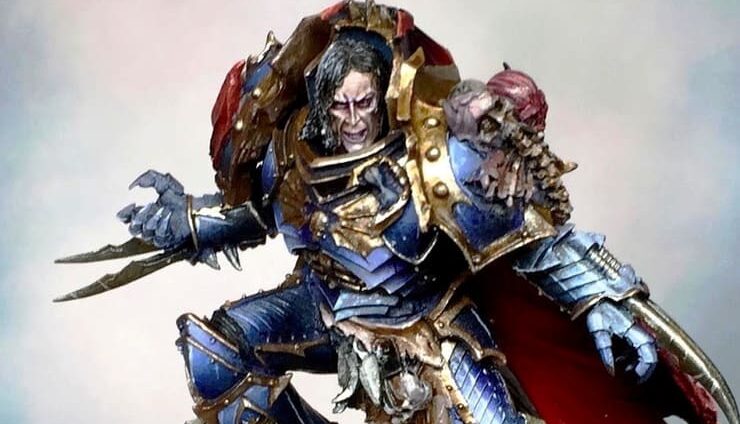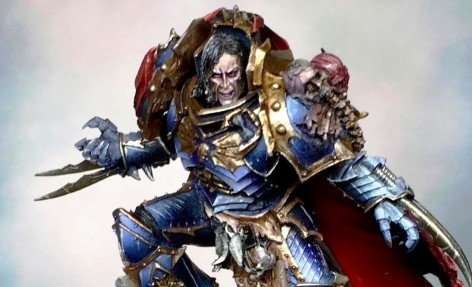
Checkout the first in a spectacular series of tutorials from ‘Lil Legend studios for painting the Legions. This is Myles’ guide to painting the Night Haunter!
In this tutorial we will be painting the venerable Night Haunter from start to finish. Enjoy.
Preparation:
Table of Contents & Article Summary
show
Forge World resin needs to be cleaned in hot soapy water. Sometimes this still leaves a shiny layer of mould remover. I’ve recently started to use Cilit Bang Grease remover for that extra bit of grease removal. It hasn’t melted any of my models (yet! – I doubt it will but please no angry e-mails if you use the extra strong stuff) and does a pretty good job of removing the mould release agent. There were precious little mould lines to remove, but I used Wilder sanders – little fine grade emery boards that give an amazing finish once you’ve filed the models.
Tools used:
Paints used: Vallejo, Reaper Master Series, Games Workshop Washes, Com Art Medea Airbrush
Airbrush: Iwata CR Plus High Line
Paint Brushes: Rosemary & Co. Raphael 8040, Broken Toad Brushes
Resources – I bought all the tools (save for the brushes) used in this article from airbrushes.com. I’ve bought from other shops i the past and from various sellers on eBay but I’ve found this website to be one of the most comprehensive sites for everything a modeller may need.
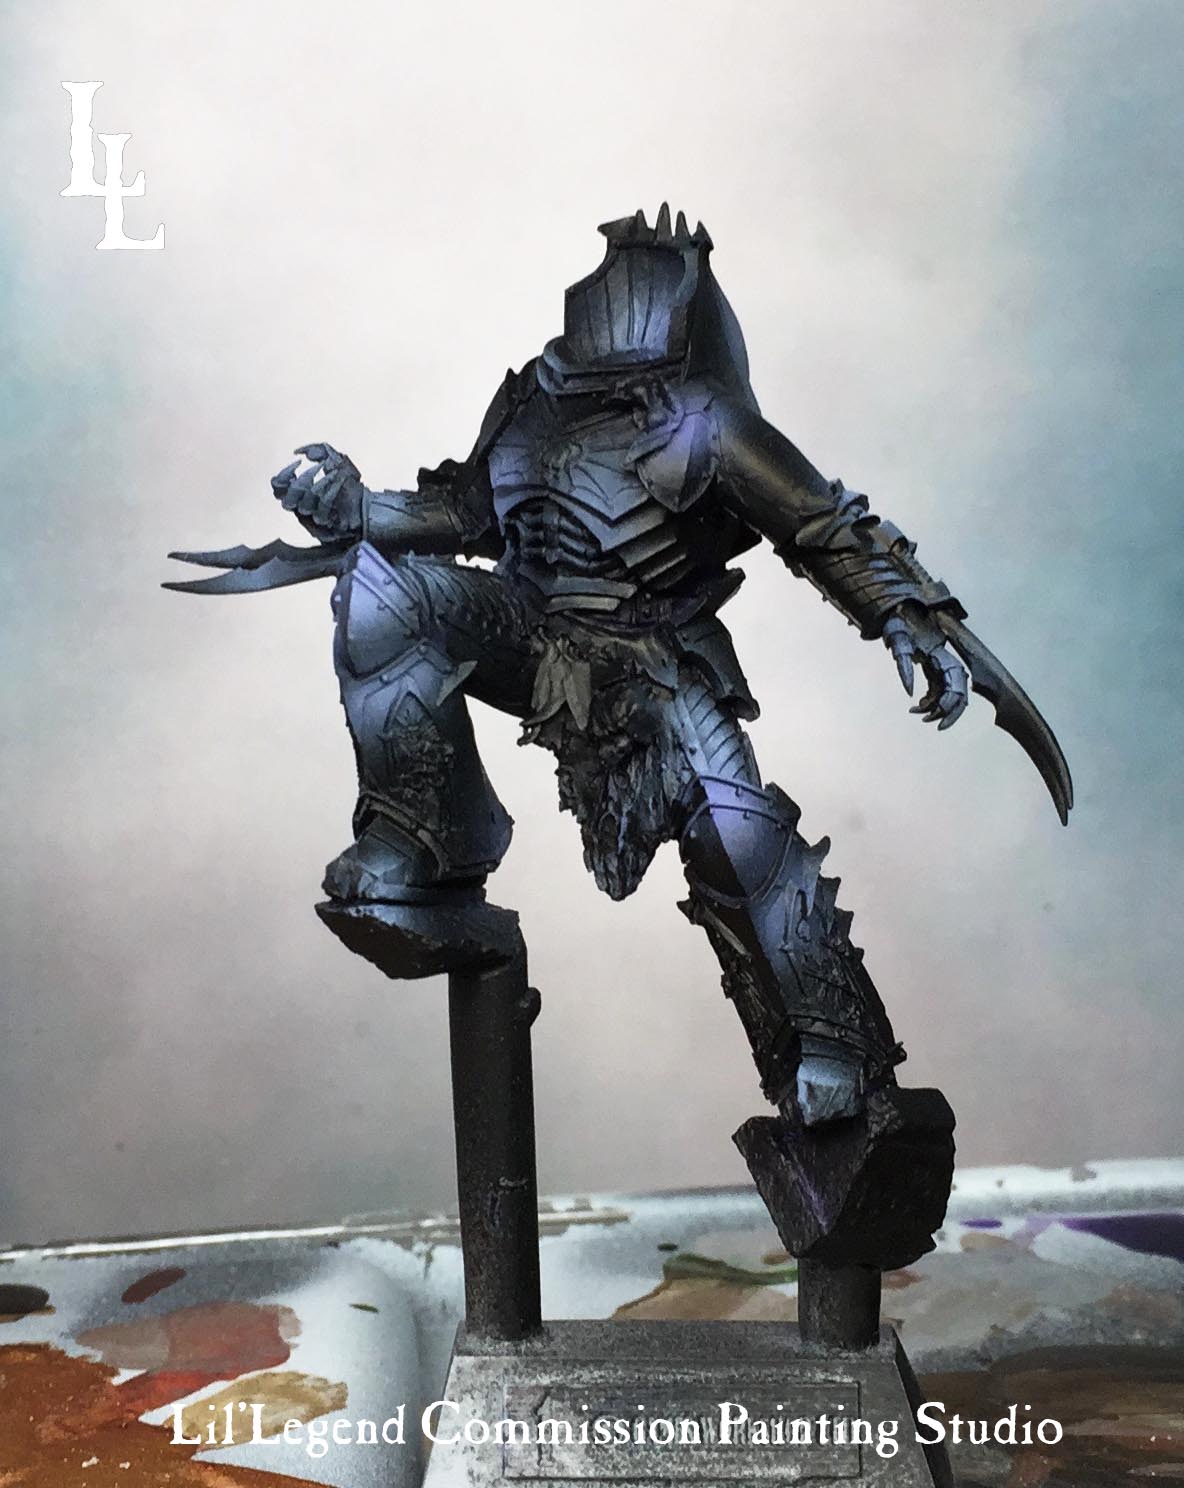
Undercoat the model black (I use Halfords car primer). Why black? The Night Haunter is a dark character. If I were to create a word cloud of Konrad ‘Shadow’ would be prominent amongst them. A sombre palette of greys, blues and pallid, unhealthy skin tones.
Armour
Step 1 – Airbrush Medea Com Art Opaque Violet. PSI 20.

The Violet is a very subtle change in the underlying hue of the undercoat. It will take a couple of thin coats to achieve a consistent layer. By starting the highlights from purple we make the shadows more interesting and the subsequent blues a little more moody.
Step 2 – Airbrush. Medea Com Art Opaque White. PSI 20

We want to add volume and definition to the armour plates. At this very early stages we are plotting highlights and shading. This isn’t a zenithal highlight, try instead to think how light would interact with the armour plates.
Step 3 – Airbrush. Medea Com Art Opaque Ultramarine. PSI 20


This is where these airbrush paints really come into their own. Even though they are titled opaque these are very thin paints and when used with a little thinner they can help tint the under lying layers. We use the airbrush to cover the entirety of the blue plate from shadow to highlight, unifying the colours.
Step 4 – Airbrush. Medea Com Art Opaque White. PSI 20


We’re looking to reinforce the armour highlights made in step 2. At the very lightest parts of the armour we want to go pure white.
Step 5 – Airbrush. Medea Com Art Opaque Ultramarine. PSI 20


With this shading we are hitting the shadowed parts of the armour and gradually moving it into the light. We are developing the interest in the armour, creating different tones making it more interesting to look at. At this point if you feel the shading needs a little more interest use the airbrush to put purple into the deepest recesses, or pure black. We don’t want to cover the entirety of the model with ultramarine, just the mid point tones to the shadows.
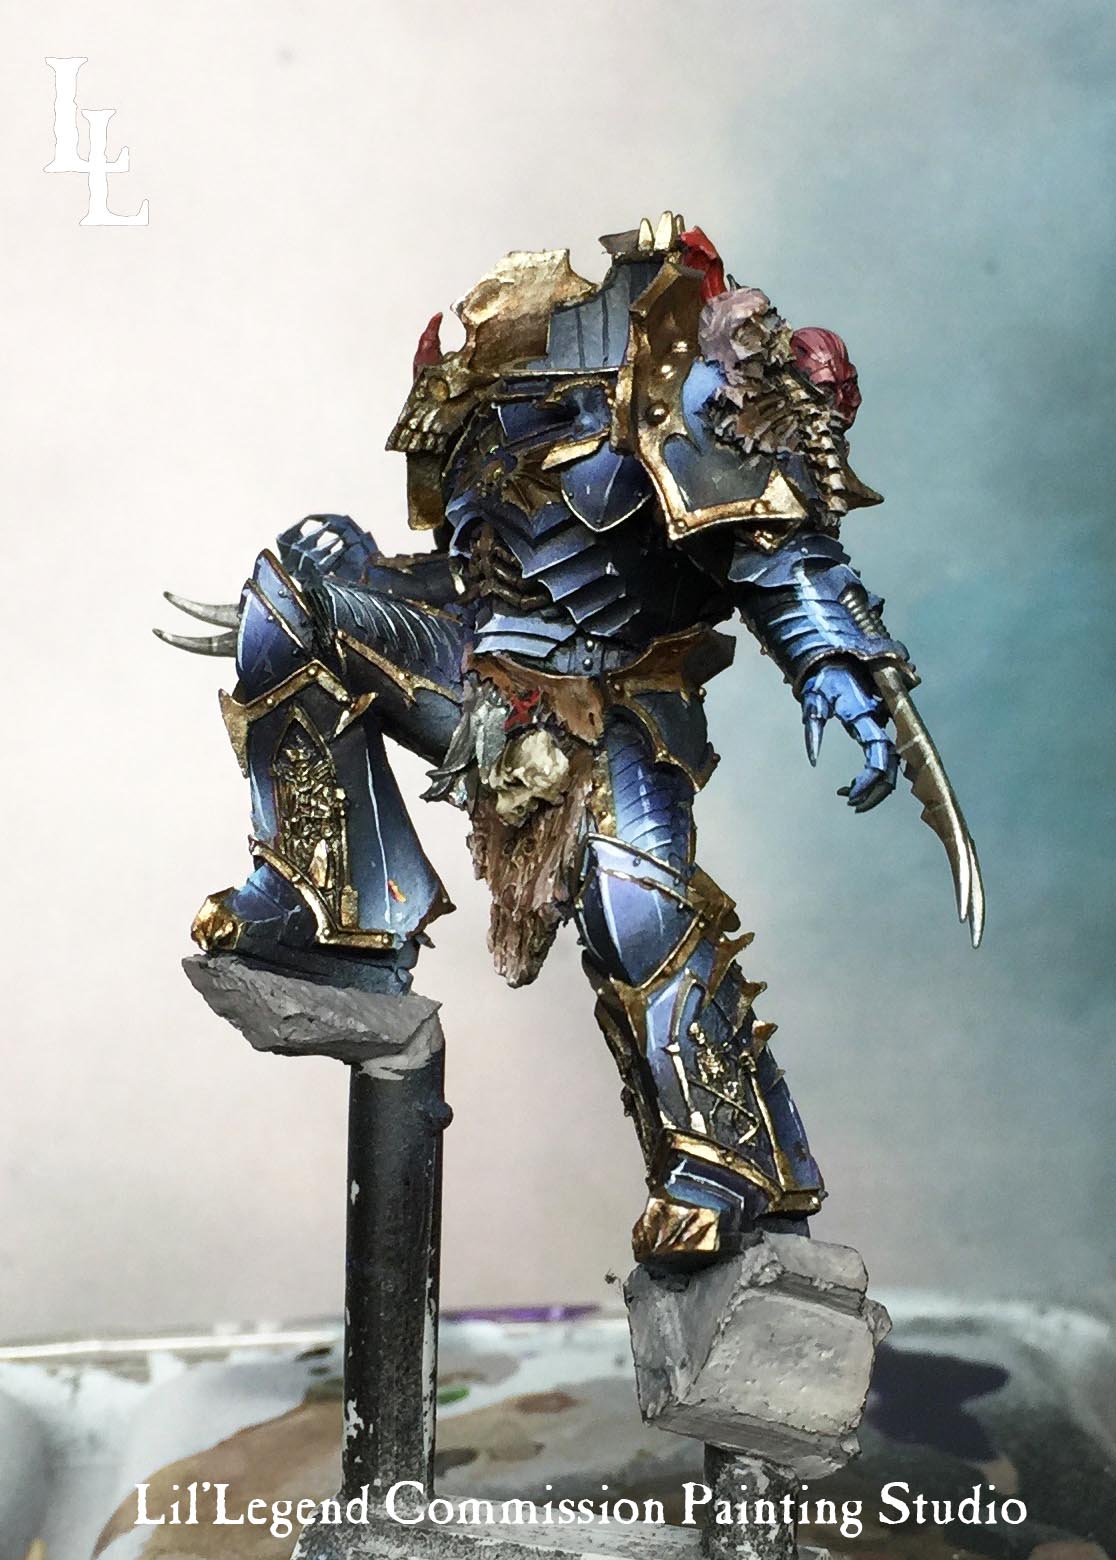
Step 6 – Paintbrush. VMC Glacier Blue. P3 Umbral Umber. P3 Hammerfall Khaki

Run VMC Glacier Blue along the edges of the armour. Paint all the golden areas with P3 Umbral Umber and the dead flayed skin with P3 Hammerfall Khaki.
Step 7 – Paintbrush. P3 Morrow White.

Highlight the Glacier Blue layer with white for the final highlight.
Step 8 – Paintbrush. P3 Sanguine Base. Skorne Red.


Start with a base of P3 Sanguine base and highlight with Skorne Red.
Base
Step 1 – Airbrush. Medea Com Art Opaque Raw Umber. PSI 20

We want a consistent base layer to modulate later on. A couple of coats will do the job.
Step 2 – Airbrush. Medea Com Art Opaque Burnt Umber. PSI 20


Concentrate on developing the shadows.
Step 3 – Paint brush. Oil, Burnt Umber.

Mix up the oil paint with white spirit (we want a thin wash like consistency to run into the recesses between the slabs). First take pure white spirit with a thin bristled brush and run it into the gaps. When you apply the oil it will run along the lines you’ve made with the pure white spirit.
From here we can add nice effects like weathering powders to create different textures to fit in with the rest of your force.
Cloak
Step 1 – Airbrush. Medea Com Art Toluedene Red. PSI 20. Shaded with Opaque Violet.


There is surprisingly little red showing on the back of the cloak. Most of it is taken up by swathes of flesh ripped from the dead.
Details
Step 1. Paintbrush. Flesh: Formula P3 Cryx Bane Highlight. Gold: Vallejo Model Air Gold. Silver: Vallejo model air Gun Metal.


We are putting down the base layers to modulate with washes, inks and acrylics to deepen the shadows and highlight the surfaces. Use many thin layers to build up a consistent base.
Step 2. Paintbrush. Wash golds with GW Agrax Earthshade. Wash flesh with GW Reiksland Fleshtone. Wash Silver with Vallejo Black + Smoke Inks.


God bless the man who invented these washes. When working with metallics I’ve found shading them with inks and washes worked best as it keeps the metallic sheen better than matt acrylic paints. Vallejo make an excellent selection of inks and it really helps to play with the purples, browns and blues when shading the gold.
Step 3. Paintbrush. Highlight Skin with VMC Sunny Skin Tone, then mix it with bleached bone for highest highlight. Highlight gold with Vallejo Air Gold then mix Vallejo Air Silver for highest points. Silver – Vallejo Silver.

This is the final highlighting of the metallics. Reapply step one for a base then add highlights to define the armour and reflect the shine you made in the airbrushing stage.
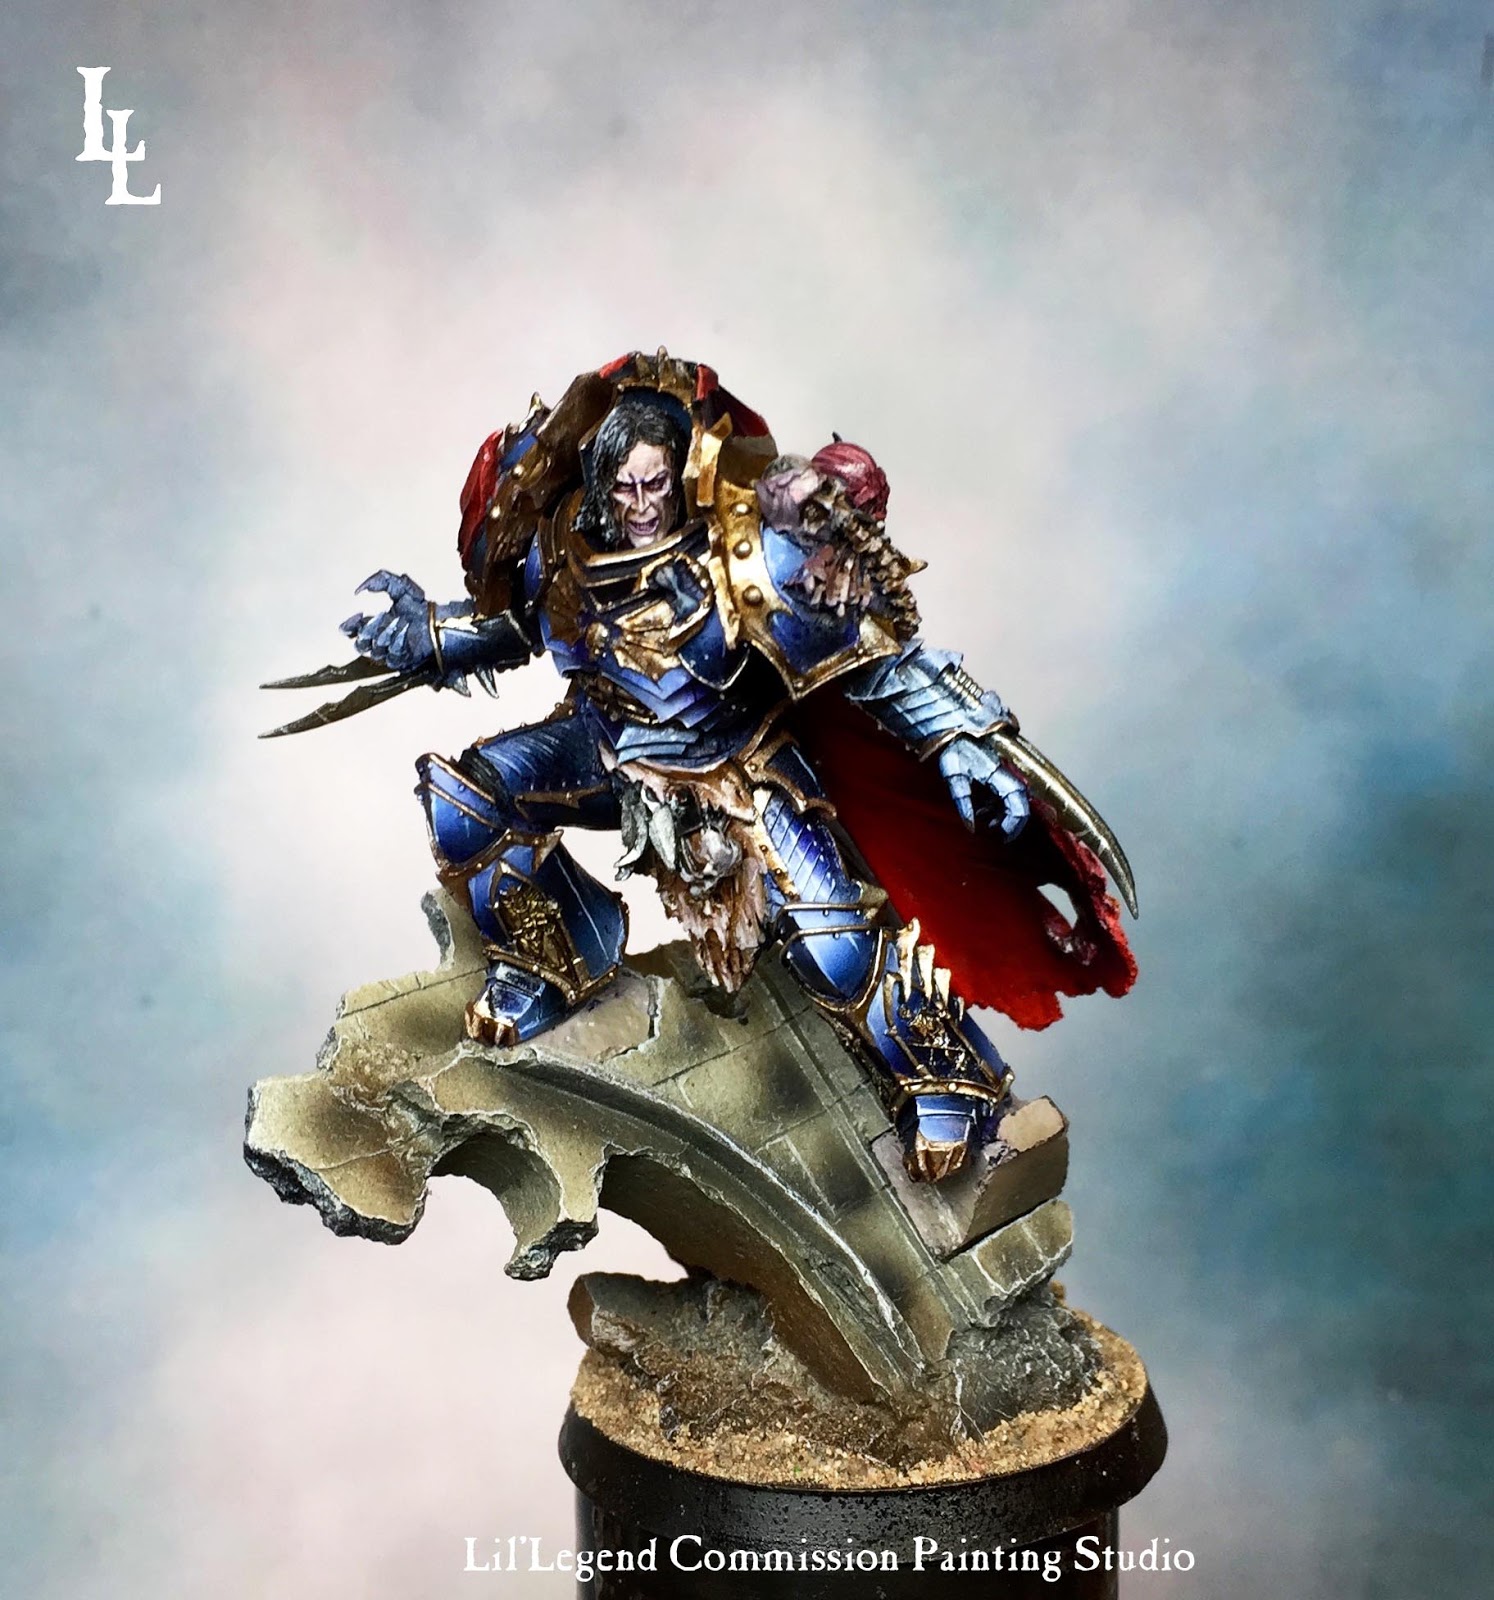
Face. For Konrad Curze I thought it would be appropriate to have very pale, consumptive skin. I used a base of GW Tallarn Flesh which I then washed blue into the very deepest parts shadows. I highlighted the base with VMC Light Skin tone (which has some pink in it) and then for the final highlight I added bleached bone (which has a little green in it). To really push the unhealthy pallor of the Primarch I mixed VMC Black with VMC Royal Purple and added rings around the eyes.
And here we are – by this point you should have a finished Primarch! I hope you’ve enjoyed this guide and will find some use from it in your own painting.
As ever please don’t hesitate to get in touch for any commission painting: lillegendstudio@gmail.com
If you liked the articles please like the Facebook Page and share.
Or follow us on Instagram


Paints used: Vallejo, Reaper Master Series, Games Workshop Washes, Com Art Medea Airbrush Airbrush: Iwata Hi-Line HP-CH Airbrush Paint Brushes: Rosemary & Co. Raphael 8040, Broken Toad Brushes, Windsor and Newton Series 7