Want to make some great looking diseased miniatures, the Nurgle way? Well come see our latest tutorial on Rot, Glorious Rot!
So I finally got around to editing video for my first tutorial video. It was harder than I thought but here it is.
First off you’ll need GreenStuff (enough to cover the area you want to make touched by Nurgle), a needle tool, water, and a model to put it on.
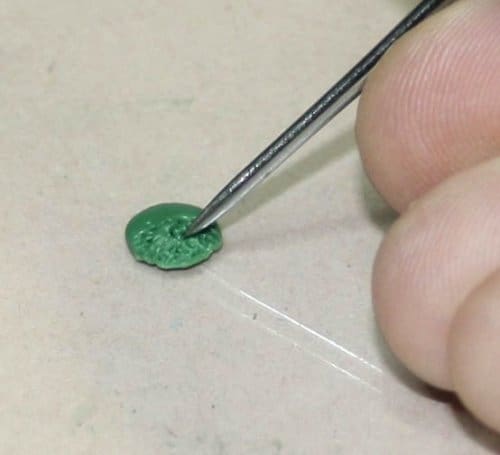
Start by covering the area which you want to look Nurglish. Make sure and put water on all your tools, it keeps them from sticking to the green stuff which can potentially ruin what you’re working on.

Once that’s done take your needle tool and poke it into the green stuff perpendicular (at a 90 degree angle) to the model. At this point start making little circles with the needle tool until you reach the desired size of burst pustule you want. Try and clear out any excess green stuff left in the hole you just created. I usually fill those holes with yellowed tinged slime in the painting process. I repeat that process all over until I’m satisfied with the way it looks.
After I’ve put the burst pustules where I feel they fit I try to mottle the surrounding fleshy areas to look like it’s disease pocked skin. I do this by simply poking the needle tool in a stabbing motion all over the covered area. That’s the easiest part, and it lets you take out some aggression.
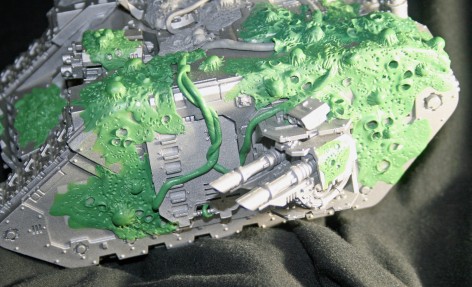
When I get the fleshy areas the way I want, I usually go around the edges of the covered area and give it a tattered look. Again I take the needle tool and just rough up the edged by placing the point about 1/4″ up from the edge at about a 30 degree angle. Press down and drag it out towards the edge to give the green stuff a more rotten look to it.
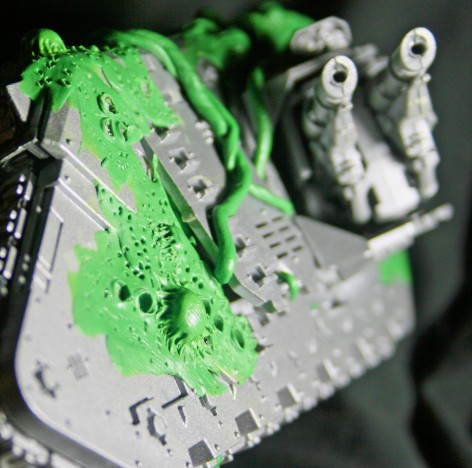
Now the part most people have asked me about, the actual filled pustules (the things that look like zits). For this I take a little ball of green stuff and place it where I want the pustule to be. For this part I don’t put a lot of water on fingers when handling it because it can make the ball not stick. Once it’s placed, I take the needle tool (I know again) and use the tip and place the point about half way up the ball. With the tip barely touching the ball I pull down with the tip and drag just a little bit of ball down to meet the surface of the original green stuff layer. I do this around the whole ball until it looks like a zit (for lack of a better term). And again I do this all over the affected areas until I’m satisfied with the look.
Below is a link to the video I made, and hopefully my words will make better sense when you see it done.
Enjoy and stay tuned for more videos and articles by: