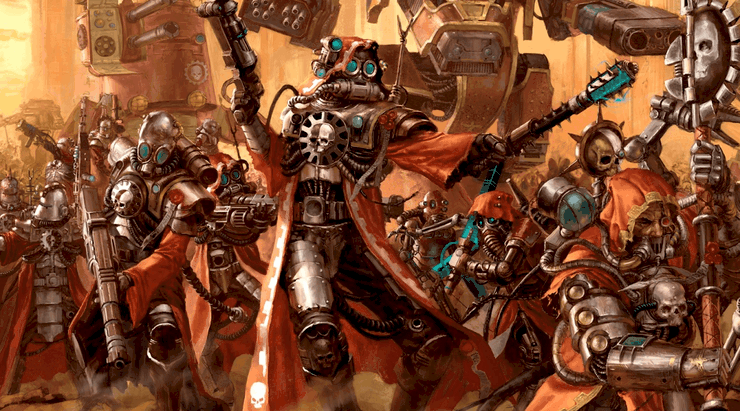
Hey everyone! Come learn how to paint Adeptus Mechanicus Skitarii rangers in a few simple steps.
Josh here from Dark Matter Designs with another paint tutorial. Today I am going to go over several easy steps to painting your Skitarii rangers.
How To Paint Skitarii Rangers
To start with you will want to paint all the metal on the model to do this you will need these colors.
- 1 Leadbelcher
- 2 Nuln Oil
- 3 Ironbreaker
- 4 Brass Scorpion
- 5 Agrax Earthshade
- 6 Runefang Steel
Now to begin you will want to coat all the areas you are going to paint metal in leadbelcher. After your basecoat is done go ahead and wash the whole model in nuln oil. Then you will go around the model and highlight up all the metal areas with ironbreaker. Now you will need to start doing the copper to do that you will put a basecoat of brass scorpion on the the spots you want copper. Once again wash the whole model, including the ironbreaker parts, with the agrax earthshade. Then finally go ahead and highlight up the whole model with Runefang steel.
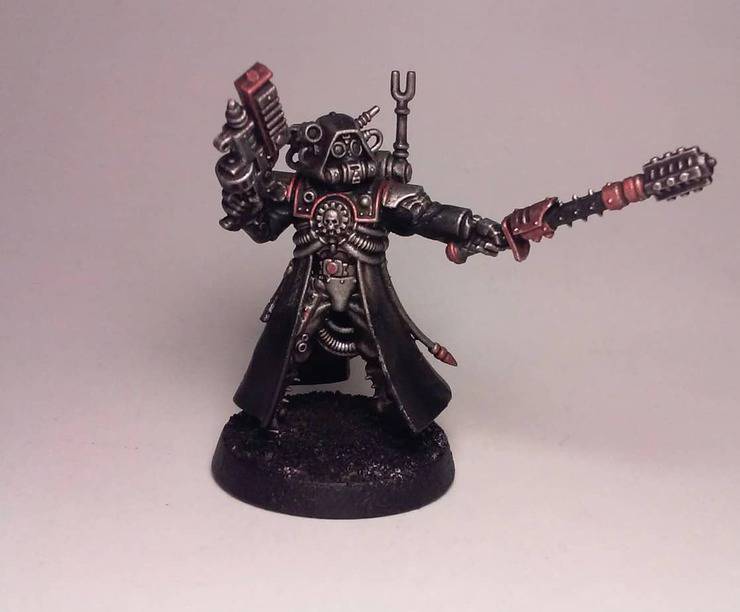
The next step is to do the interior of the cape and the black suit that hes in as these will be to hard to get later. To do this the colors you will need are as follows.
- 1 Zandri Dust
- 2 Ushabti Bone
- 3 Abaddon Black
So to start with you will want to paint the entire interior of the cape. Do this by laying down a basecoat of zandri dust. Once the dust has settled go ahead and lay down a layer of ushabti bone. Now all thats left is to hit the black on the suit do this by just recoating it in abaddon black.

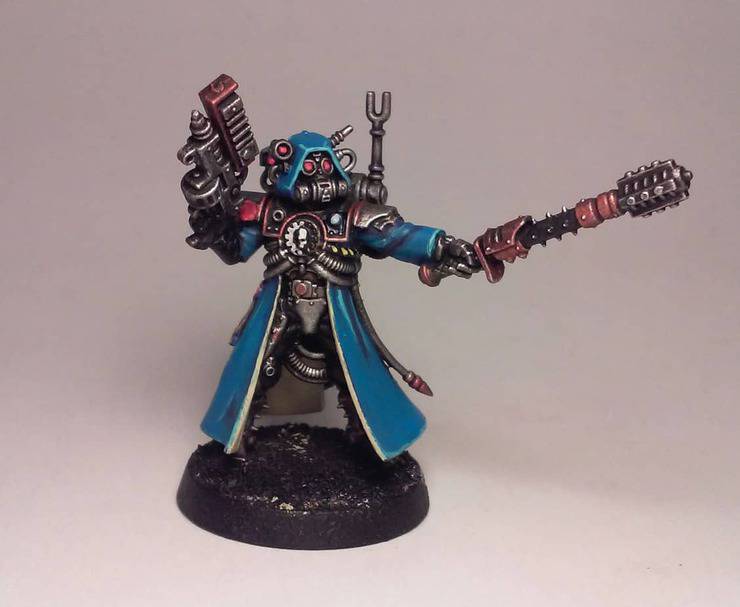
For this next step you will want to paint the cloak. This can be any color you want but mine are painted blue, so for this you will need these colors.
- 1 Macragge Blue
- 2 Altdorf Blue
- 3 Teclis Blue
- 4 Baharroth Blue
Once your ready to start the cloak lay down a basecoat of macragge blue. Now after thats dry go ahead and water down the altdorf and add several layers building up to altdorf, to do this paint a layer leaving the recess’s macragge and keep layering leaving more and more of the recess’s unpainted. Then repeat this process with the teclis blue. This step will take awhile to do it right you can just do one layer of altdorf and one layer of teclis for a different effect. The way I described will give you a natural fade effect. After you finish that go ahead and highlight edge it with baharroth blue.

Well now were almost done its pretty much just details now. For these I will list colors as we go over them as there are to many to list.
For starters go ahead and do all the admech symbols. These can be painted very easily with two colors, paint the whole thing abaddon black, then just paint the half of it pallid wych flesh. Next up will be the ribbons and eye lenses these can be done with a basecoat of mephiston red, followed by a layer of evil sunz, and then a layer of wild ryder red. The tapestry parts of them can be painted by laying down a basecoat of rakarth flesh, wash in agrax earthshade, and then finish with a layer of pallid wych flesh. Then well go ahead and paint the pipes with hazard stripes just base them abaddon black and then put done a quick few dashs of flash gitz yellow.
These next steps will be the weapon glow and the transfers.
For these you will want to start by painting the entire area that you want to glow in pallid wych flesh. For mine I wanted a red glow so then I washed it in bloodletter. Now for the transfers go ahead and lay down a basecoat of ‘ardcoat where you want to place the transfer. Next wet the back of the transfer using your paint brush. Then slide the transfer off the backing and onto the model shift it around till you get it where you want it with the brush. Once you have it in place seal it using Lahmia medium this will both make the gloss effect of the ardcoat disappear and also blur the edge of the transfer.

Finally were ready for the last bit which is just to paint the base.
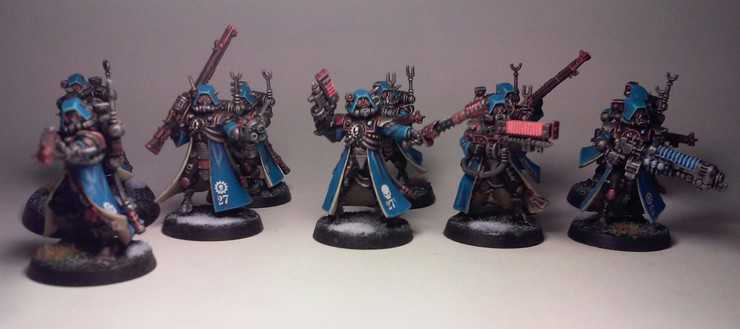
For my models I use a snowy base. To do this you just lay down a drybrushing of mechanicus standard grey, followed by a drybrush layer of celestia grey. And finally I put down some pva glue for the snow and the grass. For these I use the citadel snow and burnt grass.

Now you can paint your models individually but with these I painted all ten at once. To do that just do each step to all models before moving on to the next step.
Well thats it for now everyone I hope you liked learning how to paint skitarii rangers. Until next time, this is Josh from Dark Matter Designs signing off, enjoy yourself and remember to always have FUN!!