What’s up hobby maniac’s, today we’re painting; without using paint. Whaaaaaaaaa? Don’t worry, all will be revealed after the break.
It took me 8 hours to do the trim on the knight titan with a brush, it took forever. Kelsey Haley, the greatest 40k player in the history of ever, came down and was like, “hey man, check this out, I use sharpies now.” And I was like, “wait what?”
He showed me, he pulled out a helldrake and started doing a helldrake with a sharpie marker and it looked REALLY good. Turns out, sharpie turns out a line of Metallic permanent marker. For 6 bucks this is all the paint you need for a whole hobby career. You can hit it with a glaze or a wash to bring it back in. It’s a HUGE time saver. On regular space marines, It’s a BIT too closer for comfort in my opinion.
Step 1: Turn off the TV, the Radio, all of it. You really should be focusing; It took me 12 minutes per color; so focusing should only be a problem if you have serious ADHD and you’re out of sugar, or some other medication, to keep you calm.
Step 1.1: Bronze Base Coat.
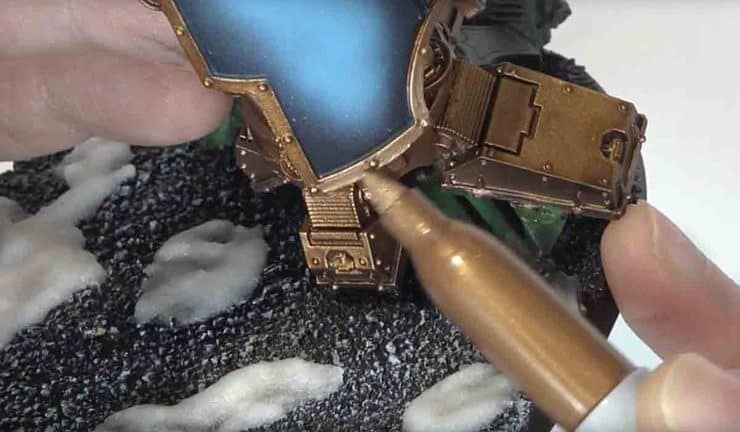
Hobby Zen: move the model NOT the marker. If you start moving the marker you’re more apt to mess up.
Step 2: Gold: It’s the lighter of the two brassy looking color. Now, we’re going to go about half way down to make that transition.
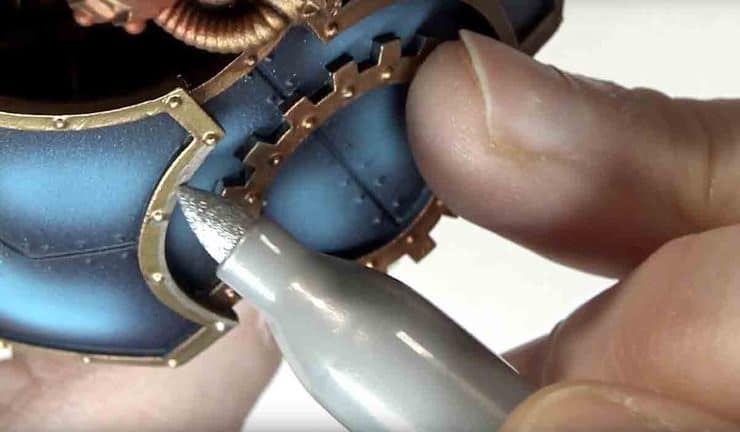
Step 3: Silver, there’s two methods, the first is you just line it up, pretty basic. The SECOND method is you take the flat area AROUND the point (aka the side of the tip) and rub the edge. It’s easy as pie.
You can stop Here. You don’t need to do wash. Should take about 45 minutes to do the whole thing. I however, wanted to wash it with a bit of glaze. I mixed some wash and glaze to create some additional blending.
Step 4: Mix 2 parts Water, 1 part Future Floor Wax and some wash. The wax makes the paint more of a glaze and gives us a bit more time to work with the paint before it sets.
Step 4a: Just go over what you did carefully with the wash/glaze mix.
 Fact: Pinky fingers aren’t just for sticking up when you drink tea, also great for providing some support when you brush.
Step 5: touch-ups, now we just go over it with our paint, and you’ll notice in the video it’s a bit thin but that’s okay, we can just do two coats. I’d rather do two coats than just one and lose my transition.
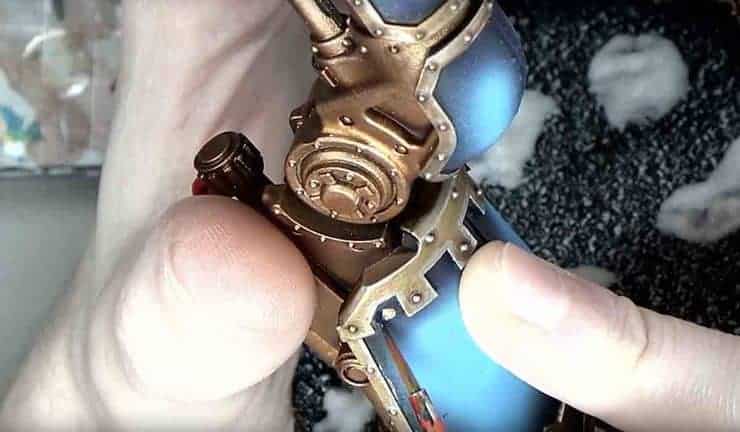
Pro-Tip, I made a couple chips and highlighted with dark colors to give it some false depth.
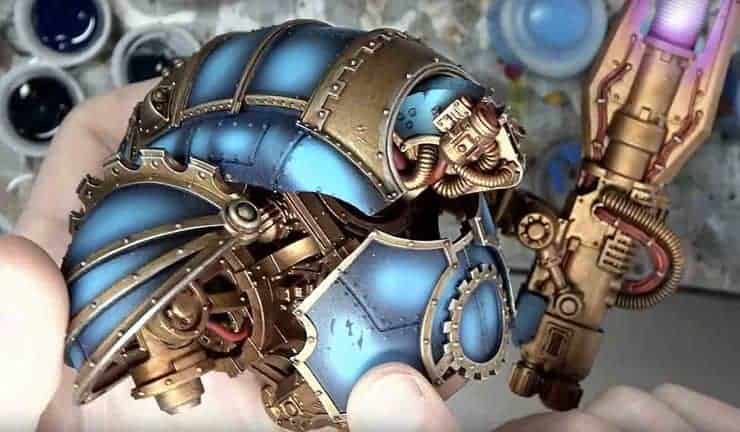
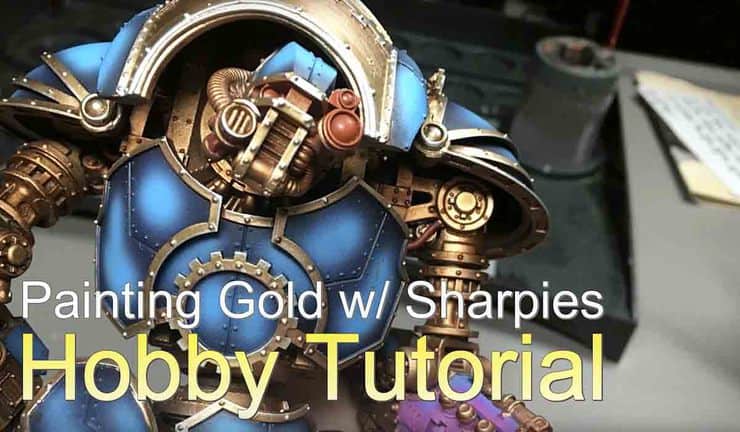
I have to note that I didn’t do most of the airbrushing; it’s on loan form my good friend lucas who gave me permission to touch up his trim. You can see the finish product looks good and I think it’s officially a done project.
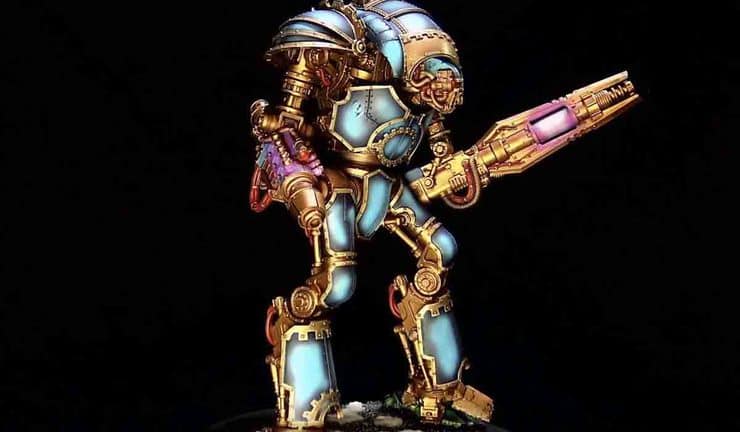
As usual, if you want the the full 101 watch the video. Special thanks to Barely Tabletop Quality (BTTQ) for letting me paint the trim on their Knight Atrapos!

Founder, Publisher, & Managing Editor of Spikey Bits, the leading tabletop gaming news website focused on the hobby side of wargaming and miniatures.
Rob also co-founded and is a panelist on the weekly Long War Podcast, which has over 350 episodes and focuses on tabletop miniatures gaming, specializing in Warhammer 40k, and spent six years writing for Bell of Lost Souls.