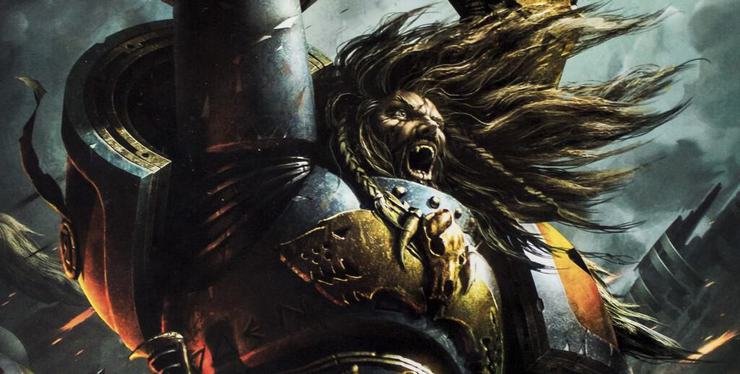
It’s Hobby Hump Day maniacs! We’re going to help you prep for your big game this weekend with a hot new kit for the Space Wolves!!
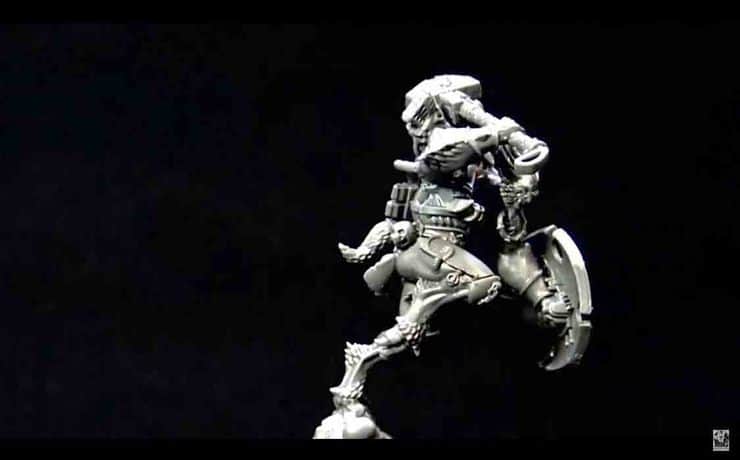
Oh look, we got some new Wulfen to show you some tips and tricks to get this put together tight.
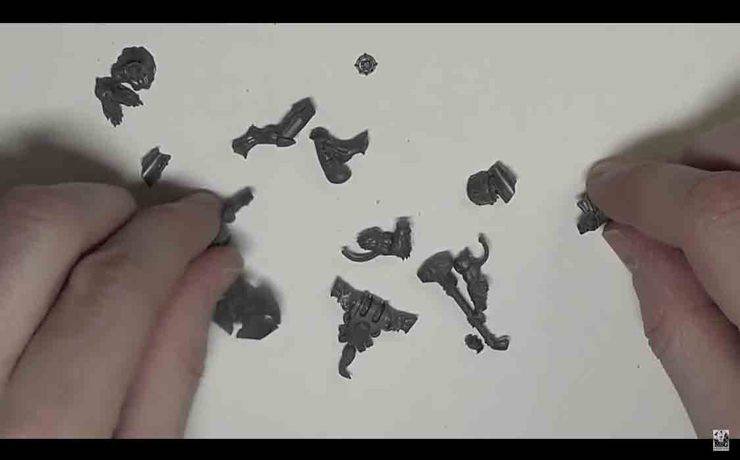
I strongly recommend pre-cutting all the parts and then doing a quick accounting of all the parts. Matching up all the part numbers and getting all the right parts ready is key.
I’ve taken Blood Angel Terminators in the past and I feel like these Wulfen are even better. Same points, better stats, extra wounds, crazy attacks on the charge, they get to attack if they die and they come with stock Feel No Pain.
This is an exciting kit and a first for us because we’re getting a chance to work on something that just came out. The kit is great but there’s a big caveat: it’s going to be super hard to get this kit magnetized. You could magnetize it at the wrist joints, it’s not impossible, they’re just tiny joints and it’s going to be rough. It’s going to need some finesse work and some odd angles. That being said, don’t be afraid to attempt it but I’m going straight build because that’s what I’m doing with my personnel plastic dudes men.
As with all these new kits the instruction manuals are super clutch. Be sure you read them. On the left hand side of the first page it shows you how to assemble it up to the point where you choose the weapon load outs. On the other side it shows you the three options.
I strongly recommend pre-cutting all the parts and then doing a quick accounting of all the parts. Matching up all the part numbers and getting all the right parts ready is key. This kit is no joke. Each model has parts all over the sprue.
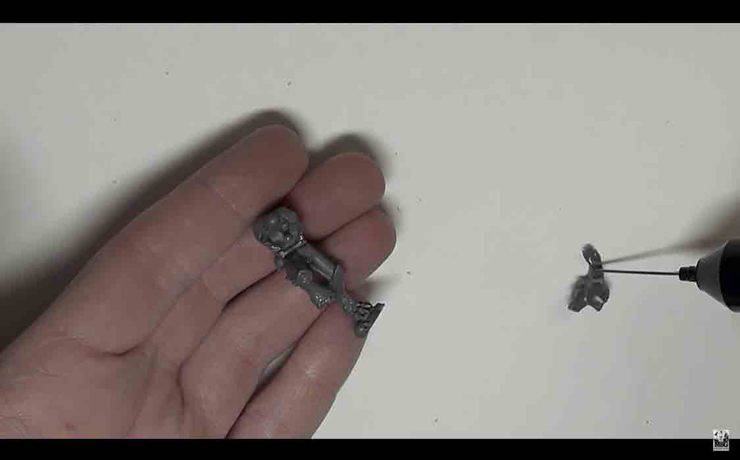
I start with the legs, they’re two part, left and right, they attach to each other and then one of them attaches to the base. I use Testors Plastic glue, I love it, Kenny hates it, go with your heart.
The legs attach to each other and then the tabards and such drape over them.
Pro-Tip: don’t forget to place the thigh armor on or conversely you can keep it off to airbrush later.
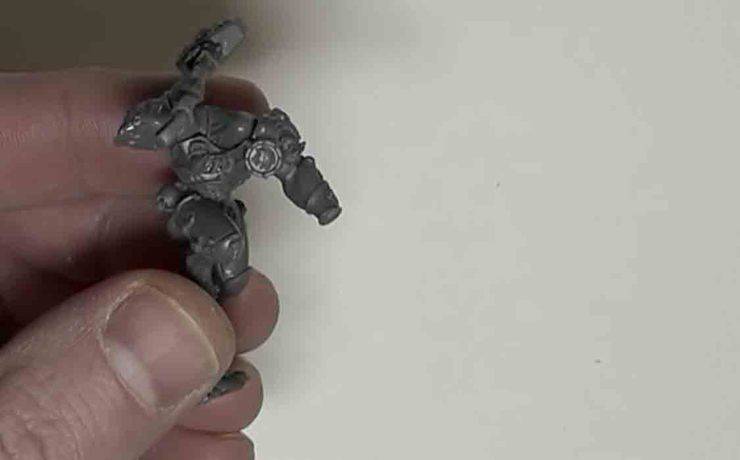
When you get them together you really appreciate just how tall these guys are. They’re terminator tall but they’re not terminator wide. They don’t have that girth…
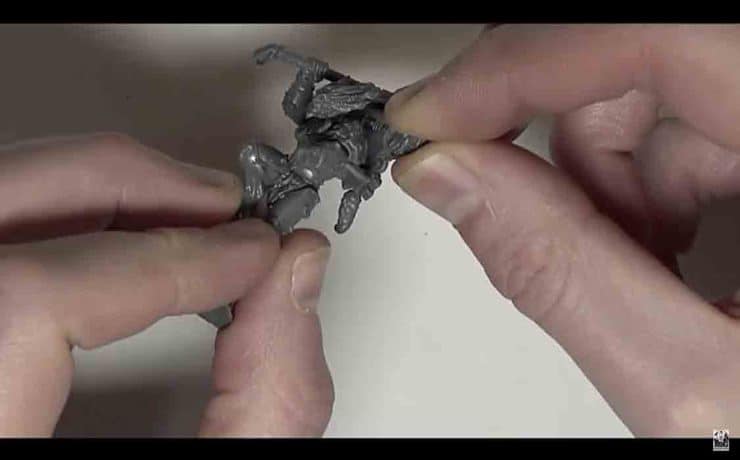
I glue alongside the perimeter of the back part and attach it to the legs first. Then I place the front chest piece on.
Pro-Tip: IF you get plastic glue on your hand, get a wet paper towel and dabbed it off. Otherwise, you’ll get fingerprints all over your models and you’ll have to scrape it off. No one wants to do that (fact).
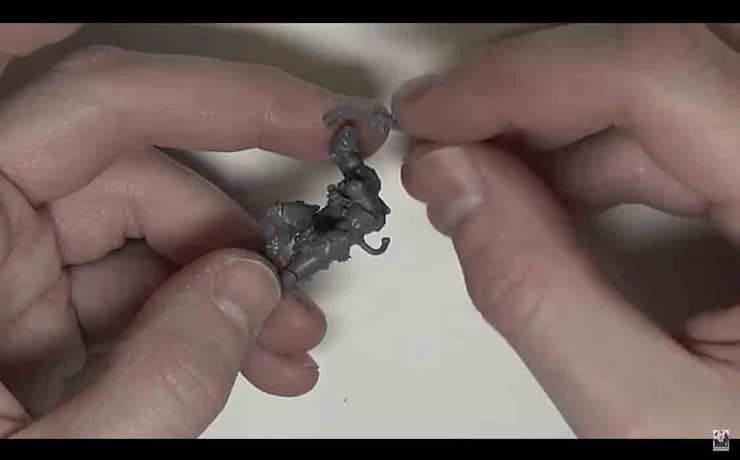
If you’re going to glue on the backpack, do it first. Because the arm weapons have little power cables that lock into the backpack.
I however, am going to paint it and the Storm Shield separately. So I’m not assembling that at this point.
If you want to magnetize the axe you can do so at the wrist here; However, I’m thinking the best route is do just glue it down.
Next up the arm weapons. What I really like about this is that they have left and right arms that have power feeds that go under the skin and then log into the back. The arms have a unique V-joint thing that prevents you from magnetizing them.
I like to dry fit and make sure everything goes in tight.
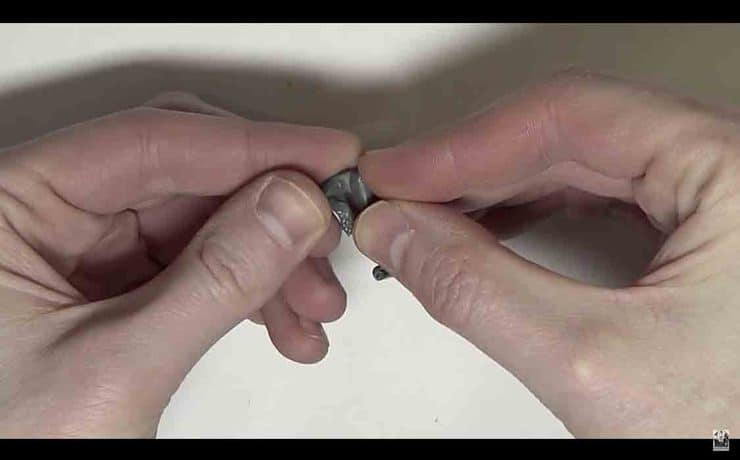
This kit is amazing otherwise.The talisman nub that goes into the shoulder pad is a bit rough very hard to attach with fingers – be wary.
Further, the head doesn’t quite fit over the talisman the way I had it positioned, I would recommend putting the head at the end of their very long necks. I’m digging the shield because it give you some options to pivot it at some various angles.
If you want to see me make some mistakes, I mean assemble this kit like a pro… press play on the video below!
